DIY Father’s Day T-shirt Idea

Hello everybody!

I hope you guys are well.

Since my dad is not computer savvy and I’ve asked my husband not to look at my blog until after Father’s Day, I can share with you a T-shirt that I’ve made for them as a gift.  They always wear them so it’s great to come up with new ideas and see their faces light up once they receive this personalized gift.

IMG_5032text  IMG_5035text

I took pictures of my daughters making silly faces and smiling.  Then I googled for photo strip templates and chose this design.  Using Word, I inserted the pictures that I wanted and printed it out on iron on transfer paper.

IMG_5048text

I love the final result!  Just make sure you position the image better than I did, it’s a little lopsided, before ironing it down.

Take good care all.

Until next time…

Advertisement

It’s School Spirit Week: Monday and Tuesday

Hello everybody!

I hope you guys are well.

It’s Spirit Week at my daughter’s school and yesterday was rainbow day.  All of the Kindergarten classes were asked to wear RED.  Today was Disney day.  I wanted my daughter to participate so last week we took inventory of what we already had before venturing out and finding the stuff that we needed.  Among her clothing, we only found a red tutu.  A trip to Target was a bust, but my husband saved the day by suggesting we go to the craft store.  At AC Moore we got three T-shirts (1 red and 2 white) and a tie dye happy face bandana (for Decade day on Thursday, more on that later on). 🙂

IMG_4801text

My daughter Olivia wore a red shirt, tutu, headband, and pony tail holders on her braids.

IMG_4808text

Today was Disney day.  My daughter does own several Disney princess shirts, but I asked her if she wanted me to make her one with all of the princesses together.  She said, “Whaaaat?”  I explained, she understood, and the excitement started building up.  I searched for a picture of each princess on Google, save and pasted along with their names on Word, and printed it out on iron on transfer paper.

IMG_4809text

The shirt was a HIT and at school the kids were given a huge surprise…

IMG_20130521_145837-1text

…in the form of people dressed up as Mickey and Minnie Mouse.

I was able to take a quick pic of Olivia and Minnie.

Afterwards, Olivia said, “It was a great day!”  Indeed it was. 🙂

Take good care all.

Until next time…

DIY IRON ON TRANSFER T-SHIRT

Hello everybody!  I hope you guys are well.  My heart is still quite heavy regarding the tragedy that occurred in Newtown, Connecticut.  I’m a mother of a kindergartener.  I don’t know what I would do.  I do wish everyone love, support, patience, and peace.

I wanted to share with you something that I’ve done as a gift for my father for years now.  The other day he wore a shirt that I had personalized for him using iron on transfer paper and fabric markers.  I made that shirt a looooong time ago and I was so surprised to see that he still had it and that it still looked great.  My mom mentioned to me that he loves wearing the shirts that I make for him, especially the ones with his grand-daughter’s pictures.  She said, “those are his favorite because he gets to show everyone his grandkids!”  Love it!

Here’s my process:

IMG_3608text

I purchased my iron on transfers and t-shirt at A.C. Moore.  The shirt was on sale for $2.99 and with a store coupon, I was able to get the transfers for half off.

IMG_3635text

Choose and print out your picture.  For this particular brand, I had to print my image as a REVERSE IMAGE.

IMG_3641text

You’ll need an iron and I use this piece of wood, specifically for my t-shirts so I just store it away when I’m done, along with a pillowcase.  I place the pillowcase on top of the wood so I can have a hard but smooth surface.  I always do the transfers on the floor so I can press down on the iron.

IMG_3642text

Cut out your design or image and place it on your t-shirt right side up so you can see exactly how it’s going to look.

IMG_3644text

Flip over the paper and center it once again.  I usually like to place the image one finger long down from the neck.

IMG_3646text

PrintWorks instructions: “Iron transfer with firm pressure in a straight, non-stop motion top to bottom and side to side.  Keep iron moving at all times to prevent scorching.”  Make sure your corners are ironed down.

IMG_3648text

Let your t-shirt cool off completely (this part is hard for me because I’m so impatient).  Then carefully peel away the transfer’s backing.

IMG_3652text

I LOVE IT and I hope my dad loves it too.

I hope you guys enjoy this gift and crafting idea.

Take good care.

Until next time…

DIY project with iron on transfer, a great picture and a tote bag

Hello everybody! I hope you guys are well.  Today I want to share with you a project that I love to make and give as a gift.  I love to add an unexpected and personal touch to a gift that actually comes from the person the gift is intended for.

For example:

My wonderful cousin, Janice, is an amateur photographer and she currently lives in Huntsville, Alabama.  Needless to say, I MISS HER GREATLY!  One day while driving, she spotted a gorgeous, enormous tree.  The sun was illuminating it perfectly.  A scene like that, you got to act fast if you want to capture it for life.  So she quickly pulled to the side of the road, got her trusty camera, and took several shots.

Ninety-five percent of the time when I receive a letter or greeting card from my cuz, there’s a picture or more inside.  Who’s the subject of the picture?  That’s the exciting part.  It’s always different.  It could be a funny picture of one of her cats, a butterfly outside her window, art displayed on the sidewalk in the city, a waterfall, horses, etc.  We love corresponding through snail mail because it’s so much more personal and it’s our special thing.  When I received a copy of her magnificent tree, it spoke volumes on how good of an eye she has and how talented she is with her camera.  This picture needed to be displayed, for her, but where?

Here’s the pic:

I love using iron on transfers, especially on t-shirts, but I wanted to use something different.  At A.C. Moore craft store, I stumbled upon cotton tote bags.  They were like blank canvases that you could decorate, but instead of hanging them on the wall, you could carry your masterpiece for all the world to see.  You could wear a t-shirt for a day, but you can carry your bag almost every day. 🙂

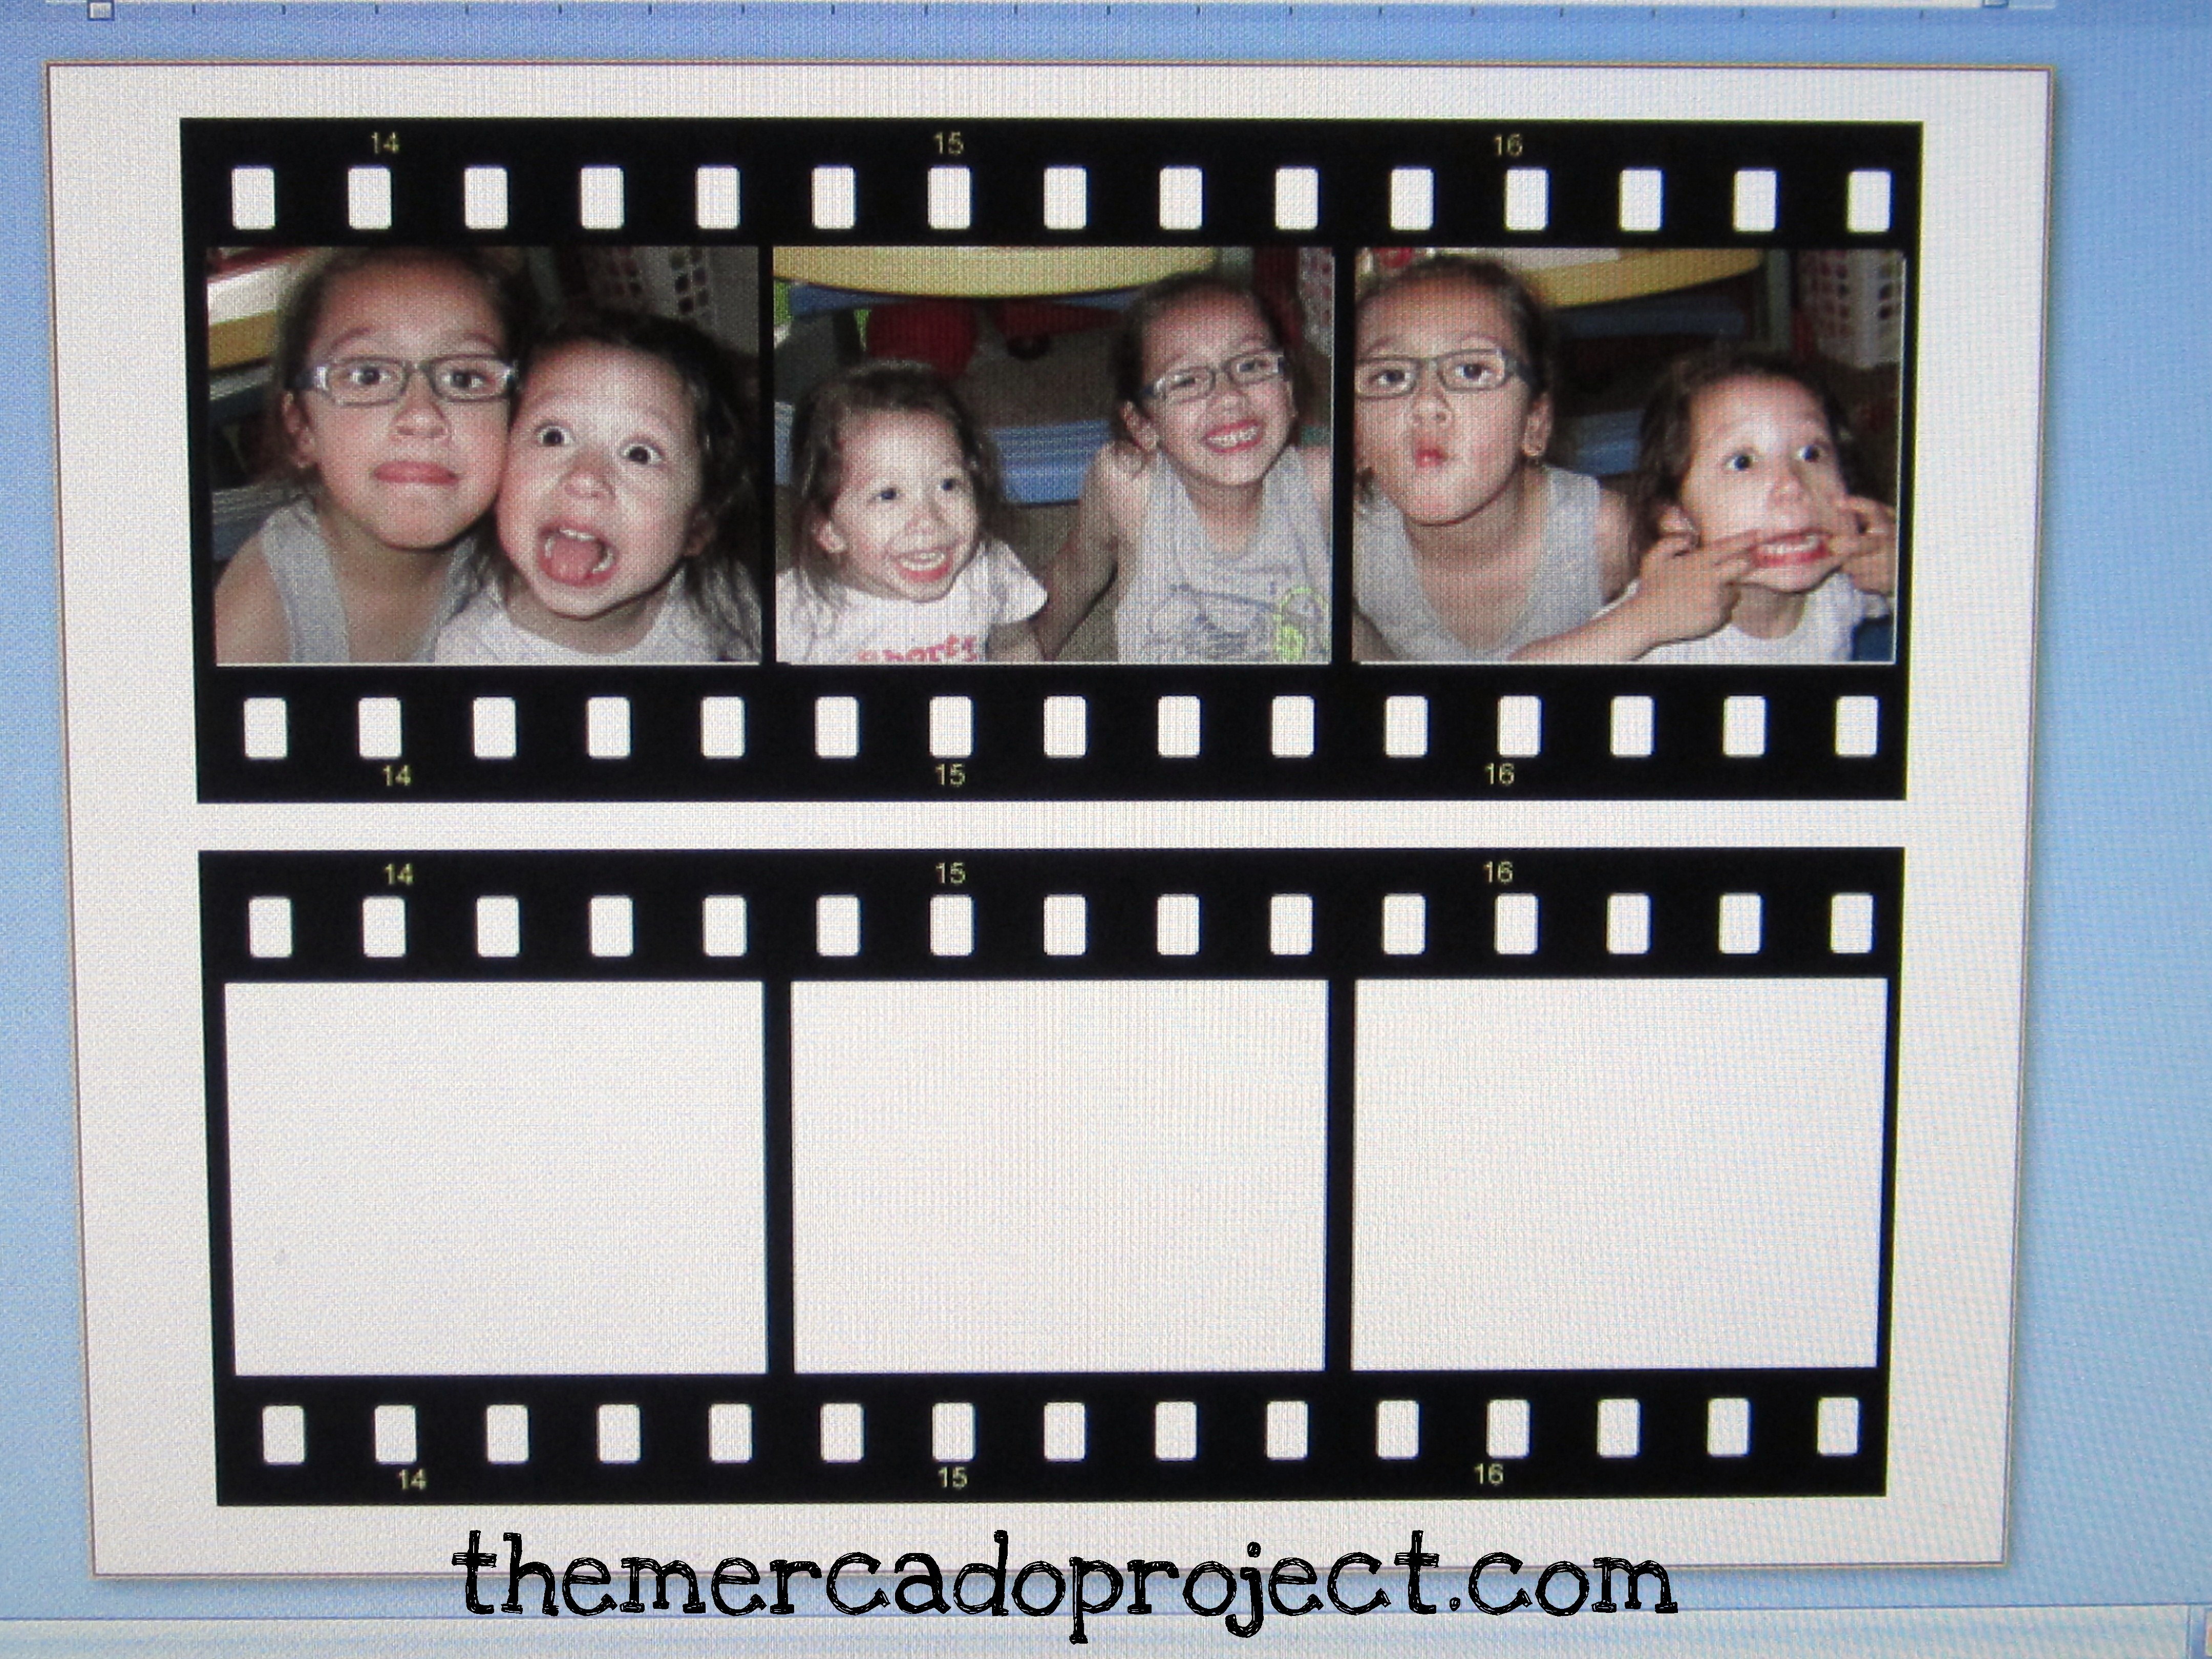
After scanning the picture on my printer, I inserted the pic into a word document and copy and pasted my cousin’s signature at the bottom of the pic.  This, I felt, added an extra personal touch.  I saved my project and printed it out on iron on transfer paper (tip: always remember to read the instructions on how to print your image on the transfer paper).

Once I had the image ready, I got my iron, a pillowcase, and a piece of wood that’s big enough to lay your project down.  Lay your pillowcase down on the piece of wood, iron out any wrinkles so you can have a smooth surface, and do the same for the tote bag.  Position your transfer where you want it to be and iron away.  Give it time to cool and then peel away the backing of the paper.

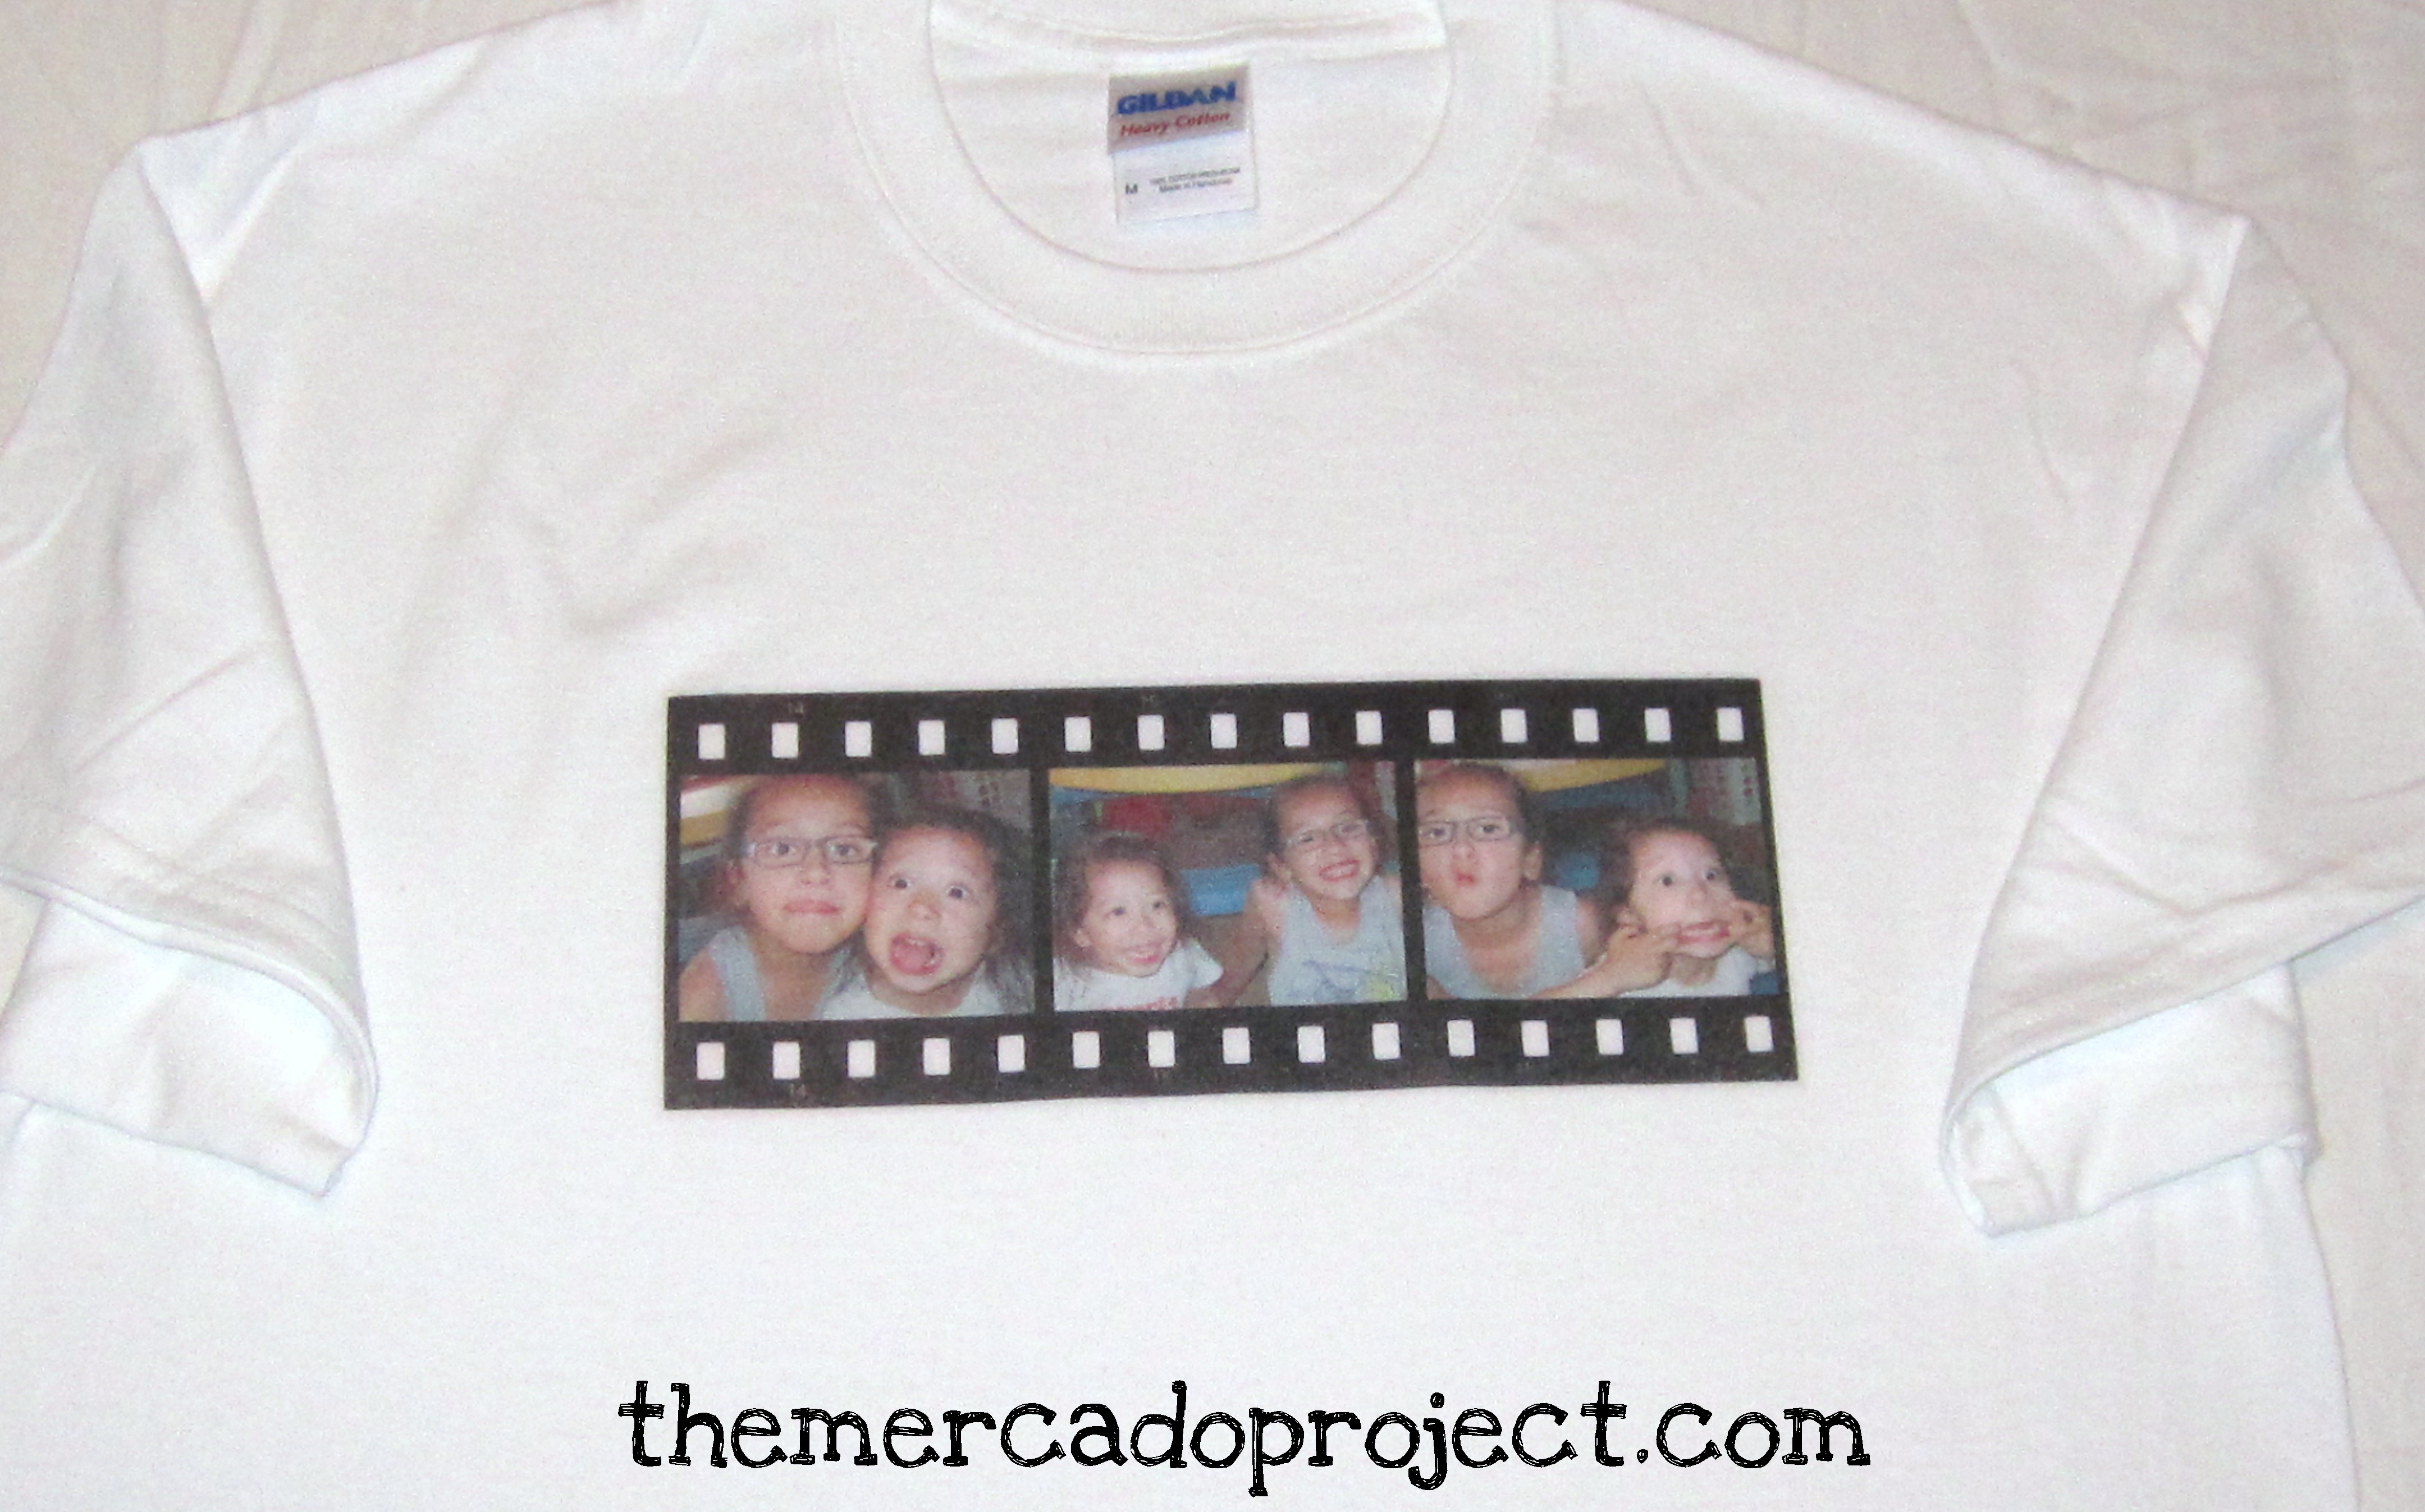
Here’s my project completed:

I was so happy with this bag that I almost kept it, but I didn’t because I knew it would bring so much joy to my cousin.  I filled the bag with the rest of her Christmas presents and when she received it, she was so happy and couldn’t wait to use her new tote bag.

I hope this idea inspires you to make many different and personal projects either to keep or to give.  Until next time…