Germ City and a couple of Iron On transfers

Hello everyone!  I hope you guys are well.

As for me, I’ve been to Germ City and back.  I got sick again.  Can you believe it?  Back to back.  I don’t even think I was finished being sick the first time before the second wave hit.  It started with an itchy throat and then BAM!, my body and my head just wanted to curl up in bed and forget about the world, but I couldn’t do that because I have to take my oldest daughter to school in the morning and take care of my two-year old at home.  I will admit to you all that it brought me to tears.  Not having control of my body or the energy to fulfill my obligations as a mother really sucks.  In one moment, my two-year old looked at me and said, “Its ok.”  I love that little girl.  I’m feeling much better now with the help of my wonderful husband (he took over when he came home from work and got me meds!) and my landlady/friend (she made us soup and looked after my youngest daughter while I took my oldest to school).  My body is up and running again so enough about being sick.

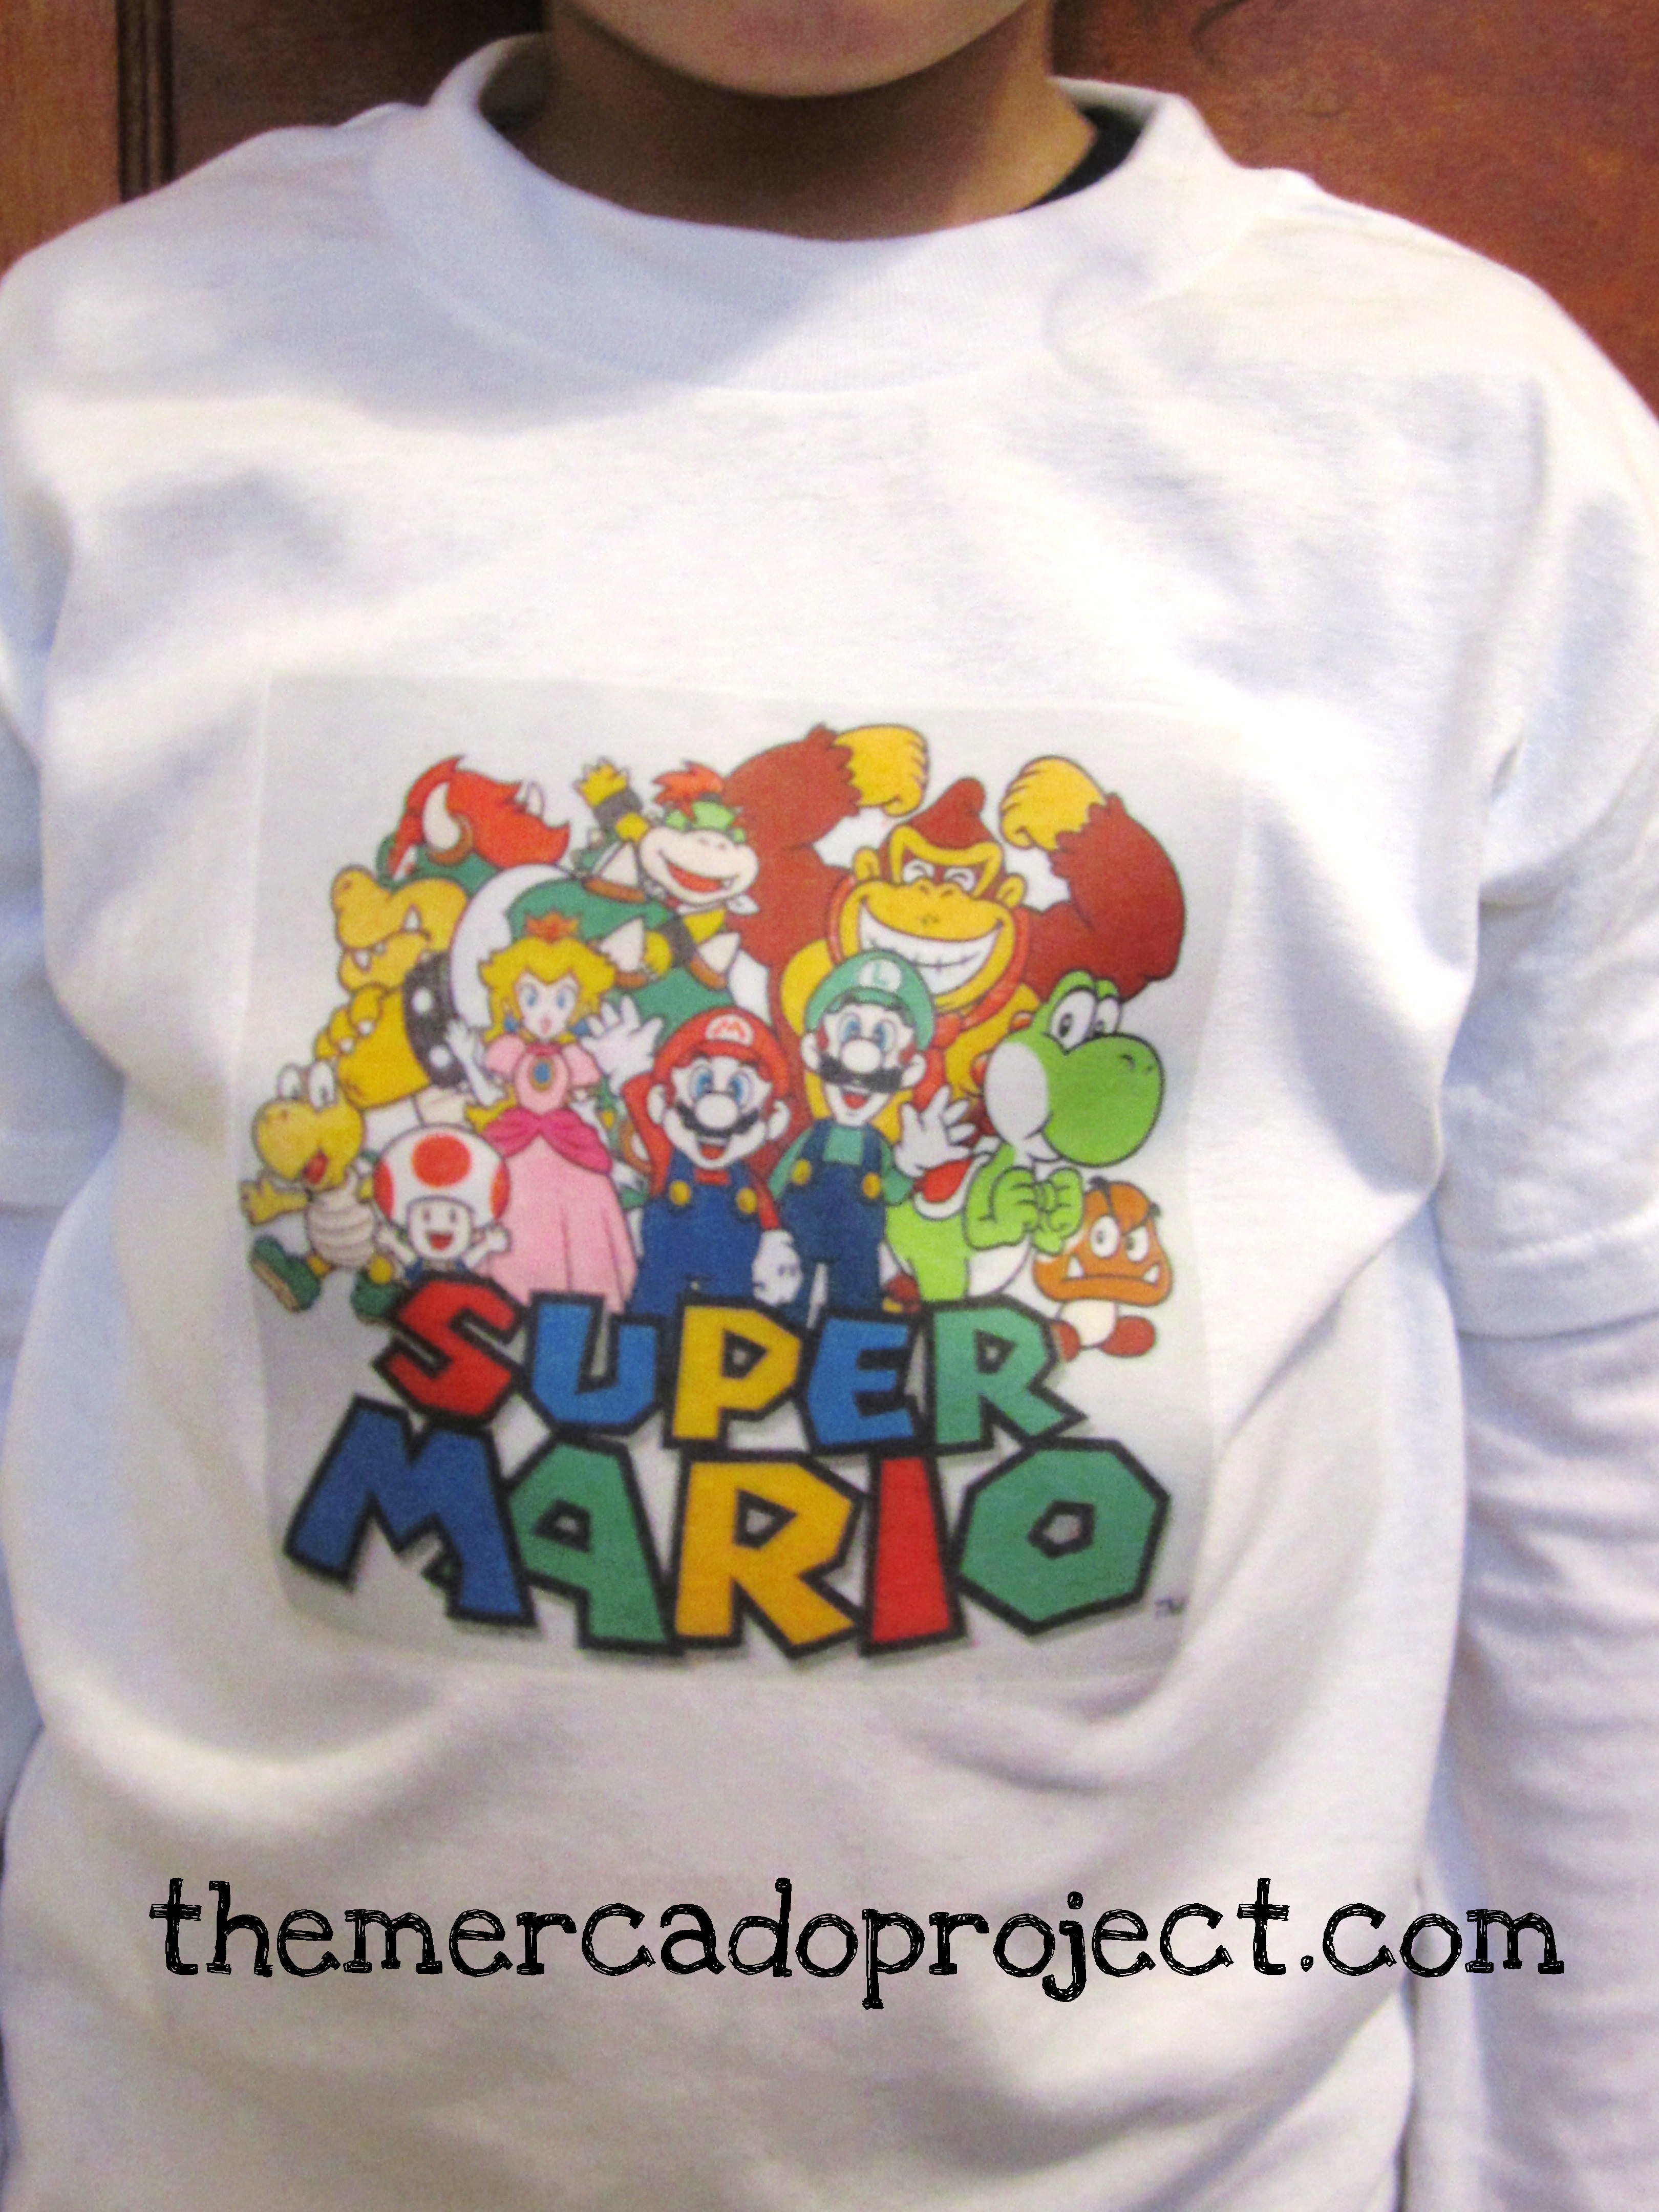
Let’s talk about Iron-On transfers!  Last week, I wanted to design a bag for my mother’s upcoming birthday.  I also wanted to make my daughter a t-shirt with her latest obsession, Super Mario and friends.  I found a cool clip art on AOL search, printed it out on iron on transfer paper and ironed it on a white youth t-shirt.  I surprised her with the shirt and she absolutely loved it!

IMG_4037text

I have to do another one for my youngest because she wasn’t happy with the fact that I didn’t make her one.  Oops!

IMG_4039text

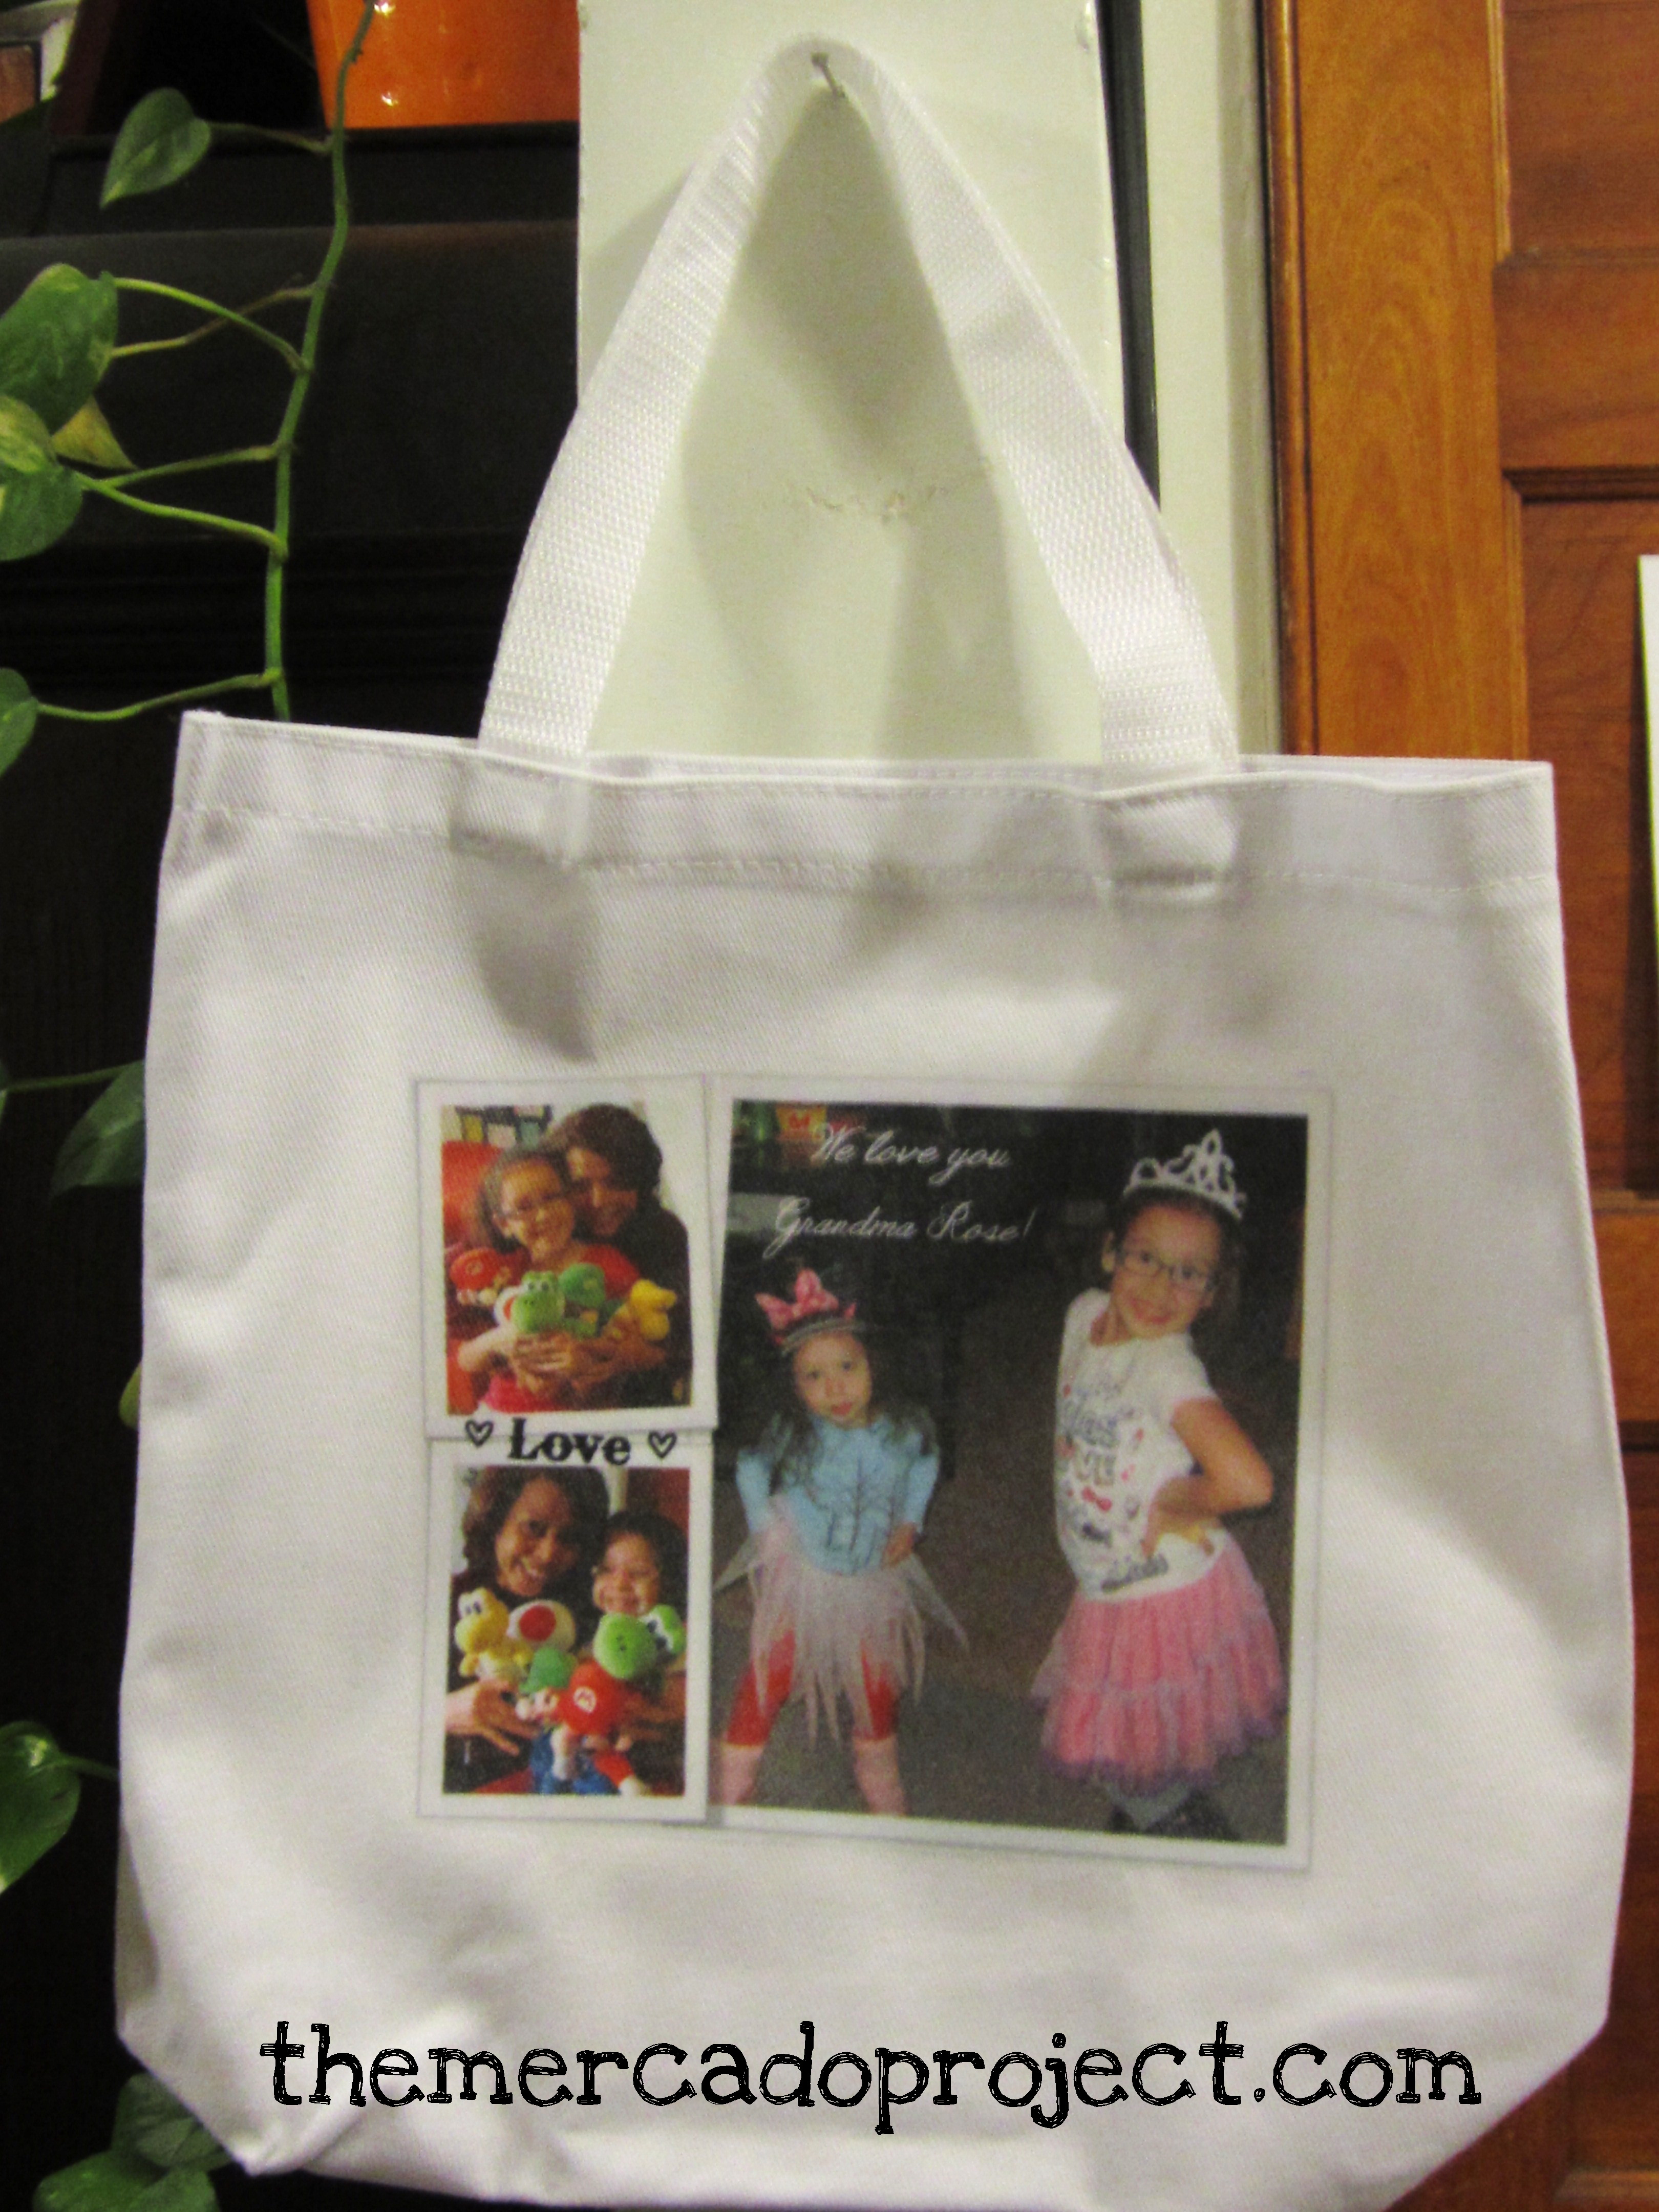
For my mother’s bag I took a couple of pictures of her with my daughters as well as one with them striking a princess pose, printed and ironed it onto the bag, which I bought at A.C. Moore.  These bags are awesome.  I’m going to stock up on them.  I think my mom is going to love this bag!

Let your creativity soar and make one-of-a-kind gifts for your loved ones!

Take good care all.

Until next time…

Advertisement

DIY project with iron on transfer, a great picture and a tote bag

Hello everybody! I hope you guys are well.  Today I want to share with you a project that I love to make and give as a gift.  I love to add an unexpected and personal touch to a gift that actually comes from the person the gift is intended for.

For example:

My wonderful cousin, Janice, is an amateur photographer and she currently lives in Huntsville, Alabama.  Needless to say, I MISS HER GREATLY!  One day while driving, she spotted a gorgeous, enormous tree.  The sun was illuminating it perfectly.  A scene like that, you got to act fast if you want to capture it for life.  So she quickly pulled to the side of the road, got her trusty camera, and took several shots.

Ninety-five percent of the time when I receive a letter or greeting card from my cuz, there’s a picture or more inside.  Who’s the subject of the picture?  That’s the exciting part.  It’s always different.  It could be a funny picture of one of her cats, a butterfly outside her window, art displayed on the sidewalk in the city, a waterfall, horses, etc.  We love corresponding through snail mail because it’s so much more personal and it’s our special thing.  When I received a copy of her magnificent tree, it spoke volumes on how good of an eye she has and how talented she is with her camera.  This picture needed to be displayed, for her, but where?

Here’s the pic:

I love using iron on transfers, especially on t-shirts, but I wanted to use something different.  At A.C. Moore craft store, I stumbled upon cotton tote bags.  They were like blank canvases that you could decorate, but instead of hanging them on the wall, you could carry your masterpiece for all the world to see.  You could wear a t-shirt for a day, but you can carry your bag almost every day. 🙂

After scanning the picture on my printer, I inserted the pic into a word document and copy and pasted my cousin’s signature at the bottom of the pic.  This, I felt, added an extra personal touch.  I saved my project and printed it out on iron on transfer paper (tip: always remember to read the instructions on how to print your image on the transfer paper).

Once I had the image ready, I got my iron, a pillowcase, and a piece of wood that’s big enough to lay your project down.  Lay your pillowcase down on the piece of wood, iron out any wrinkles so you can have a smooth surface, and do the same for the tote bag.  Position your transfer where you want it to be and iron away.  Give it time to cool and then peel away the backing of the paper.

Here’s my project completed:

I was so happy with this bag that I almost kept it, but I didn’t because I knew it would bring so much joy to my cousin.  I filled the bag with the rest of her Christmas presents and when she received it, she was so happy and couldn’t wait to use her new tote bag.

I hope this idea inspires you to make many different and personal projects either to keep or to give.  Until next time…