Easy DIY Wonder Woman Headband and Wrist Cuffs using Felt

Hello everybody!

I hope you guys are well.

Since Halloween is just around the corner here’s a quick DIY costume accessories idea for Wonder Woman.

20161026_143526I made these headpieces and wrist cuffs for my daughters who wanted something simple to wear on Superhero day at their school. They wore a plain blue shirt and jeans so the accessories would pop out more.  They didn’t want to do the typical cape and mask thing so I found a good template online for Wonder Woman’s headband and got to work.

Using the template to get the design, I folded the felt in half to make it sturdier with two layers of felt as oppose to just a single layer.  I glued the headpiece at the edges with some tacky glue and then made the stars with a template and red felt.  I then glued the headpiece onto the plain headband.  The tacky glue doesn’t dry instantly so I used large paperclips to secure the felt onto the headband until it dried.  It worked like a charm.  For the wrist cuffs I simply cut out a long rectangular piece from the yellow felt and split it in half.  I then glued the stars in the middle and sewed on a small piece of elastic so they could slide it onto their wrist and have fun pretending to be Wonder Woman, which they did.  

I hope you like this idea!

Take good care all.

Until next time…

Happy Belated Halloween 2013

Hello everybody!

I hope you guys are well.

This year for Halloween the Mercado household dressed up as…

IMG_5982text

…Princess Peach, Mario, Luigi, and Yoshi from Super Mario Brothers

IMG_5988text IMG_5992text IMG_6006text

I so wanted to recreate that picture above with the stuff toys, but a certain little girl/Yoshi didn’t want to cooperate and get into the costume my talented husband created, so we went Yoshiless.  My oldest daughter, Olivia, was Princess Peach (costume gown and crown bought early at Target.com), my husband was Mario and I, as you can see, turned into Luigi.  I couldn’t smile comfortably with that darn moustache on my face.  🙂

We bought the white gloves, blue suspenders, and moustaches at Party City.  I ordered a set of Mario and Luigi hats through Amazon, but unfortunately they didn’t arrive on time so I took matters into my own hands…

CAM00222text

I took hats that we already owned and using felt, tape, glue, safety pins and a sewing needle I transformed them temporarily.

IMG_6013text

This idea popped into my head the day before Halloween so I had to hustle in order to have them ready for pics and trick or treating, which only my husband did with my oldest ’cause turns out my youngest was running a fever that night and I had to stay home with her.  That’s why she was refusing to cooperate.  She wasn’t feeling well.  😦  I was able to put a costume on her in the morning when we took her sister to school.  At that time she was okay.

sophiaflowerfairy2013text

My little forest fairy!

Several days later I was able to make Yoshi come to life…

IMG_6007text  IMG_6011text IMG_6017text

…here’s Sophia in a homemade Yoshi costume.

My husband purchased a green t-shirt and felt (white, red, orange, and green) at A.C. Moore craft store.  He made the shell using red and white felt and sewed it together.  He stuffed it with polyester fiberfill (Sophia can use it later as a small pillow).  In front of the shirt, he sewed a white felt circle and then attached/sewed the shell in the back of the shirt.  He constructed the head-piece on his own, using green, orange, and white felt.  He drew the eyes and nostrils with a sharpie marker and to make the nose prominent he used a little of the fiberfill and sewed it up.  There you go, it’s Yoshi from Super Mario Brothers!

I hope your Halloween for 2013 was fun and safe.

Take good care all.

Until next time…

DIY Father’s Day T-shirt Idea

Hello everybody!

I hope you guys are well.

Since my dad is not computer savvy and I’ve asked my husband not to look at my blog until after Father’s Day, I can share with you a T-shirt that I’ve made for them as a gift.  They always wear them so it’s great to come up with new ideas and see their faces light up once they receive this personalized gift.

IMG_5032text  IMG_5035text

I took pictures of my daughters making silly faces and smiling.  Then I googled for photo strip templates and chose this design.  Using Word, I inserted the pictures that I wanted and printed it out on iron on transfer paper.

IMG_5048text

I love the final result!  Just make sure you position the image better than I did, it’s a little lopsided, before ironing it down.

Take good care all.

Until next time…

Clothes, shoes, space…oh my!

Hello everybody!  I hope you guys are well.

I’ve been tackling and frustratingly looking for space to put away the clothes and shoes that no longer fit my oldest daughter, but are still in wearable condition for my youngest.  Yes, I could always buy a bigger bureau, but then that would allow more (unnecessary) clothes to come into the house.  My way of corralling my kids’ clothes and keeping things at a minimum is by having a medium size bureau.  It has four drawers and I separate things between my girls by two drawers each.  I have their short and long sleeve shirts, leggings, skirts, shorts, pajamas, socks, underwear, and undershirts in this one bureau.  Nice and tidy (until tornado hubby comes along looking for something!)  There’s also a SMALL (NYC, enough said) closet, a storage chest (mainly used for winter pajamas and baby clothes that I simply couldn’t part with, for example, their first outfit worn home from the hospital), and this gem that was being tossed out by a local pharmacy and my husband and his brother-in-law were walking by just in time.  They were gracious enough to give him every single little piece that came with it, including the shelves, nuts and bolts!  🙂

IMG_4531text  IMG_4532text

IMG_4530text

Just in case you don’t know, that’s my oldest daughter’s name above, Olivia, so it was meant to come home with my husband.  It used to house body and hair care products for sale, but after my husband drilled holes and inserted a dowel, it became a small, open closet.  We put up some of the shelves for shoes and left the bottom open in order to place a basket (Ikea) for additional shoe storage.  I hang up my oldest daughter’s school uniform and my youngest daughter’s spring/summer dresses in this closet.

IMG_4518sizestext IMG_4522sizestext IMG_4533text

As for the shoes that my oldest has outgrown, but are still good yet too big for my youngest, I save them in wide, delivery boxes.  Recycle, reuse (both, shoes and boxes).  In order to know what’s inside after I taped up the boxes, I take a picture (inserting sizes on the pic), print it out and tape it onto the box.

Why do I do this?  So I can stay sane, save money, and help the environment (less trash for the landfills).  Extra space would be nice, but I feel more comfortable using what I already have instead of buying new or more.  I also like to pass things down as my children grow out of them.  I usually distribute between my sister-in-law (who has a daughter one year younger than mine), family members in Puerto Rico, the donation bin two blocks down from my home, and the church my parents attend.

Thanks for visiting and viewing.

Take good care.

Until next time…

Germ City and a couple of Iron On transfers

Hello everyone!  I hope you guys are well.

As for me, I’ve been to Germ City and back.  I got sick again.  Can you believe it?  Back to back.  I don’t even think I was finished being sick the first time before the second wave hit.  It started with an itchy throat and then BAM!, my body and my head just wanted to curl up in bed and forget about the world, but I couldn’t do that because I have to take my oldest daughter to school in the morning and take care of my two-year old at home.  I will admit to you all that it brought me to tears.  Not having control of my body or the energy to fulfill my obligations as a mother really sucks.  In one moment, my two-year old looked at me and said, “Its ok.”  I love that little girl.  I’m feeling much better now with the help of my wonderful husband (he took over when he came home from work and got me meds!) and my landlady/friend (she made us soup and looked after my youngest daughter while I took my oldest to school).  My body is up and running again so enough about being sick.

Let’s talk about Iron-On transfers!  Last week, I wanted to design a bag for my mother’s upcoming birthday.  I also wanted to make my daughter a t-shirt with her latest obsession, Super Mario and friends.  I found a cool clip art on AOL search, printed it out on iron on transfer paper and ironed it on a white youth t-shirt.  I surprised her with the shirt and she absolutely loved it!

IMG_4037text

I have to do another one for my youngest because she wasn’t happy with the fact that I didn’t make her one.  Oops!

IMG_4039text

For my mother’s bag I took a couple of pictures of her with my daughters as well as one with them striking a princess pose, printed and ironed it onto the bag, which I bought at A.C. Moore.  These bags are awesome.  I’m going to stock up on them.  I think my mom is going to love this bag!

Let your creativity soar and make one-of-a-kind gifts for your loved ones!

Take good care all.

Until next time…

DIY IRON ON TRANSFER T-SHIRT

Hello everybody!  I hope you guys are well.  My heart is still quite heavy regarding the tragedy that occurred in Newtown, Connecticut.  I’m a mother of a kindergartener.  I don’t know what I would do.  I do wish everyone love, support, patience, and peace.

I wanted to share with you something that I’ve done as a gift for my father for years now.  The other day he wore a shirt that I had personalized for him using iron on transfer paper and fabric markers.  I made that shirt a looooong time ago and I was so surprised to see that he still had it and that it still looked great.  My mom mentioned to me that he loves wearing the shirts that I make for him, especially the ones with his grand-daughter’s pictures.  She said, “those are his favorite because he gets to show everyone his grandkids!”  Love it!

Here’s my process:

IMG_3608text

I purchased my iron on transfers and t-shirt at A.C. Moore.  The shirt was on sale for $2.99 and with a store coupon, I was able to get the transfers for half off.

IMG_3635text

Choose and print out your picture.  For this particular brand, I had to print my image as a REVERSE IMAGE.

IMG_3641text

You’ll need an iron and I use this piece of wood, specifically for my t-shirts so I just store it away when I’m done, along with a pillowcase.  I place the pillowcase on top of the wood so I can have a hard but smooth surface.  I always do the transfers on the floor so I can press down on the iron.

IMG_3642text

Cut out your design or image and place it on your t-shirt right side up so you can see exactly how it’s going to look.

IMG_3644text

Flip over the paper and center it once again.  I usually like to place the image one finger long down from the neck.

IMG_3646text

PrintWorks instructions: “Iron transfer with firm pressure in a straight, non-stop motion top to bottom and side to side.  Keep iron moving at all times to prevent scorching.”  Make sure your corners are ironed down.

IMG_3648text

Let your t-shirt cool off completely (this part is hard for me because I’m so impatient).  Then carefully peel away the transfer’s backing.

IMG_3652text

I LOVE IT and I hope my dad loves it too.

I hope you guys enjoy this gift and crafting idea.

Take good care.

Until next time…

DIY Word Girl and Captain Huggy Face Costume Halloween 2011

Hello everybody!  I hope you guys are well.  I’m posting this early just in case someone wants an idea on how to make a Word Girl costume for their child.  Last year we asked our daughter, “What do you want to be for Halloween?”  She said, “Word Girl!”  At the time, she had discovered this cartoon character featured on channel 13 (PBS Kids), and that’s what she wanted to be.  I searched for costumes online and found some that were made already, but their biggest size was a 4T and I usually like to buy a size bigger for my daughter.  I also found pictures of DIY Word Girl costumes and I thought, “Well, if they did it.  Why can’t we?”   

Here’s the clip art I used for inspiration and to make sure we had everything covered:

This is Word Girl and her trusty sidekick, Captain Huggy Face as seen on channel 13 (PBS Kids)


My daughter, Olivia, as Word Girl with her trusty sidekick Captain Huggy Face 🙂

Here’s the breakdown:

Red long sleeve turtleneck – Old Navy (I couldn’t find a crew neck shirt, but since it was chilly outside the turtleneck was ok)

Red leggings – K-Mart

Shiny, yellow fabric – Lady Jane craft store (absolutely PERFECT for the cape, cut to size and we used a button for closure)

Plush monkey – www.toysrus.com

Red, yellow, and blue felt, yellow and brown craft foam, black pipe cleaner, and white pom-pom ball – A. C. Moore

Black boots – Already had

Between my husband and me, he sews the neatest and is not afraid to tackle something new so he made both CAPS using red felt.  He didn’t use a template or pattern.  Just measured my daughter’s head, cut the felt, and sewed it up!

I used the yellow felt and a template to cut out the STAR and my husband sewed it unto the shirt.

I made the BELTS with the craft foam and used Velcro with double-sided tape to open and close.

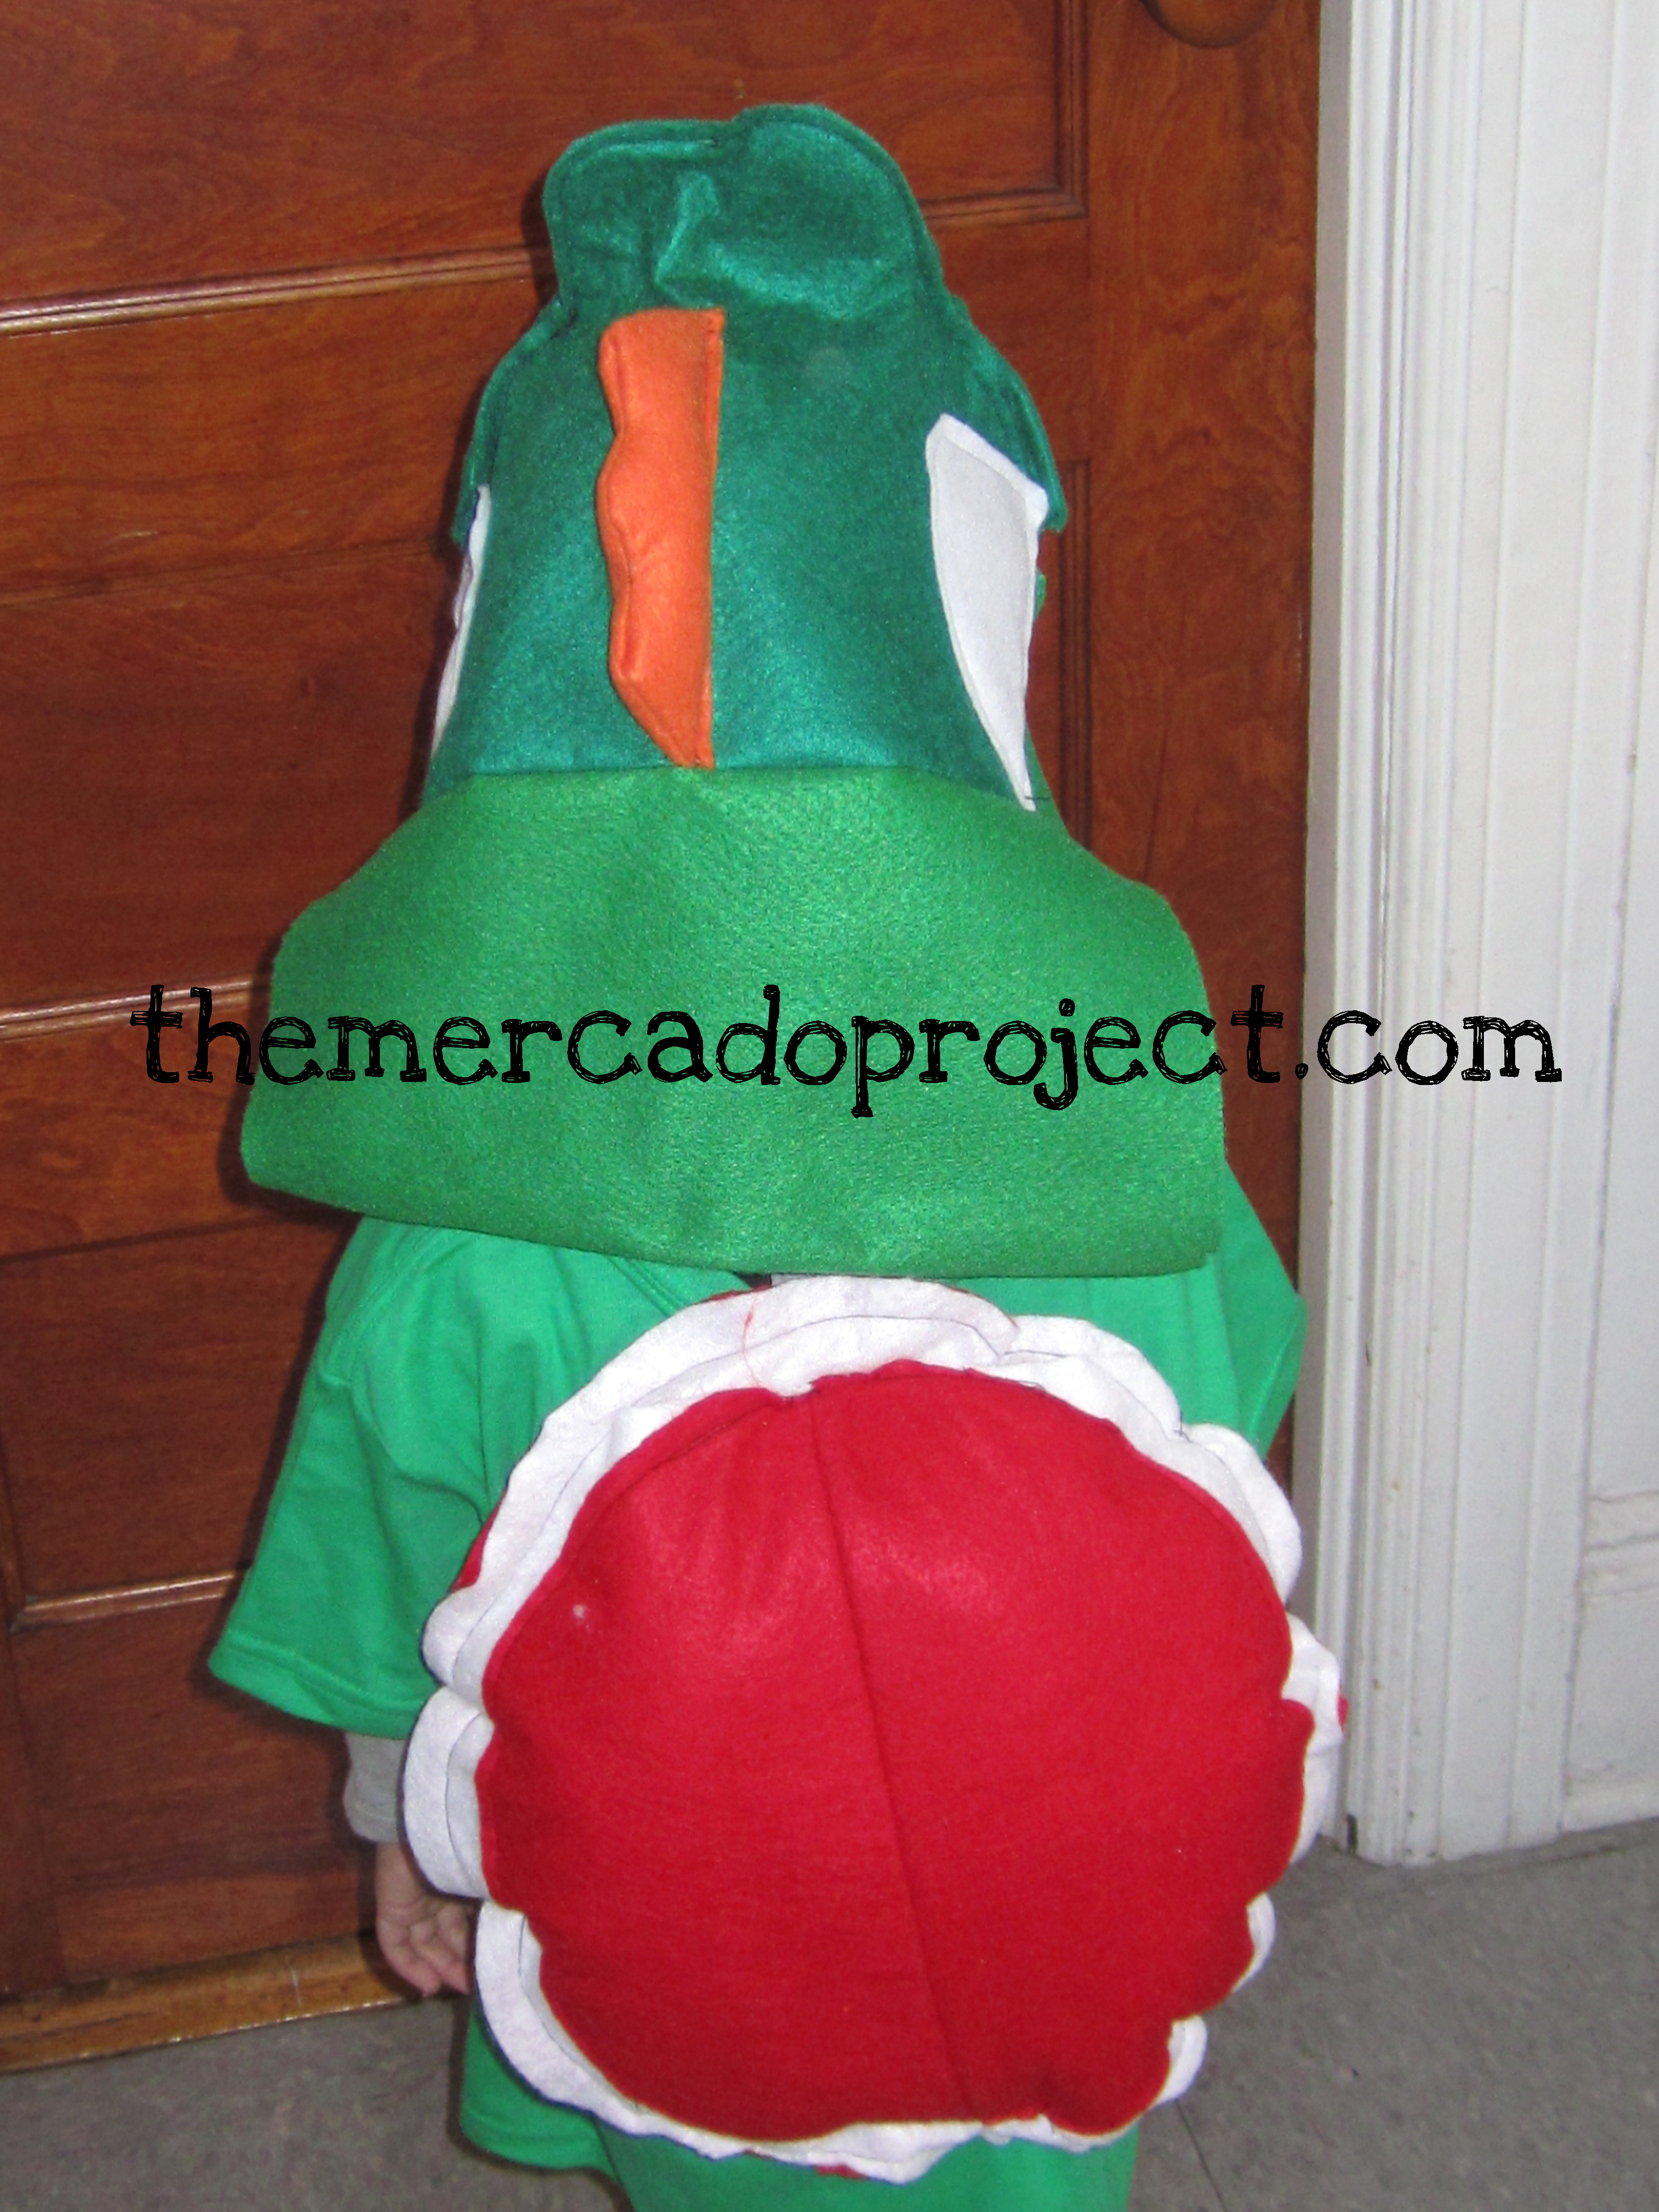
I made Captain Huggy Face’s pants and shirt.  I didn’t use a pattern or template.  Just sort of measured the felt on the monkey’s body and started sewing away.  Unfortunately, this method resulted in the shirt coming out really small, but lucky for me stuff toys can be squished.  I squeezed him into that shirt because I wasn’t going to make another one.

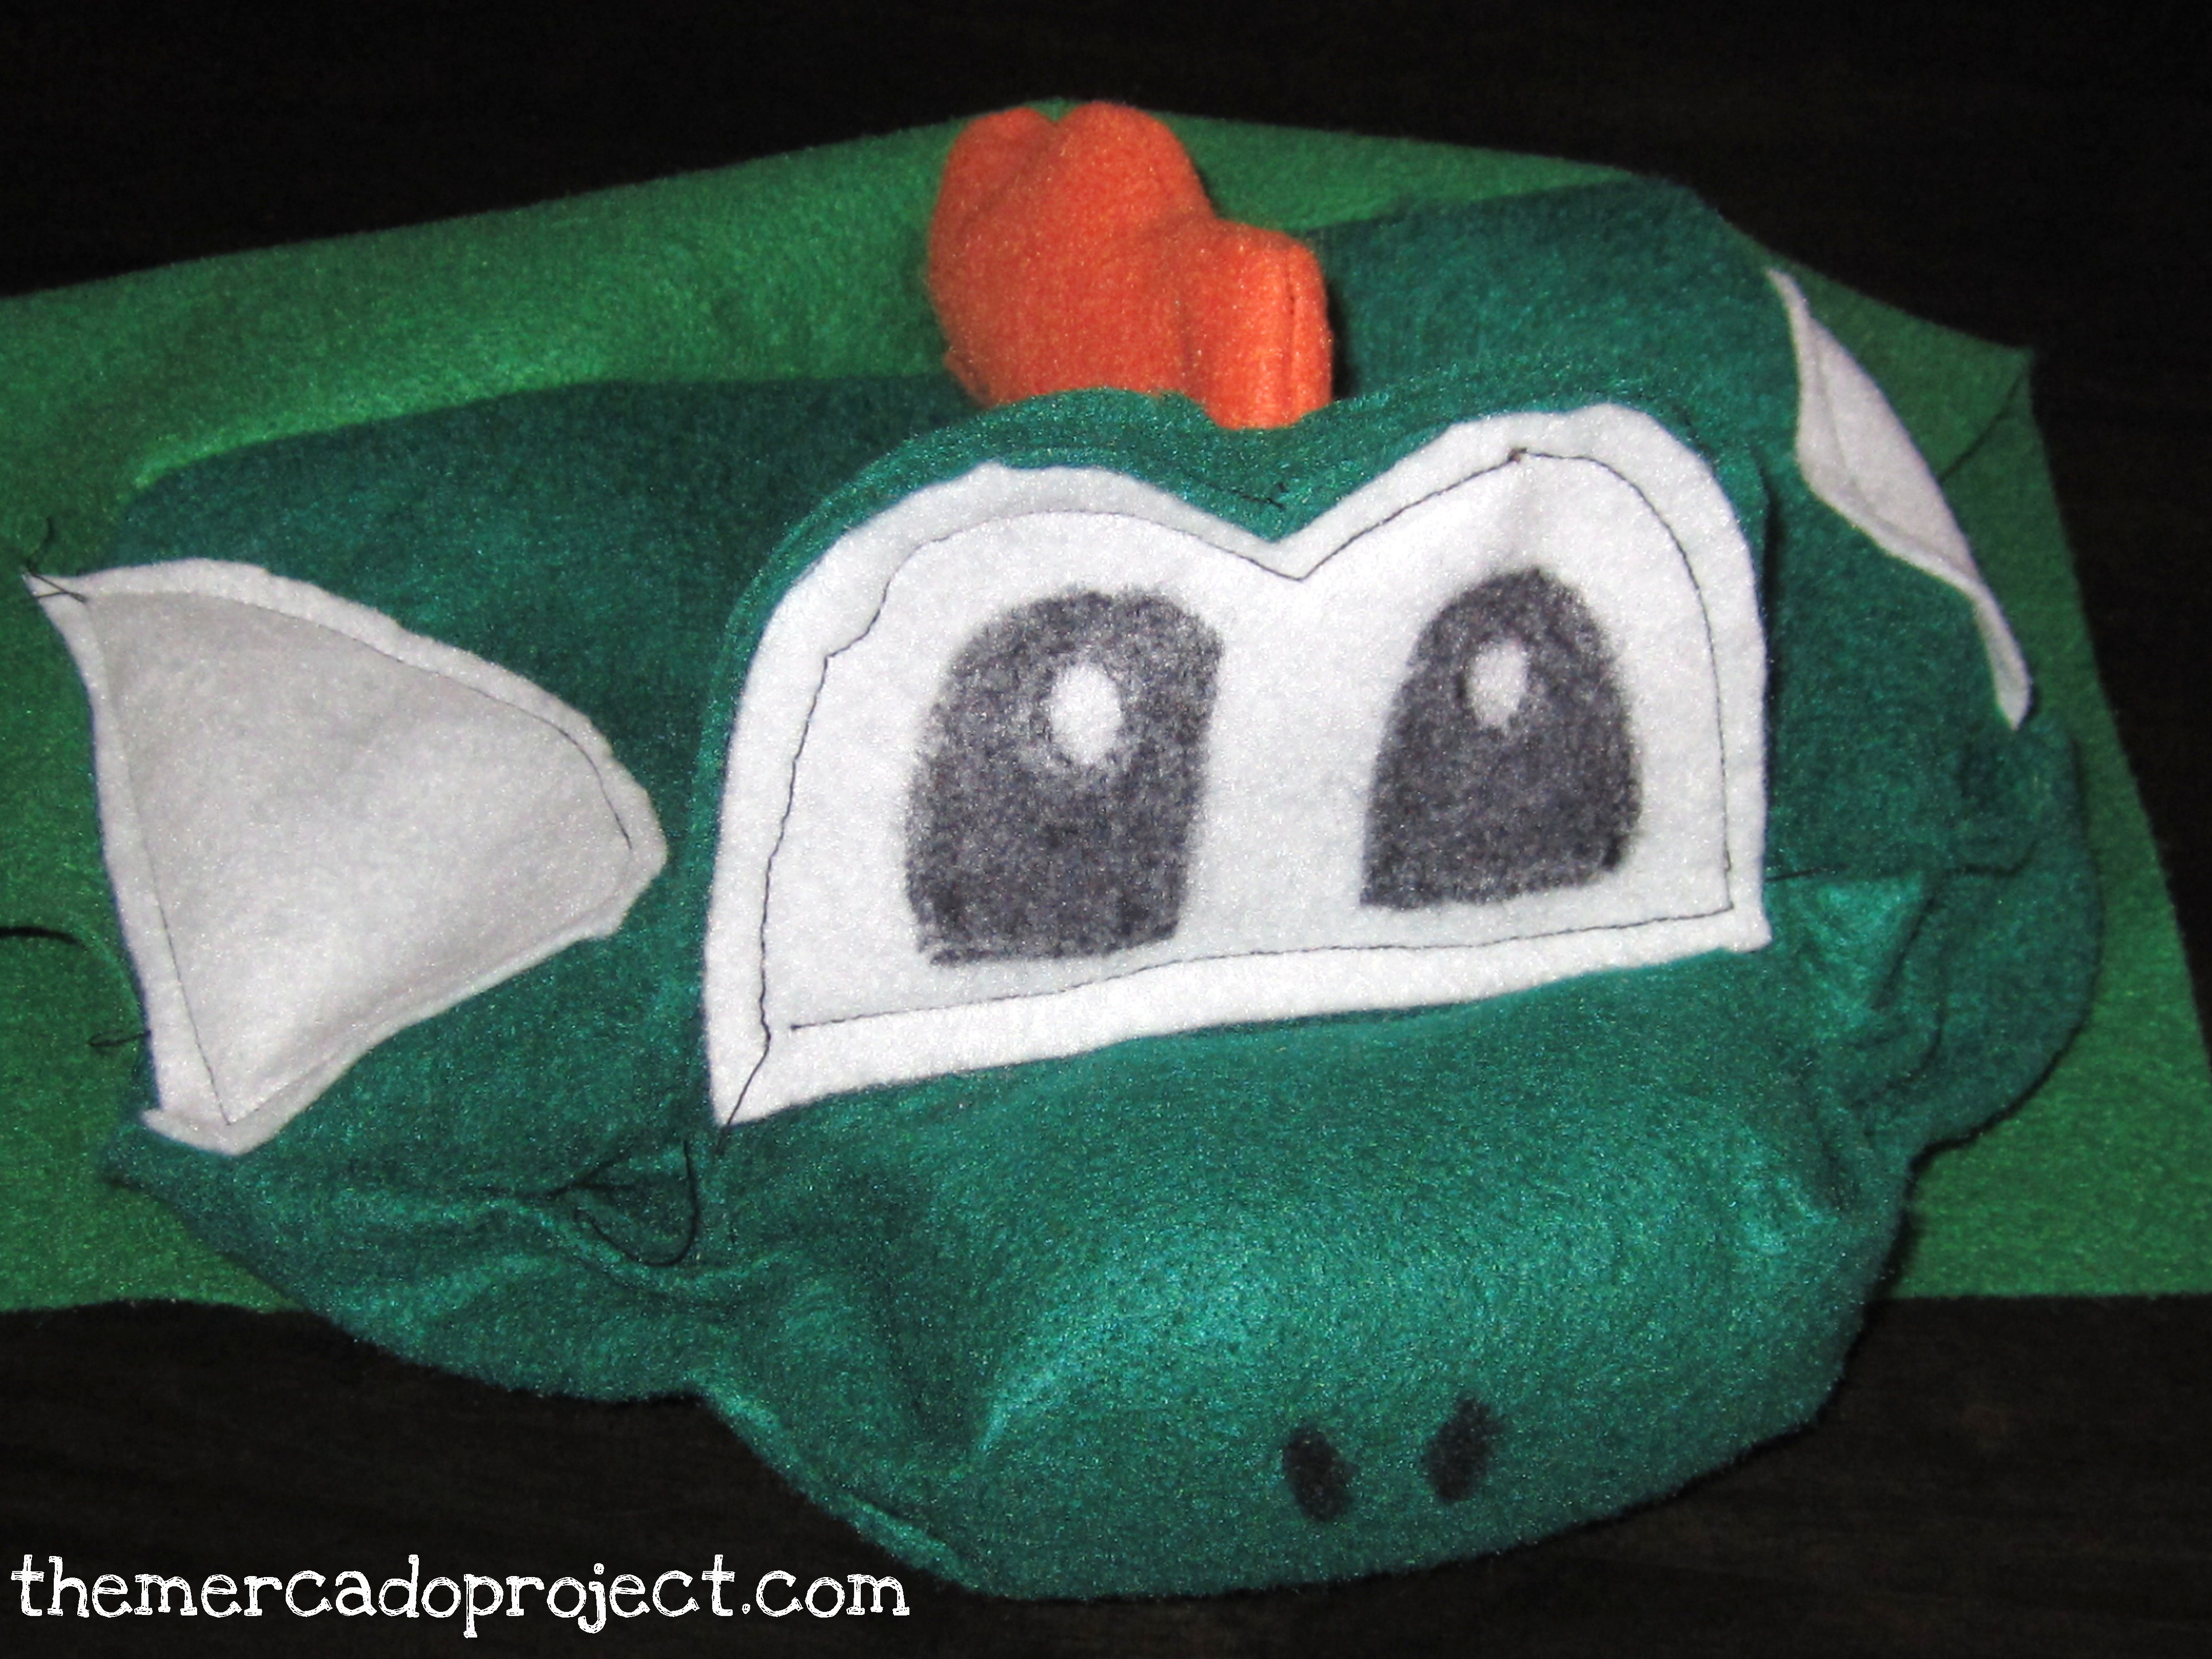
For the antennae on the monkey’s cap, we used a black pipe cleaner and affixed a small, white pom-pom ball on top.

I was trying to find some red or burgundy leg warmers to put over my daughter’s black boots, but I couldn’t find any.

I was a little worried that people wouldn’t know who she was dressed up as, but I was worrying for no reason.  After they came back from trick or treating, my husband told me that every kid who saw her shouted, “Word Girl!” and my daughter couldn’t stop smiling.  There were even mothers asking, “Where did you get the costume?” at which my husband proudly proclaimed, “We made it ourselves!” 🙂 We had a great time putting this costume together and my daughter’s face, every time another piece came together and she saw herself transforming into Word Girl, was very enjoyable.


We also went to a Halloween party a few days before and my husband and I dressed up as pirates, which we bought at Party City.  I had to make some alterations to my costume because the skirt was too long so I shortened it and the sleeves were too wide so I took them in.  My youngest was a daisy flower, but she fussed nonstop with her costume.

For this year, I’m not too sure if we’re dressing up.  I’m still thinking about that.  I’m looking for something simple for my youngest.  As for my oldest daughter, the costume has been store bought already because she wants to be…stay tuned! 🙂

Take care all.  Until next time…