Easy DIY Wonder Woman Headband and Wrist Cuffs using Felt

Hello everybody!

I hope you guys are well.

Since Halloween is just around the corner here’s a quick DIY costume accessories idea for Wonder Woman.

20161026_143526I made these headpieces and wrist cuffs for my daughters who wanted something simple to wear on Superhero day at their school. They wore a plain blue shirt and jeans so the accessories would pop out more.  They didn’t want to do the typical cape and mask thing so I found a good template online for Wonder Woman’s headband and got to work.

Using the template to get the design, I folded the felt in half to make it sturdier with two layers of felt as oppose to just a single layer.  I glued the headpiece at the edges with some tacky glue and then made the stars with a template and red felt.  I then glued the headpiece onto the plain headband.  The tacky glue doesn’t dry instantly so I used large paperclips to secure the felt onto the headband until it dried.  It worked like a charm.  For the wrist cuffs I simply cut out a long rectangular piece from the yellow felt and split it in half.  I then glued the stars in the middle and sewed on a small piece of elastic so they could slide it onto their wrist and have fun pretending to be Wonder Woman, which they did.  

I hope you like this idea!

Take good care all.

Until next time…

Happy Valentine’s Day!

Hello everybody!

I hope you guys are well.

Valentine’s Day is fast approaching and at my daughter’s school they did something pretty cool this year.  They wanted their students to decorate and bring in a valentine holder for their valentine cards and treats.

My kindergartener and I decided to decorate an empty graze snack box (graze.com) because it was already partially decorated for Valentine’s Day (red hearts) and it was the perfect size to transform into a purse/clutch valentine holder! 🙂

We just added my daughter’s name in the front (covering the graze name) along with some 3D valentine stickers

and glued a piece of purple construction paper in the back and decorated it with a variety of stickers.

Back

I secured the box with a little bit of clear tape and made a slot, which we decorated with a fabric, flower ribbon, for the valentine cards and treats to go in.

We recycled the clear plastic backing, which you can probably see in the first 2 pics, of the glitter tape decoration that we placed around the box (not shown in the pics) for the purse strap.  I then showed my daughter how she could hold the box two ways:  as a clutch with her hand or a shoulder purse with the strap.  The giddiness that ensued after transforming that box into her valentine holder will stay with me forever. 🙂

As for my third grader, she had a vision and it involved one of her favorite cartoon characters, SpongeBob Squarepants.  She loves that little dude!

She didn’t want to do plain, old SpongeBob though.  No, she wanted to make SpongeBob in his Kuddly Krab work uniform.   This uniform is featured in the episode titled “Bossy Boots.”

We printed out some pics of SpongeBob wearing the uniform so we could easily reference it.

I also made a template of the purple flower design that’s on the uniform so my daughter could easily trace, cut, and glue the design onto the box.

The materials we used were a cereal box, construction paper (pink, yellow, purple, white, and neon green card stock paper), and pipe cleaners.  We also printed out a small spatula and a “Krabby Patty,” which we taped onto his hands.


From a cereal box to “Kuddly Krab SpongeBob Squarepants!”


Here’s the breakdown: We gift wrapped the box with pink construction paper using tape and glue.  My daughter traced a big circle out of yellow construction paper for his face and two small circles for his eyes with white paper as well as two little squares for his front teeth.  She then drew the details herself.  She used the template for the purple flower designs and we glued those down as well as his face.  The pipe cleaners were used to make the antennas, arms, legs, socks, and shoes.  She wanted to place two pink hearts on the antennas instead of the red K’s.  For his yellow hands I copy and pasted a picture of SpongeBob and cropped the pic until his hands were the only things on the screen, then printed and glued onto the pipe cleaner.  We did the image two sided so it was easier to glue.  A slot at the top of the box ensures that valentine cards and treats will go in nicely!

There you have it!

HAPPY VALENTINE’S DAY EVERYONE!

Take good care all.

Until next time…

Coming to you from a new home in Pennsylvania!

Hi guys!

I hope you are all well and ready for the Christmas countdown!

I know, it’s been awhile.  So much has gone down and that’s the reason why I haven’t been posting.  We’re no longer living in Brooklyn, NY.  We made the big move to Pennsylvania on the 1st of November and so far things are well.  Slowly, but surely we’re settling into our new home.  My mind and heart hasn’t quite adjusted to the move, but I’m doing my best to sort of embrace the new location.  It’s definitely a better place for my girls to grow up in so I’m taking that into great account.  I just have to take things one day at a time!

In the meantime an idea  sprung up in my mind and I wanted to share it with you guys.  My girls are very fortunate to receive Christmas gifts from friends and family members who don’t live near us and I’m always telling them on Christmas day, “This is from so and so,” but I can always see their little faces trying to register who the person is and I don’t think they get it.  This year while I was making the labels for their presents that came in the mail I thought, “Maybe I can print out their pictures on the label.”  

Using Word and address labels, I printed the wording and the pictures separately because my program didn’t allow me to cut and paste the pic.  You can always print everything out on Word and simply tape it onto the gift, but I didn’t want to use tape.  I just improvised by cutting and using another label to assemble the words and pics together.  This is what I got and I love it:

CAM01494teext

These lovely people are my girls’ paternal grandfather and step-grandmother who live in New York, so this year when they open their gifts from them they’ll actually see who the gift is from. 🙂

I hope you enjoyed this idea.  More to come later on, hopefully.

Thanks for stopping by and may all your holidays be MERRY, SAFE, AND BRIGHT!

Take good care all.

Until next time…

It’s that time of the year…let’s dye some eggs!

Hello everybody!

I hope you guys are well.

Easter’s fast approaching and the dyeing of the eggs has come upon us.  While my girls were being distracted/entertained by the television, I quickly set up everything we needed in the kitchen.

eastereggs2014text

eastereggs20142text        eastereggs20143text

I got the PAAS Egg Decorating kit in Marble Magic.  This kit included 16 egg stands, 6 dye tablets, 2 egg dippers, 2 packets of gloss and 1 polishing fabric.  I also got the Color Cups and that came with 5 dye tablets, 1 egg dipper, and a magic crayon.

eastereggs20144text

Instead of mixing the tablets with just water, I added a tablespoon of vinegar to half a cup of water so the eggs would dye brighter in color.  I also taped down a small, white recycle garbage bag on my girls picnic table so clean up would be easier and there would be no staining on the table.

eastereggs20145text

Even though my little one was not feeling well, she still had fun, as well as my oldest.  The toothless smile says it all.  🙂

eastereggs20146text       eastereggs20147text

In order to get the marble effect you had to add a tablespoon of oil to the color mixture.  We also used the magic crayon to make designs before dunking the eggs in.  Whatever was marked with the crayon, didn’t dye with color (my youngest drew lines on the purple egg while my oldest drew circles on the pink egg).

eastereggs20148text

We used the gloss and fabric to get the glossy effect.

My oldest daughter’s favorite egg is the very first one: the purple and aqua blue marbled egg

Egg dyeing mission for 2014: Successful

Next mission: Filling up plastic eggs for the Easter egg hunt

Take good care all.

Until next time…


April Fool’s Brownies

Hello everybody!

I hope you guys are well.

Happy April Fool’s Day!  My oldest daughter, Olivia, woke up today super excited because it’s April Fool’s Day and she really wants to pull a prank on someone.  That someone is her dad so I went on Pinterest and searched for silly pranks.  There was one in particular that was cute, simple to do and silly enough for a six-year-old to enjoy.

So we’re baking a batch of brownies for dear old dad, oh wait did I just say/write baking brownies.  No, what I meant was we’re making brown E’s for unsuspecting, dear old dad.  Check it out:

IMG_6468text     IMG_6470textIMG_6471text      IMG_6473text

I left some E’s for Olivia to cut out once she got home from school, then we put a book inside the baking pan (so it could feel heavy), placed all the E’s inside, and closed it up with aluminum foil.

I even put it inside the oven, which prompted my youngest to say, “Oh no, the E’s are going to get hot,” even though I didn’t turn it on.  🙂

Needless to say, once my husband got home from work, the girls couldn’t contain themselves.  Sophia kept shouting, “April Fool’s Day!” so I quickly told my husband to sit down ’cause we made him some brownies before our prank was revealed.

We brought the pan of brownies and told him to uncover the pan completely.

The result:

My husband was surprised and happy with the brown E’s, but then really sad ’cause there wasn’t any real brownies. 🙂

Happy April Fool’s Day everyone!

Take good care all.

Until next time…


Adieu March

Hello everybody!

I hope you guys are well.

Before we bid adieu to the month of March I wanted to share some pics with you as well as an update on my daughter’s speech therapy.

The month started with my family celebrating my mother’s 62nd BIRTHDAY!  It’s so wonderful to celebrate her birthday.

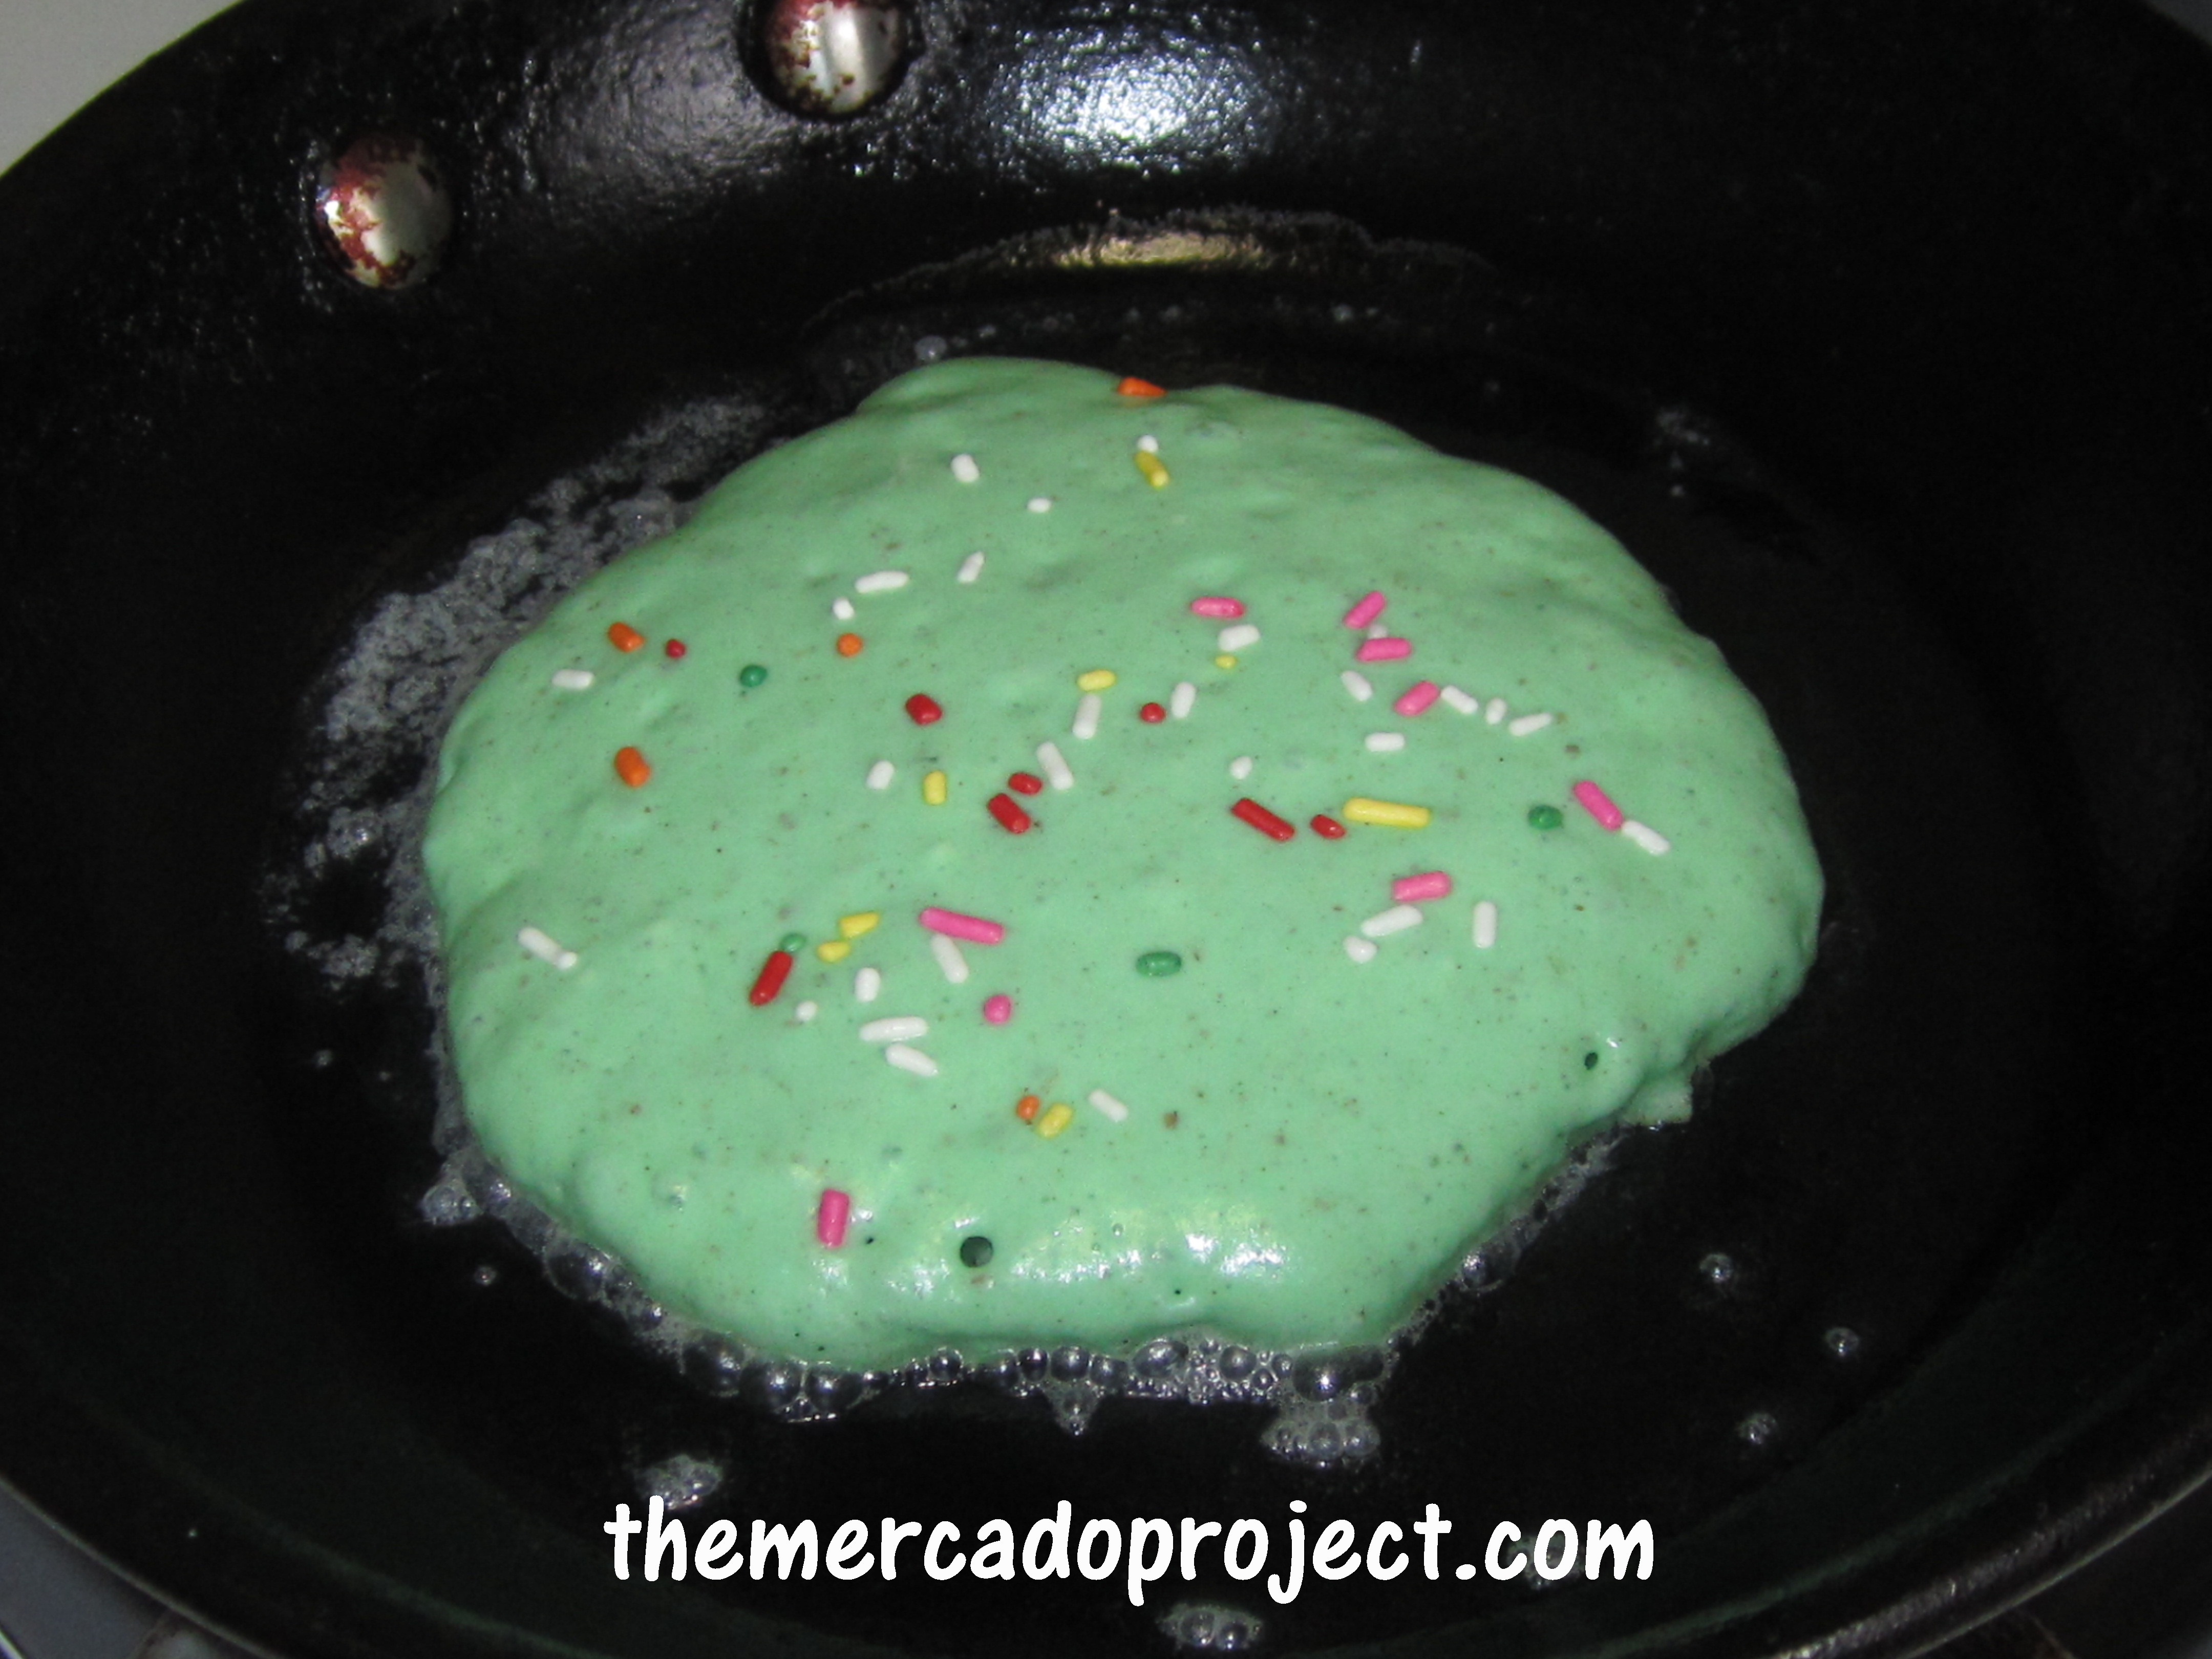
Then on St. Patrick’s Day, I surprised my daughters with a green breakfast:

GREEN PANCAKES WITH SPRINKLES

IMG_6410text    IMG_6411text

I just used a little food coloring, but totally forgot that the butter was going to brown up the pancakes…oh well, the girls still loved eating green pancakes for St. Patrick’s Day!

IMG_6415text

We got our green on…say cheese!

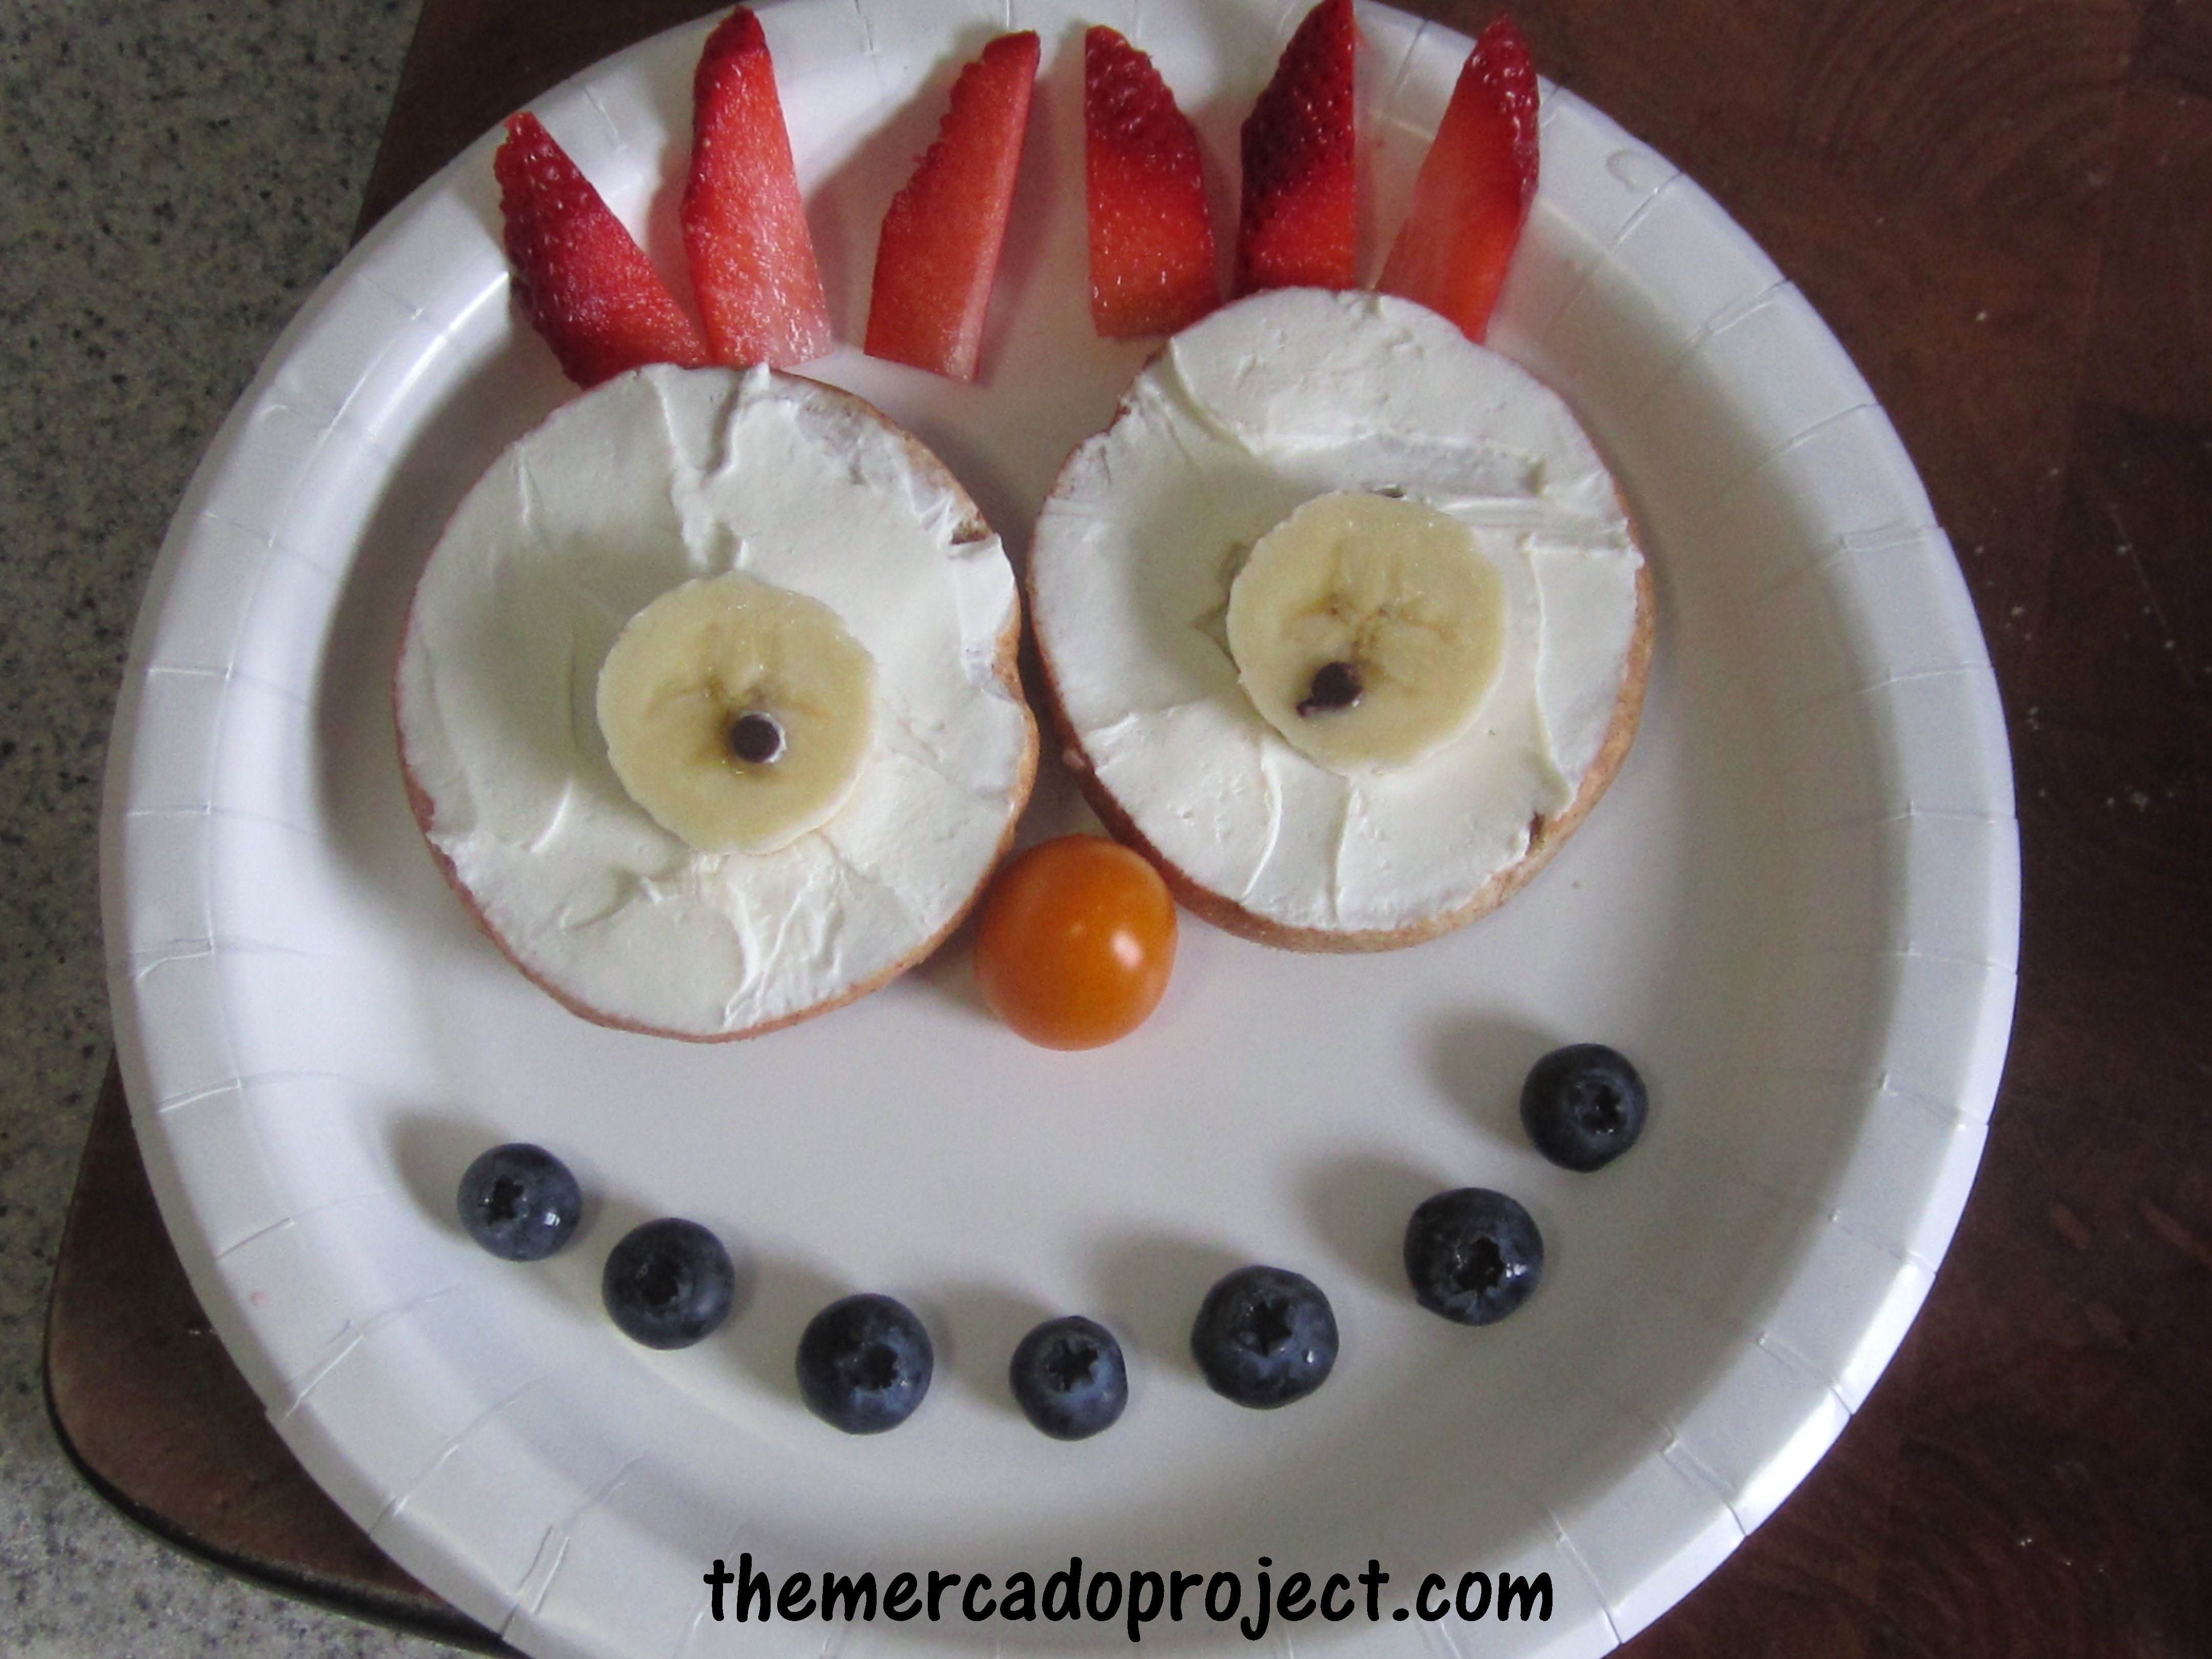
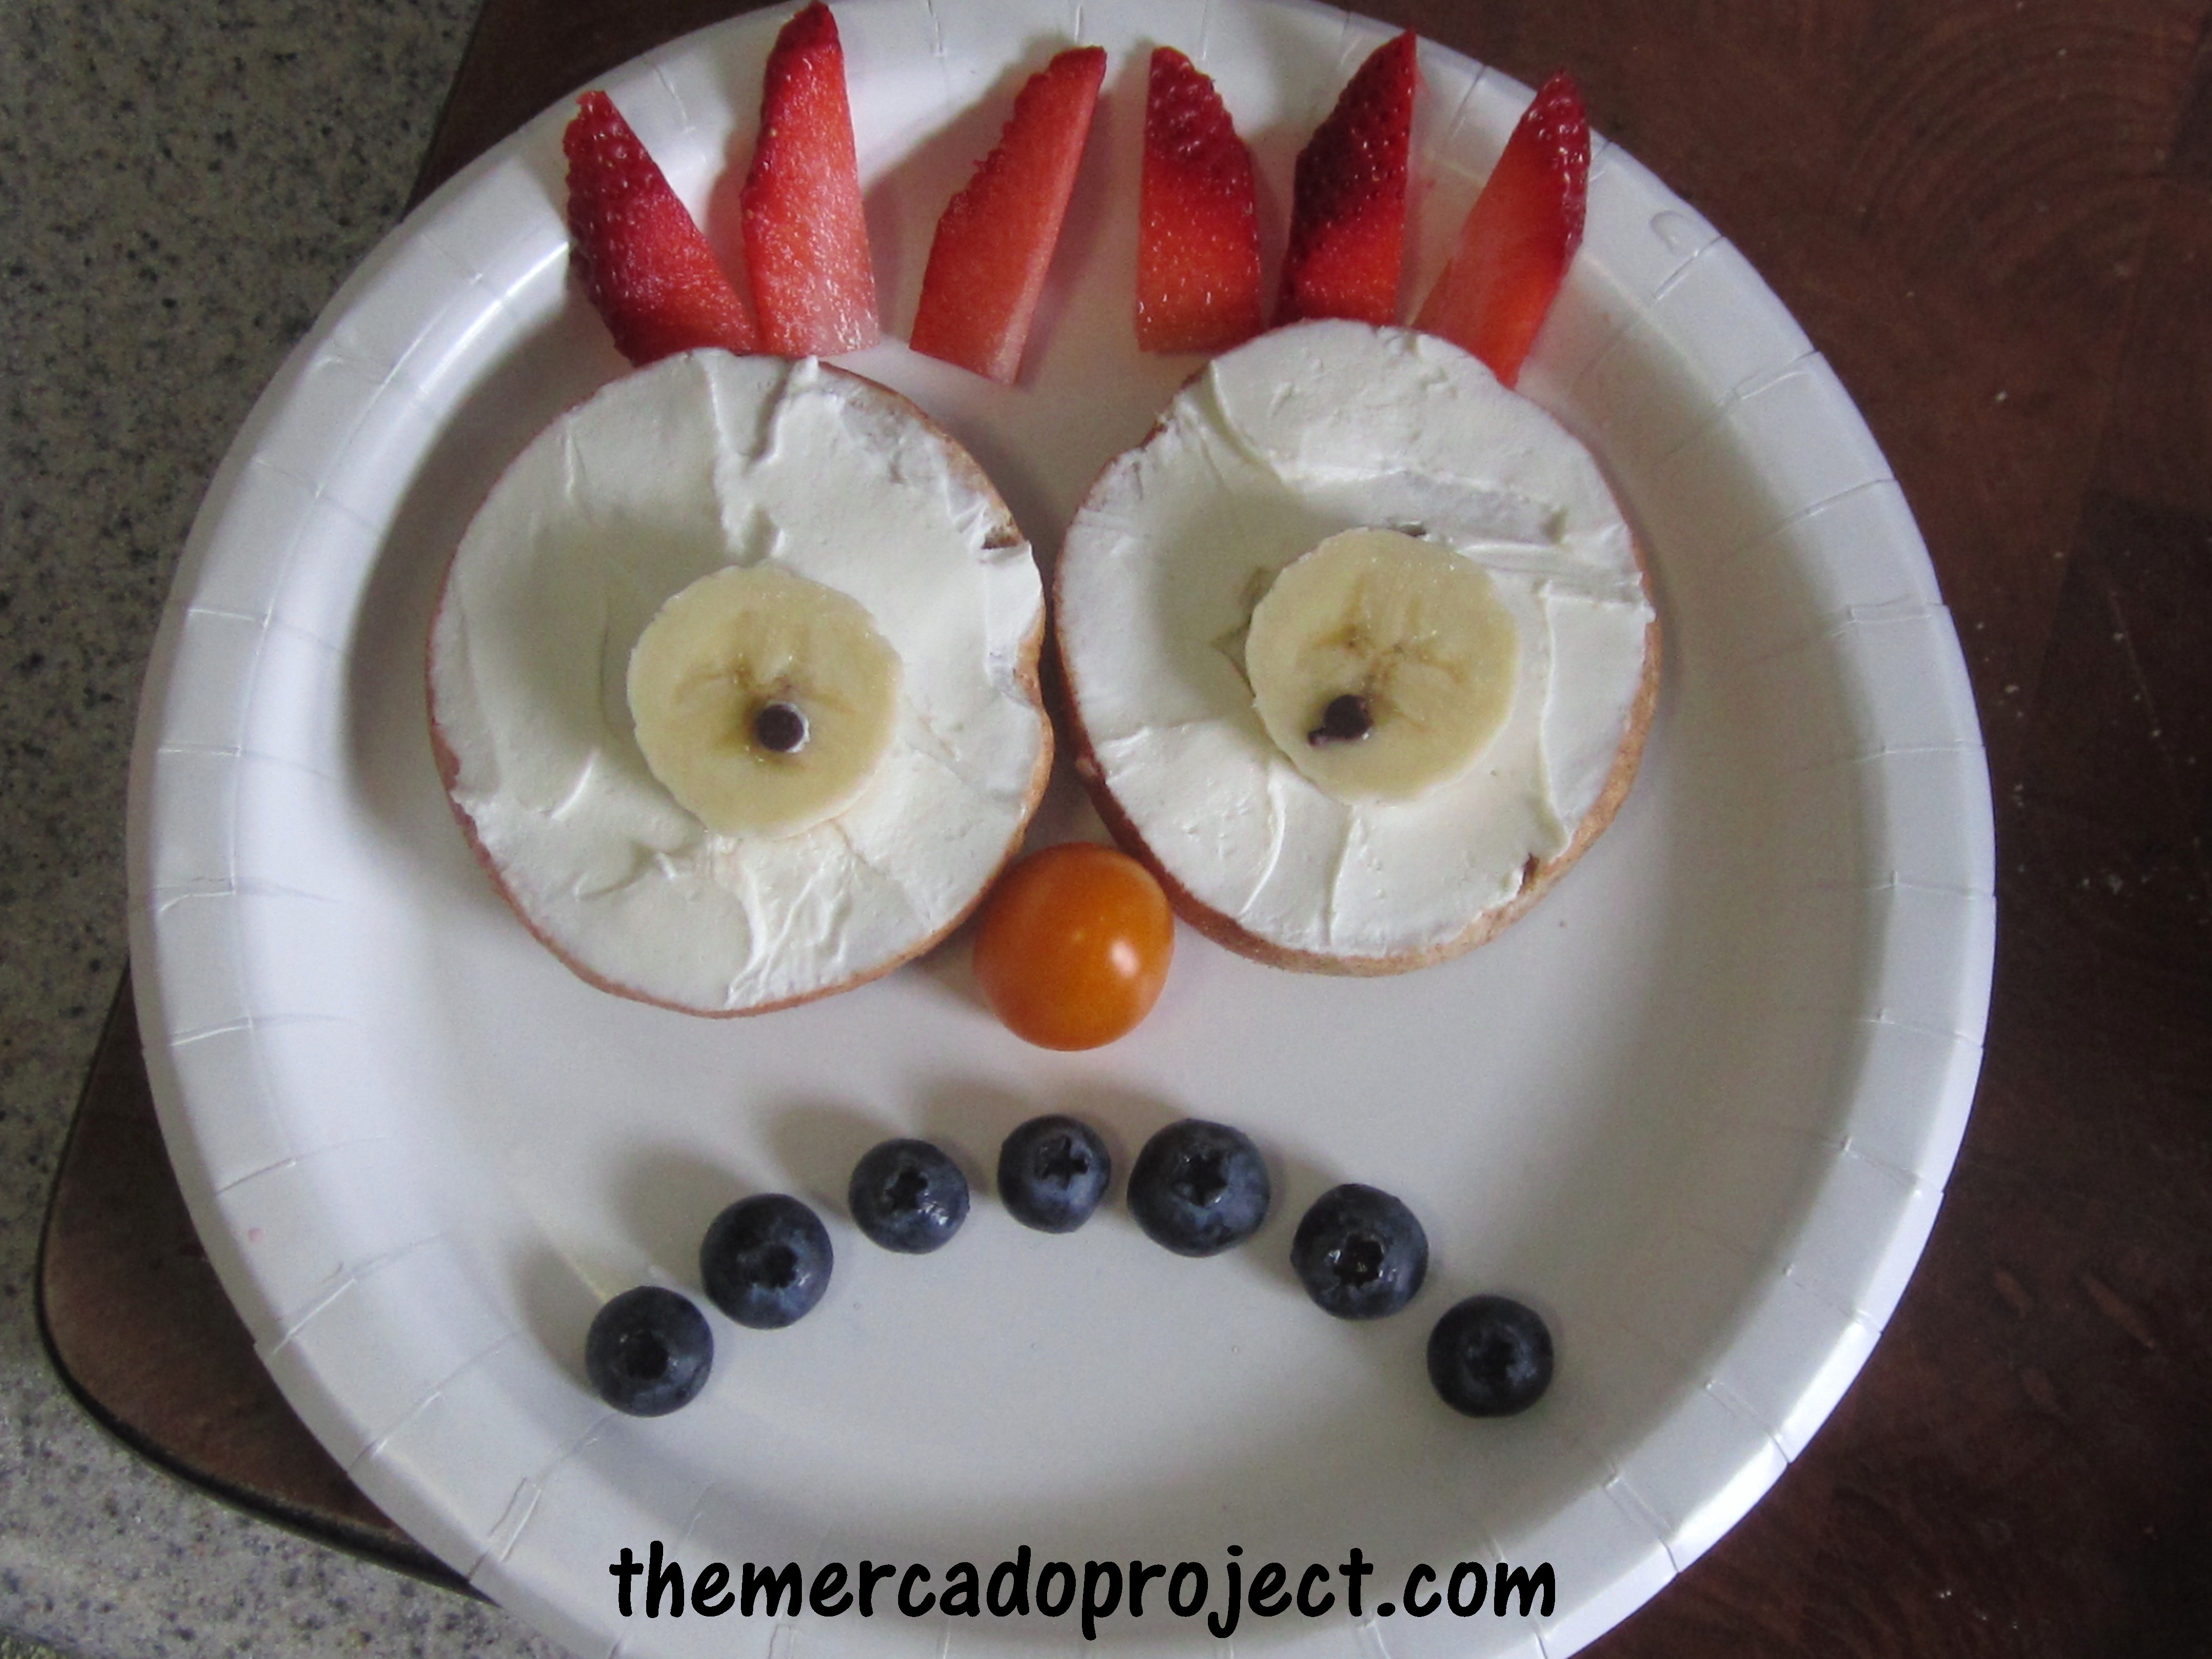
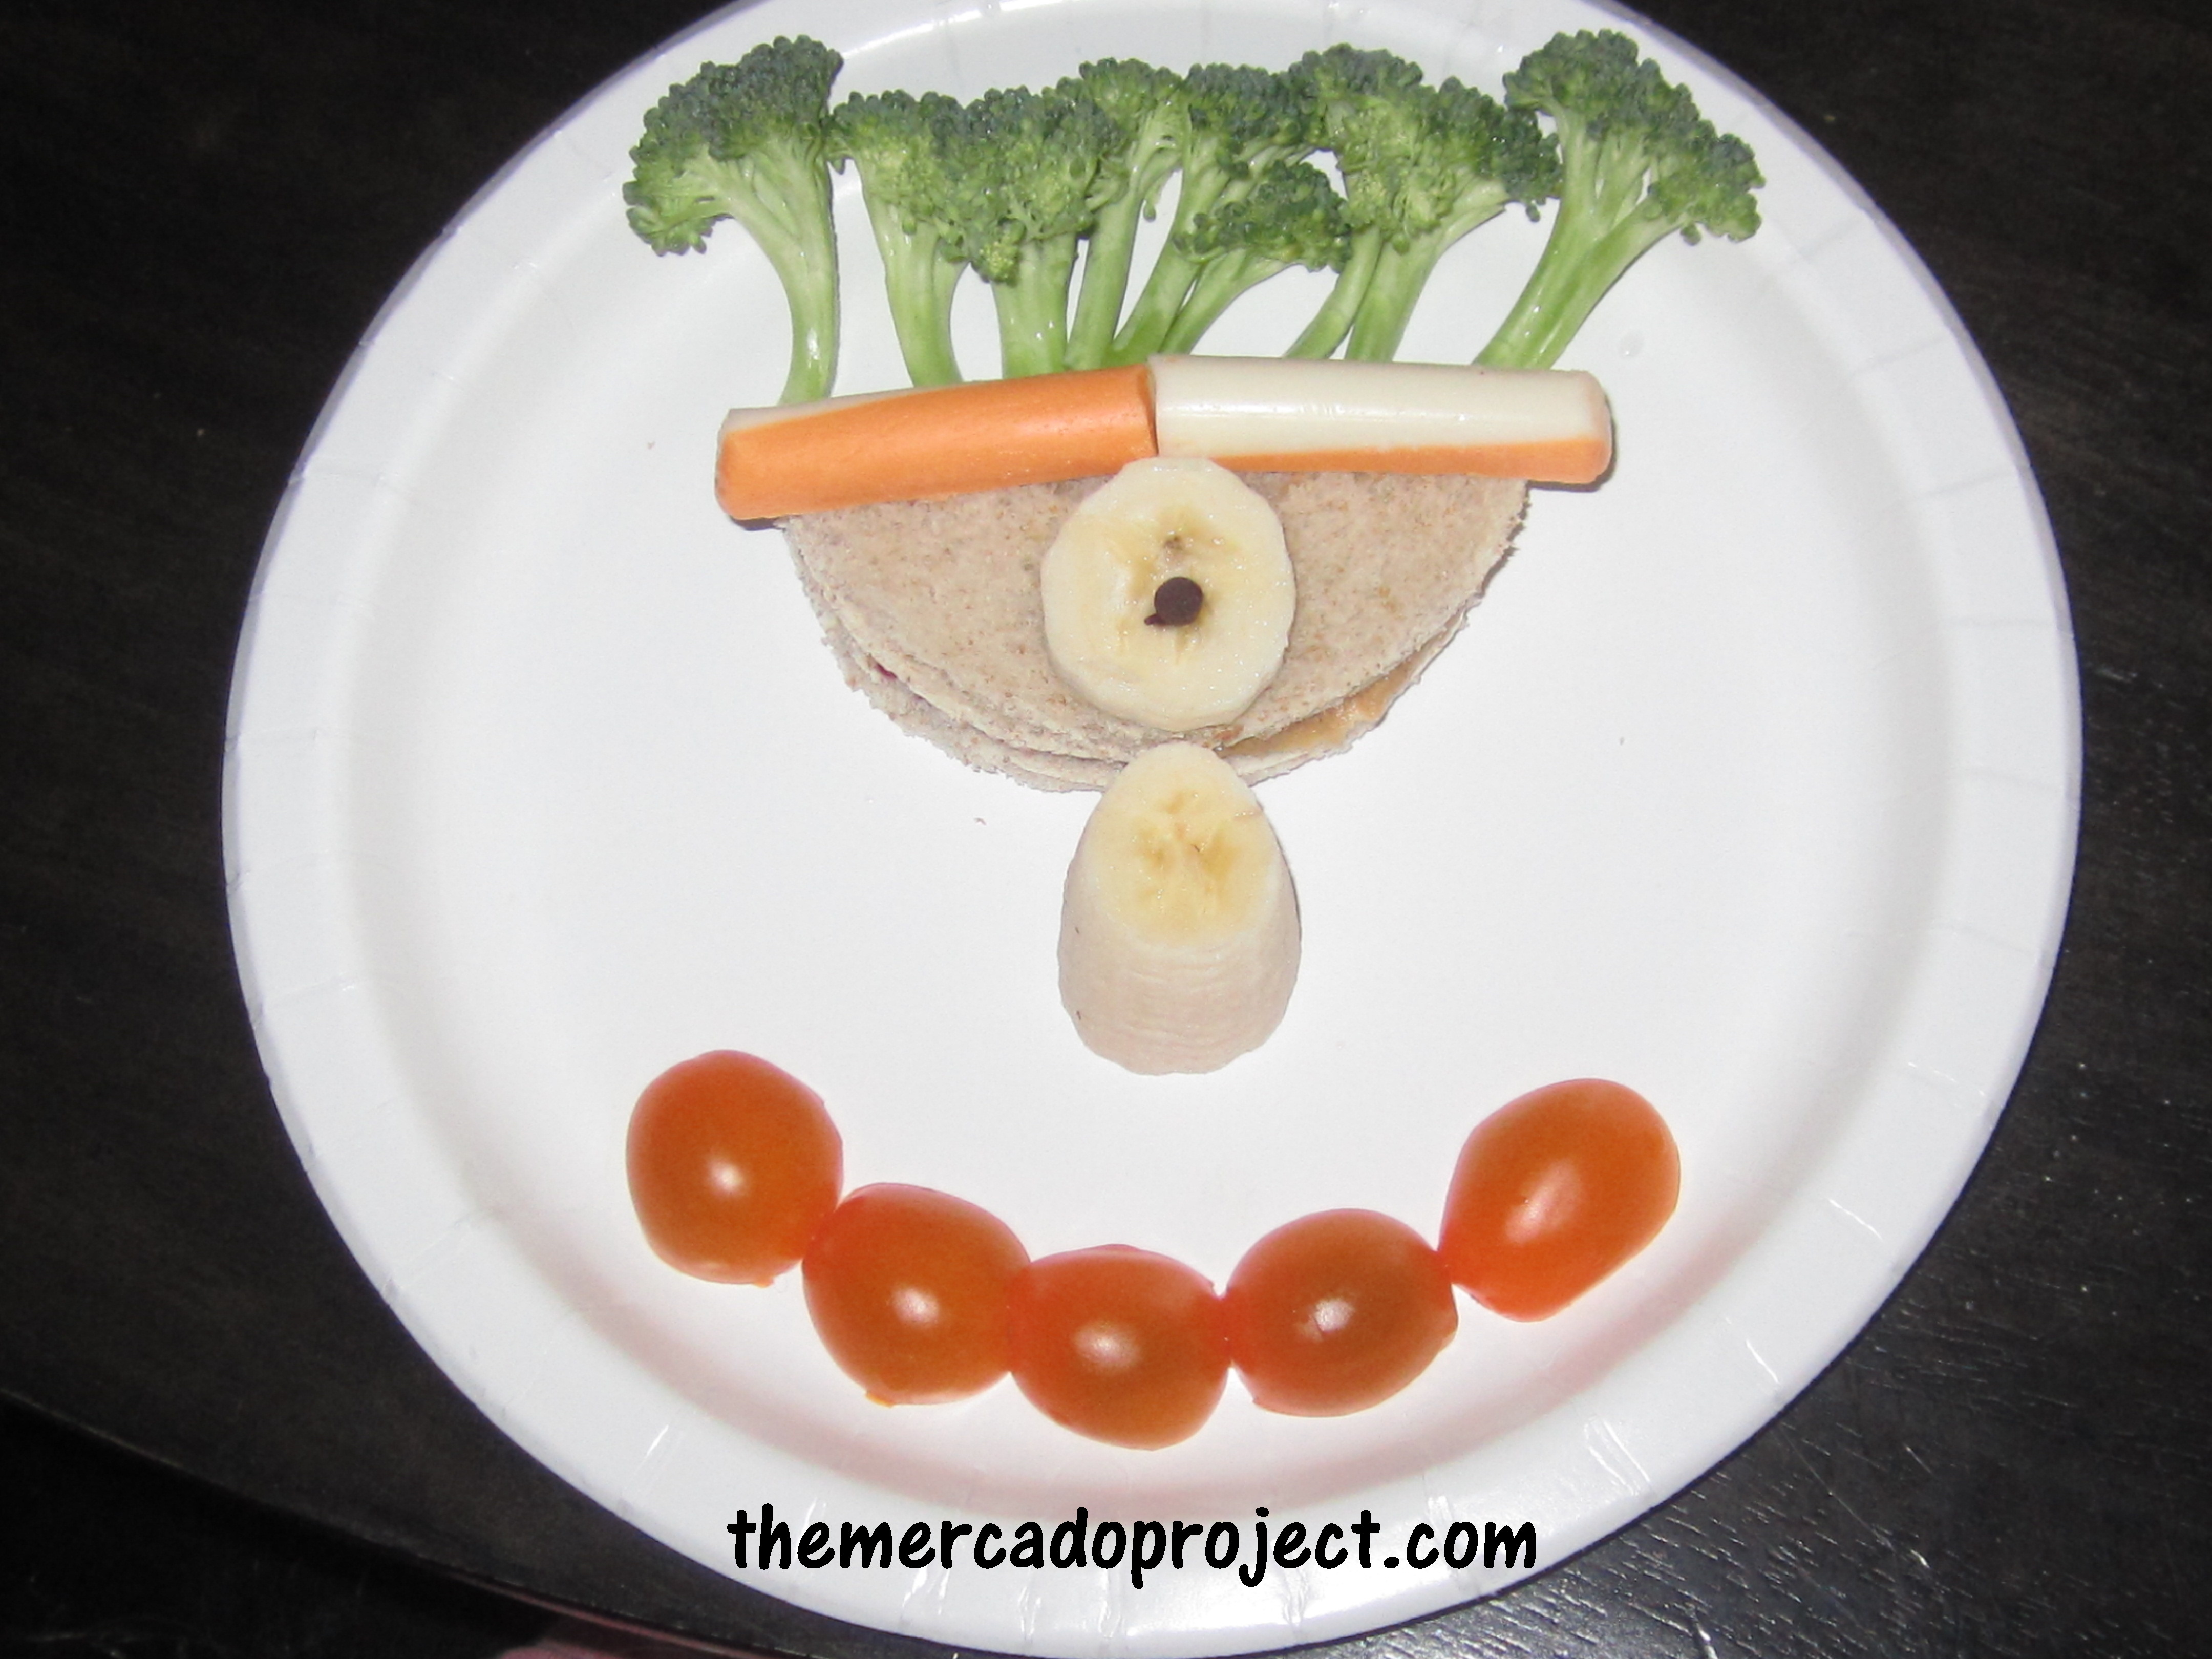
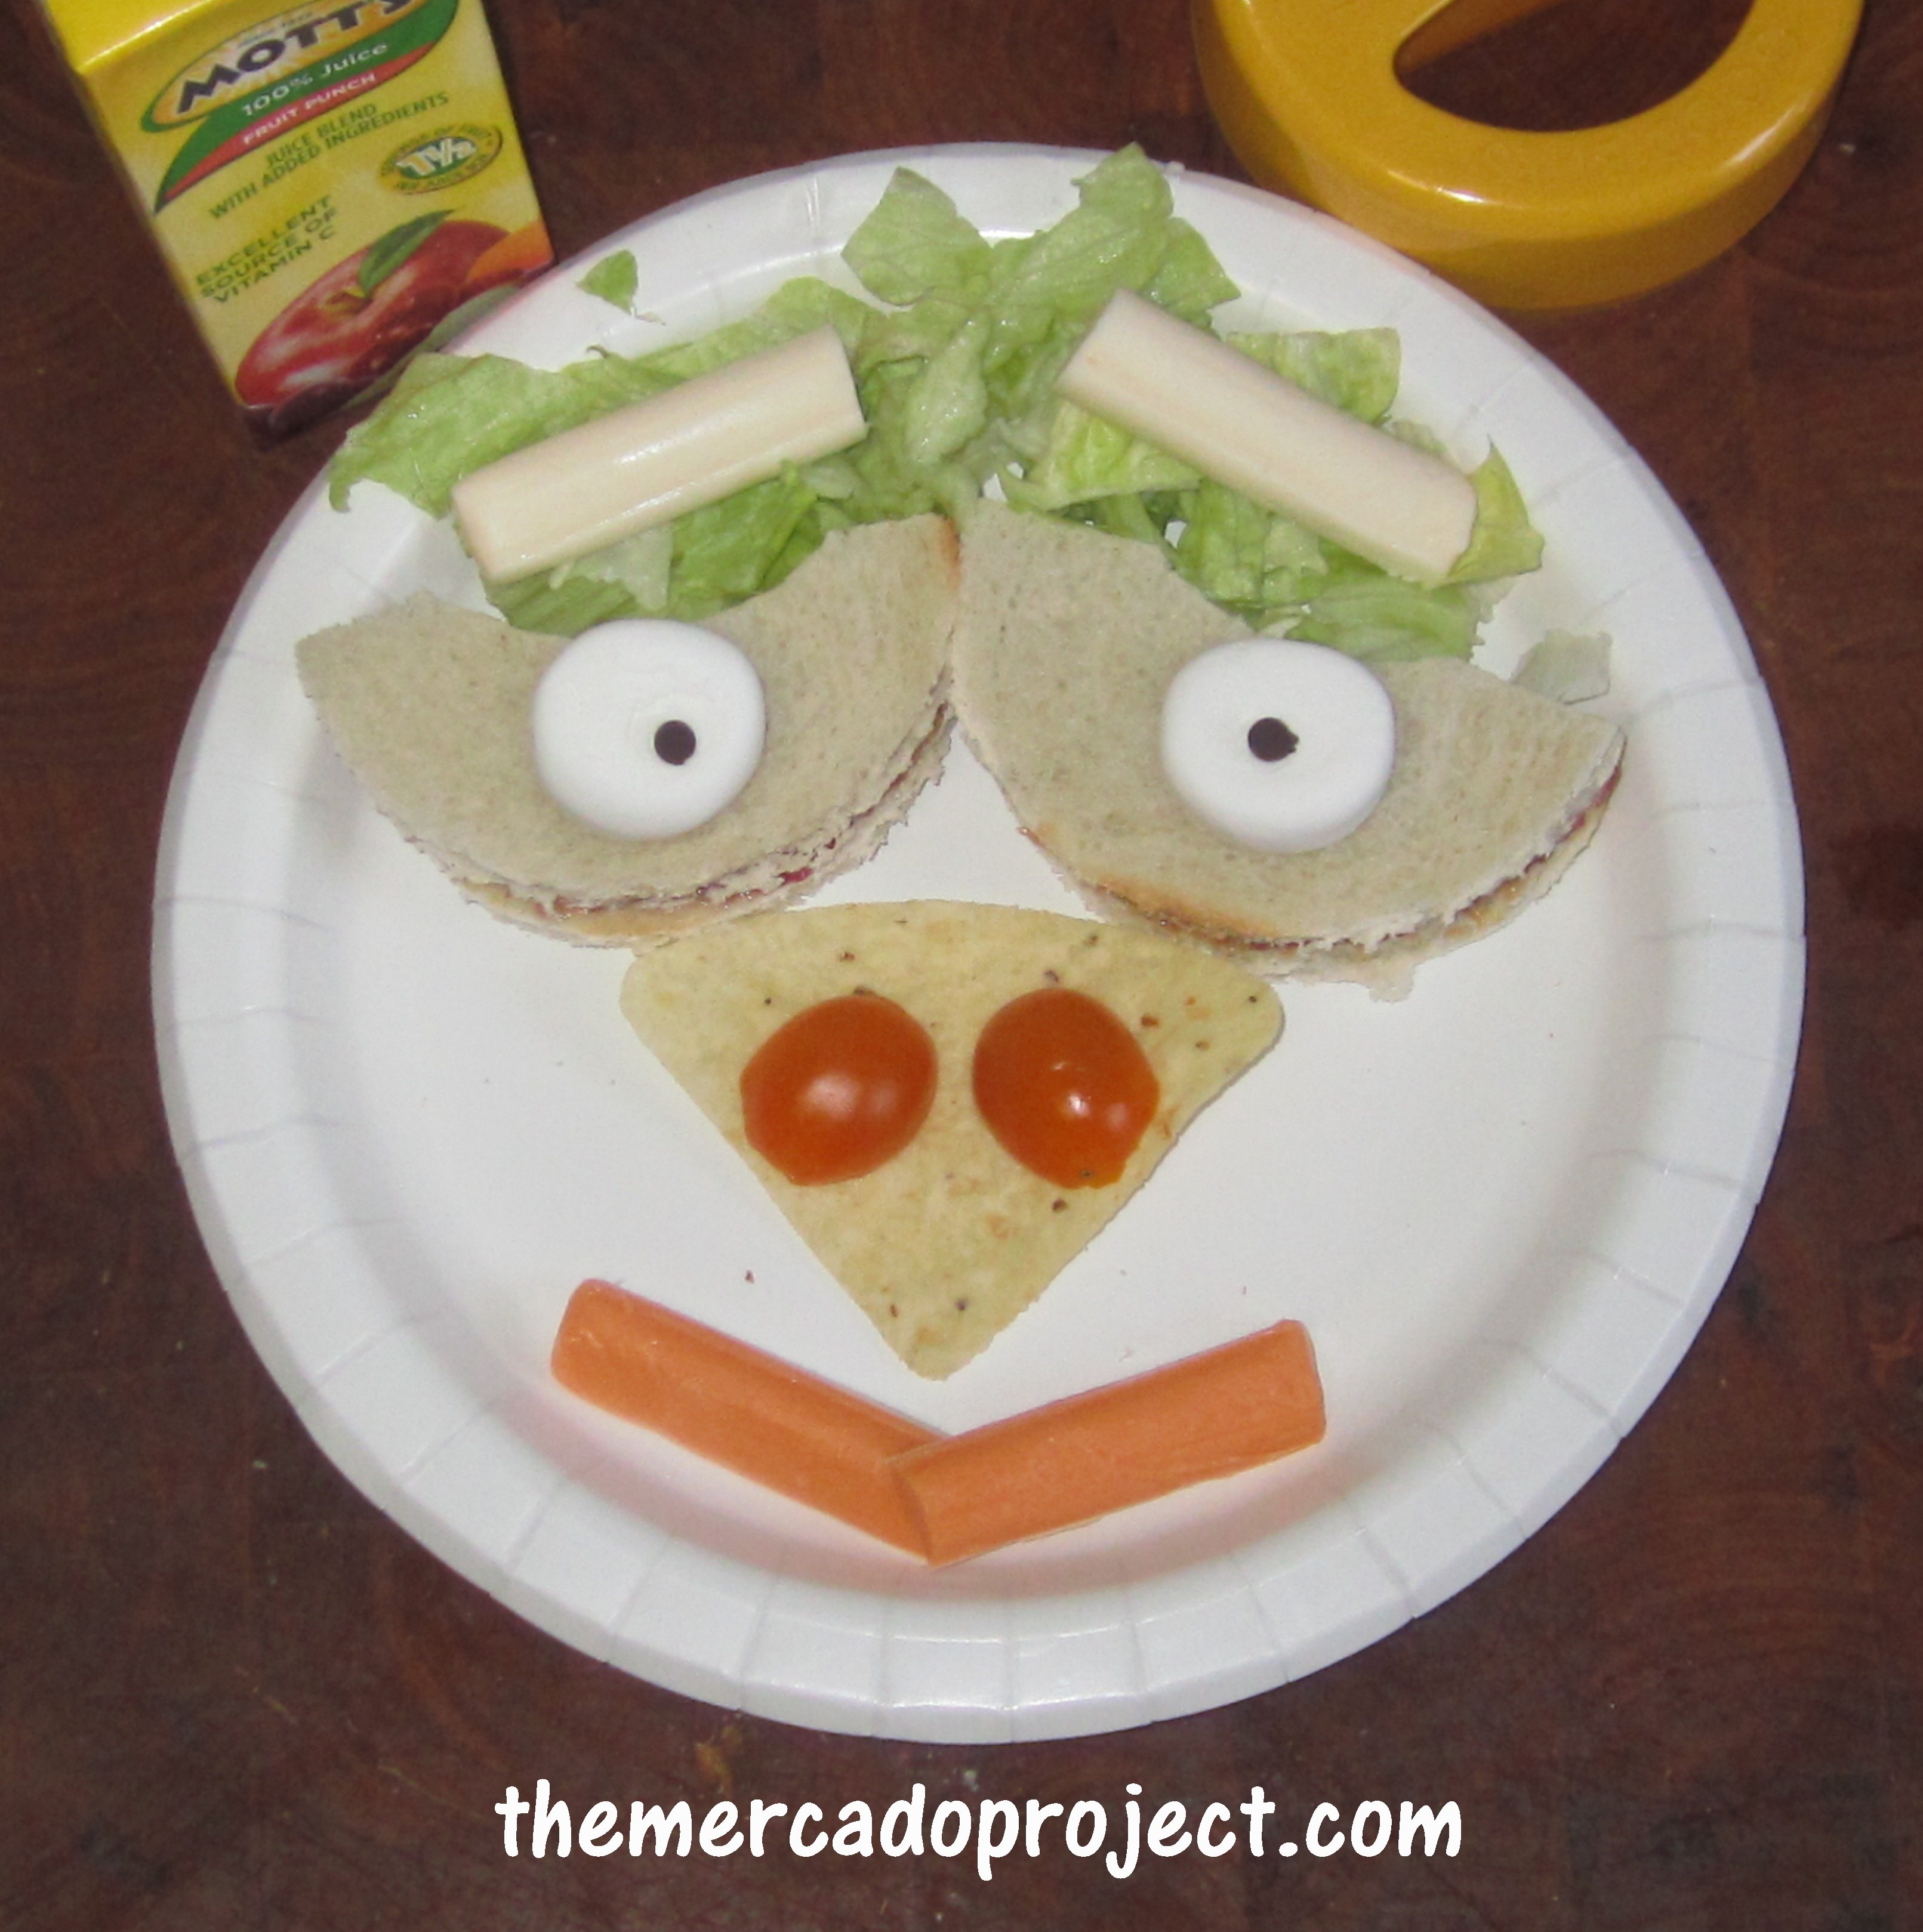
I made several happy, yummy faces throughout the month.  Here are a few:

IMG_6423text

Made this mini bagel happy face for my youngest daughter one day and I thought the blueberry smile was genius on my part, but then she requested that smile to be turned upside down.  She actually said, “No, I want it to be sad.”

IMG_6425text

“Okayyyy??”

Whatever, she still ate it happily…she can be a conundrum sometimes.

IMG_6441text

Then on another day she asked me for a one-eyed happy face.  Okay, here’s happy cyclops.

IMG_6363text

It’s all about improvising and having fun.  She loved this silly face.

As for my ongoing quest to get my oldest daughter speech therapy in her school, it has come to a complete halt.  Why?  Well, I decided to stop wasting time with people who keep giving me the run around or pretend not to know what my case is about.  The straw that broke the camel’s back was when, let’s call her an administrator, said to me over the phone, “My hands are tied.”  She said it nonchalantly and yes, I could be wrong.  Maybe her hands are tied and she simply can’t help me, but at that moment, I lost it.  I got emotional, which I hated, but I needed her to know, no scratch that, I needed her to fully feel and understand that all I was asking for was a little help.  After that phone call was a bust, I continued my search online and finally found a great website, www.mommyspeechtherapy.com, that offers tips and ideas on how you can help your child with their speech including printables and an app (articulation station), which I got for my ipad.  We also practice enunciating our words at home and my husband makes up tongue twisters with the specific letters that our daughter has trouble pronouncing.  The tongue twisters are very helpful and we make it fun by saying silly phrases.  So far that’s what we’re doing and we’re going to continue to research and look into other ideas and I’ll keep you updated.

We ended the month celebrating my father’s 62nd BIRTHDAY and were even given a surprise, but more on that later on!  🙂  Again, it’s simply wonderful celebrating his birthday as well.

So it is with a fond farewell to the month of March.

I can’t wait to share what comes next:  april fools day, my youngest daughter’s birthday, spring cleaning, spring break, apartment egg hunting, and Easter.

Get the scrapbook paper and scissors out, Mama needs to make a Peppa Pig birthday banner!

Take good care all.

Until next time…

I heart…

Hello everybody!

I hope you guys are well.

Happy belated Valentine’s Day!

There’s a lot of pressure when “I heart day” rolls around, but I simply tell my husband that as long as he gives me a box of chocolates, we’re good.  That’s all I want, chocolate.  Oh, and a sweet kiss from him, of course.  Anyway, I always like to gift my girls something as well as my husband and this year I stumbled upon some great “I heart you” gifts.

IMG_6365text

I got these cute balloon doggies for my daughters who love balloon animals, but hate when they deflate or pop!

They’re POP! Mini Series Balloon Animal ‘Pups’ 3 inch toys and they’re vinyl according to the description.  They come in different colors, but you can’t pick the colors.  It’s a surprise once you get it.

http://www.kidrobot.com/ShopAll/DesignerToys/MiniFigures/POPMiniSeriesBalloonAnimalPupsToys3Inch.html

IMG_6369text

I got this cool T-shirt for my husband who absolutely love it!

Purchase your own here: https://www.etsy.com/listing/112240997/beer-shirt-growler-t-shirt-drink-locally?ref=shop_home_active_6

IMG_6372text

Add some boxes of chocolate and my little family was very happy on Valentine’s Day

IMG_6374text

I heart how you, Olivia, passionately tell me what you’ve learn in school while we’re walking back home,

I heart how you, Sophia, pretend play with your toys especially Mario, Luigi and Princess Peach,

and I heart you, Angel, and your everlasting love and commitment to me and our family.

Take good care guys.

Until next time…

Merry Christmas 2013!!

Hello everybody!

I hope you guys are well and enjoying Christmas Eve, at least in my part of the world!

I want to say first and foremost, THANK YOU for taking time and visiting my blog.

I want to wish everyone a SAFE and HAPPY HOLIDAYS!  May all your wishes come true and may the coming new year bring you the peace, love, and success your heart desires.

Take good care all.

Until next time…

Christmas Picture 2013text

DIY CHRISTMAS ORNAMENTS

Hello everybody!

I hope you guys are well.

I wanted to see if I could make some Christmas ornaments using cookie cutters and air dry clay.  Guess what?  It worked.  This is going to be a great project for the weekend with my girls.

IMG_6233text

Things I used: mini rolling pin that’s used for clay activities, toothpick, cookie cutters, and air dry clay

IMG_6234text

I pressed little alphabet beads into the heart, spelling out LOVE, and two gold beads for Mr. Gingerbread

IMG_6236text

According to the container, it takes about 2 – 3 days for the clay to dry.  Since I pressed little beads into the clay it did crack a bit during the drying process.  I just used a toothpick and inserted a little bit more clay in the areas that was noticeable then let the clay dry once again.  I used pink and white twine to string it up the heart.

IMG_6241text

I painted Mr. Gingerbread a lovely Acorn color (Martha Stewart acrylic paint) with a small paintbrush.

This project has endless possibilities!

Take good care all.

Until next time…