Egg-celent Day!

Hello everybody!  I hope you guys are well.

Today was the first day of my daughter’s Spring Recess and to kick it off, I decided to dye our first eggs at home.  Yes, it’s another egg story.  🙂 I took their yellow Little Tikes table to the kitchen because it’s the brightest room in the house plus the cleaning supplies are there too, just kidding, not really.  Yesterday, we purchased this kit at Target.

IMG_4180text

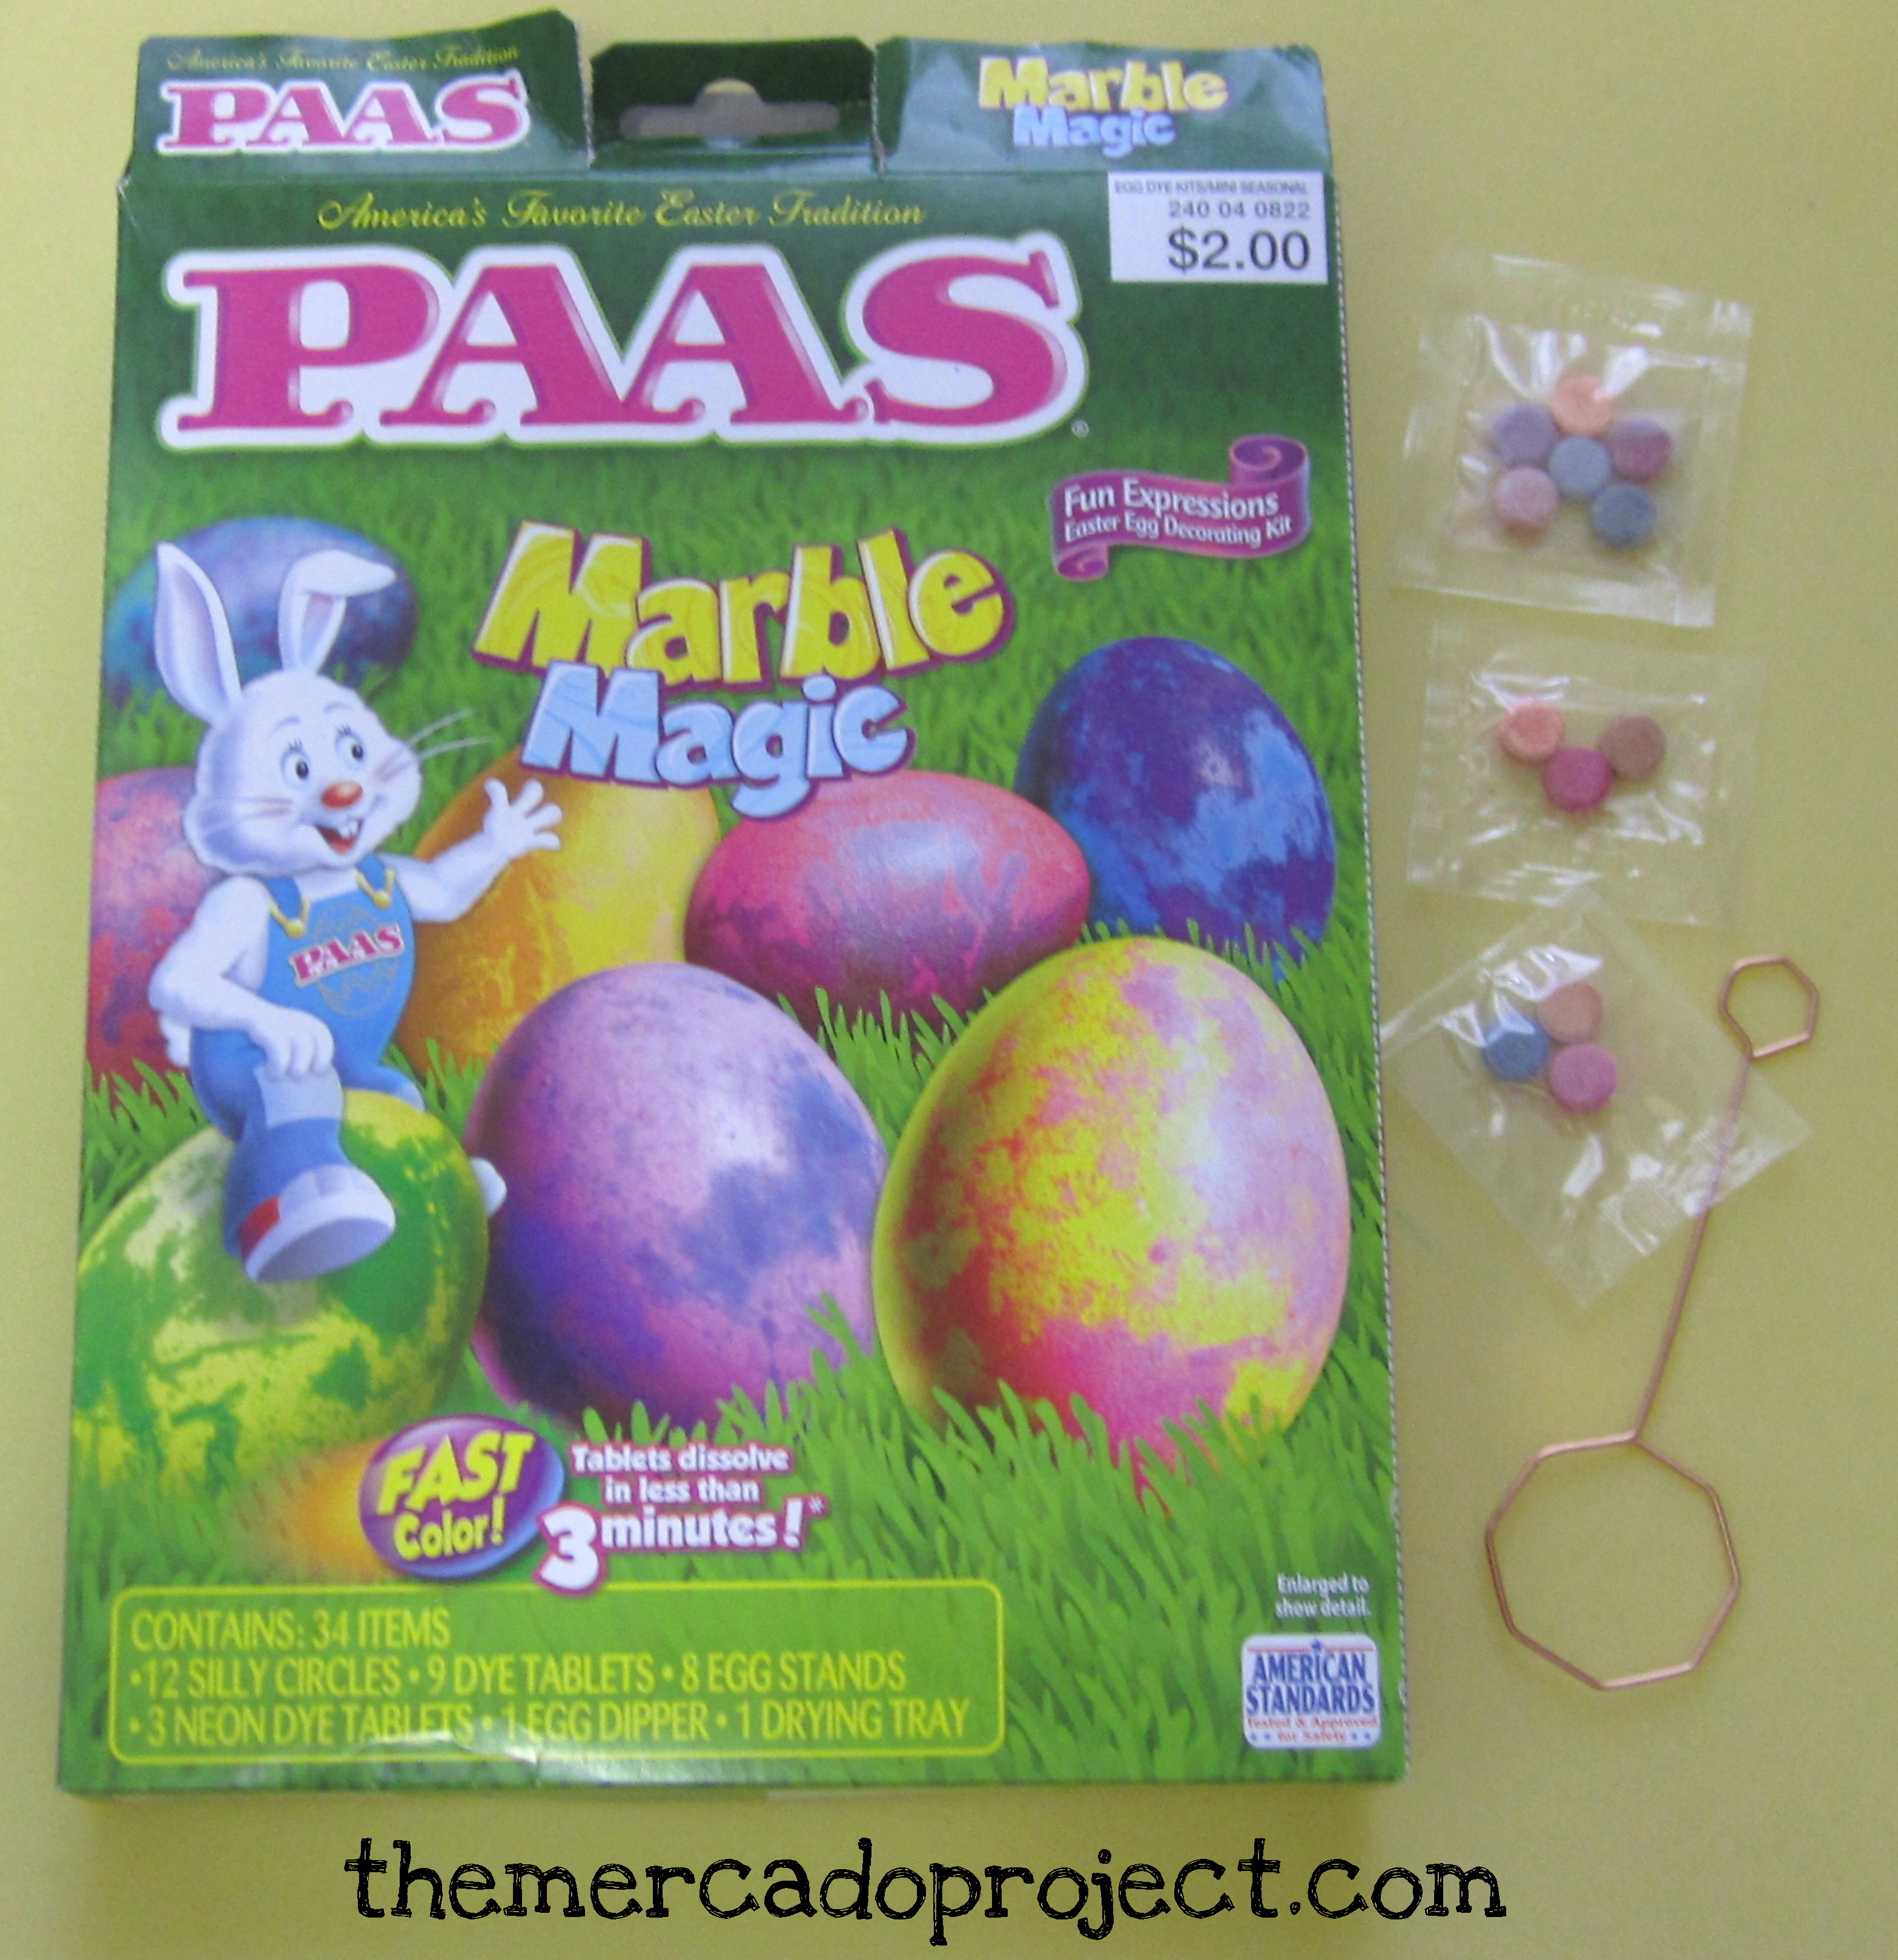
I chose the Marble Magic effect.  Inside you’ll find an egg dipper and color tablets.  Instructions are on the back of the box.

IMG_4181text         IMG_4182text

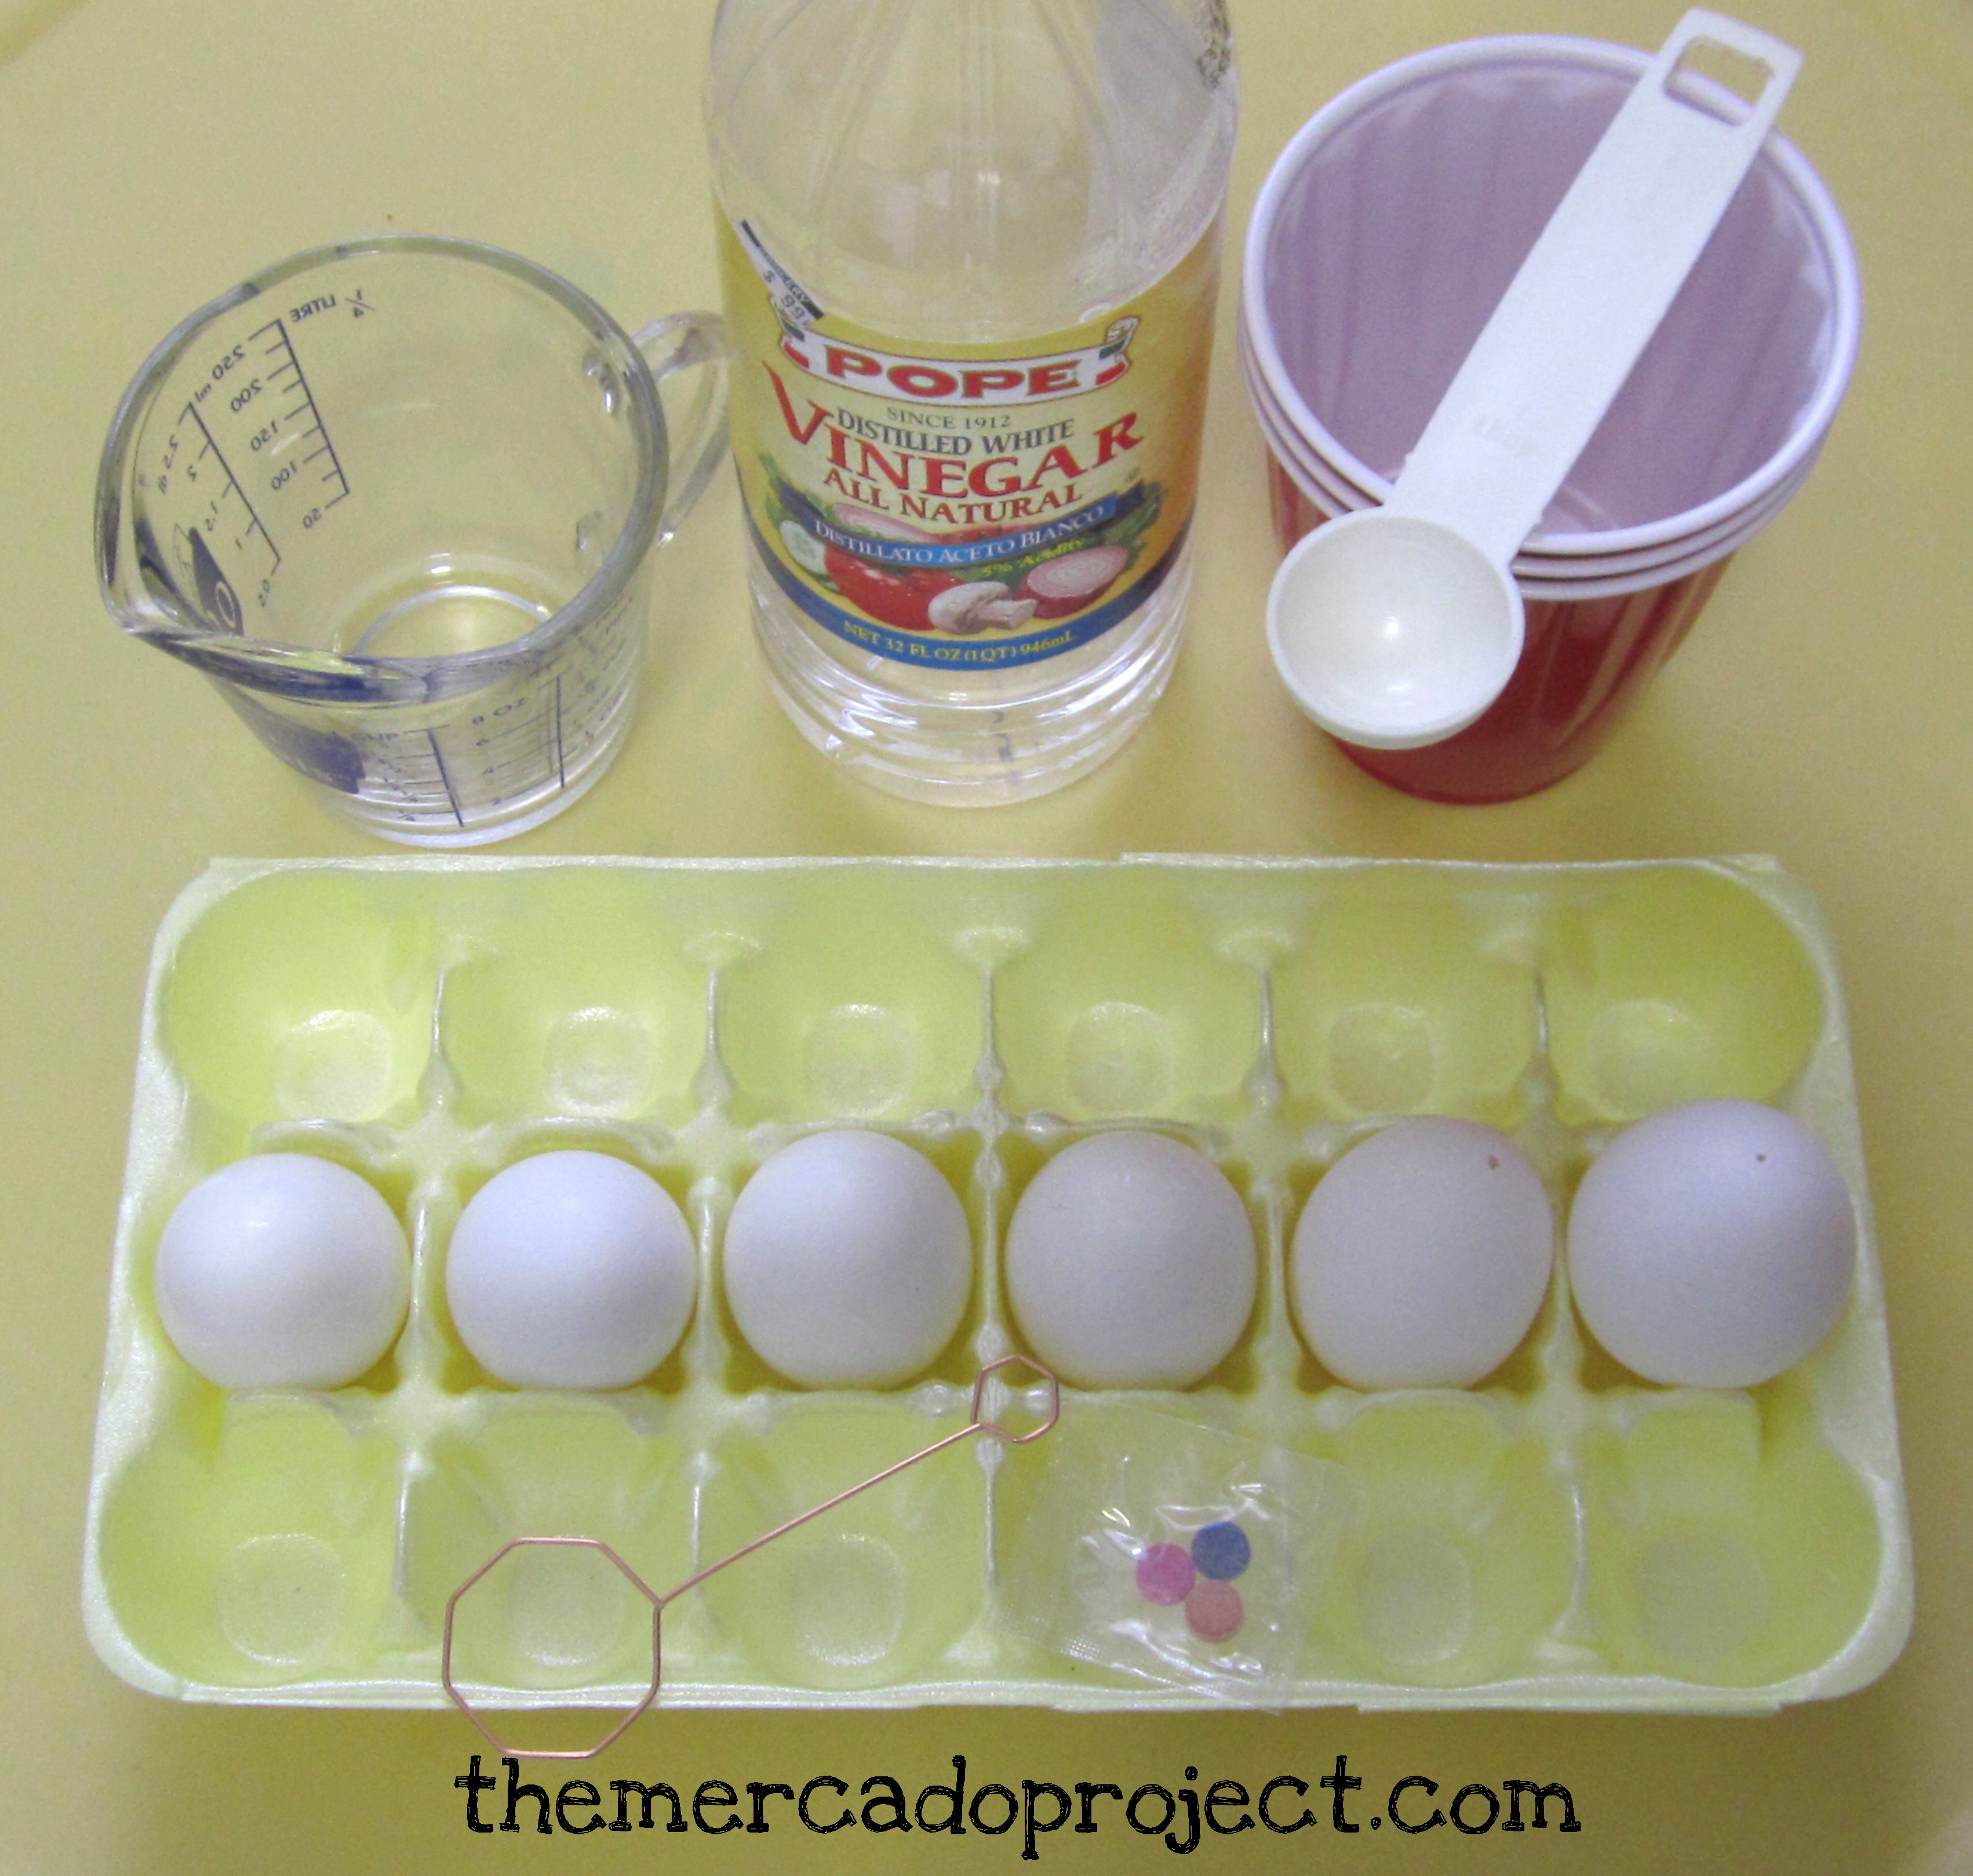
I chose to add vinegar to the tablets for a more vibrant color per the instructions.  I hard-boiled four of the eggs.  The other two were emptied out by my husband the day before.  I dissolved the tablets and got green, blue, and pink.  Then I added ½ cup of water to each.

IMG_4184text          IMG_4186text

We dipped the eggs and my oldest daughter decided to use her M & M’s toy fan to speed up the drying process while my youngest was fascinated and kept looking into the cup.  I had to watch her closely in case she decided to take a sip.

IMG_4193text     IMG_4194text

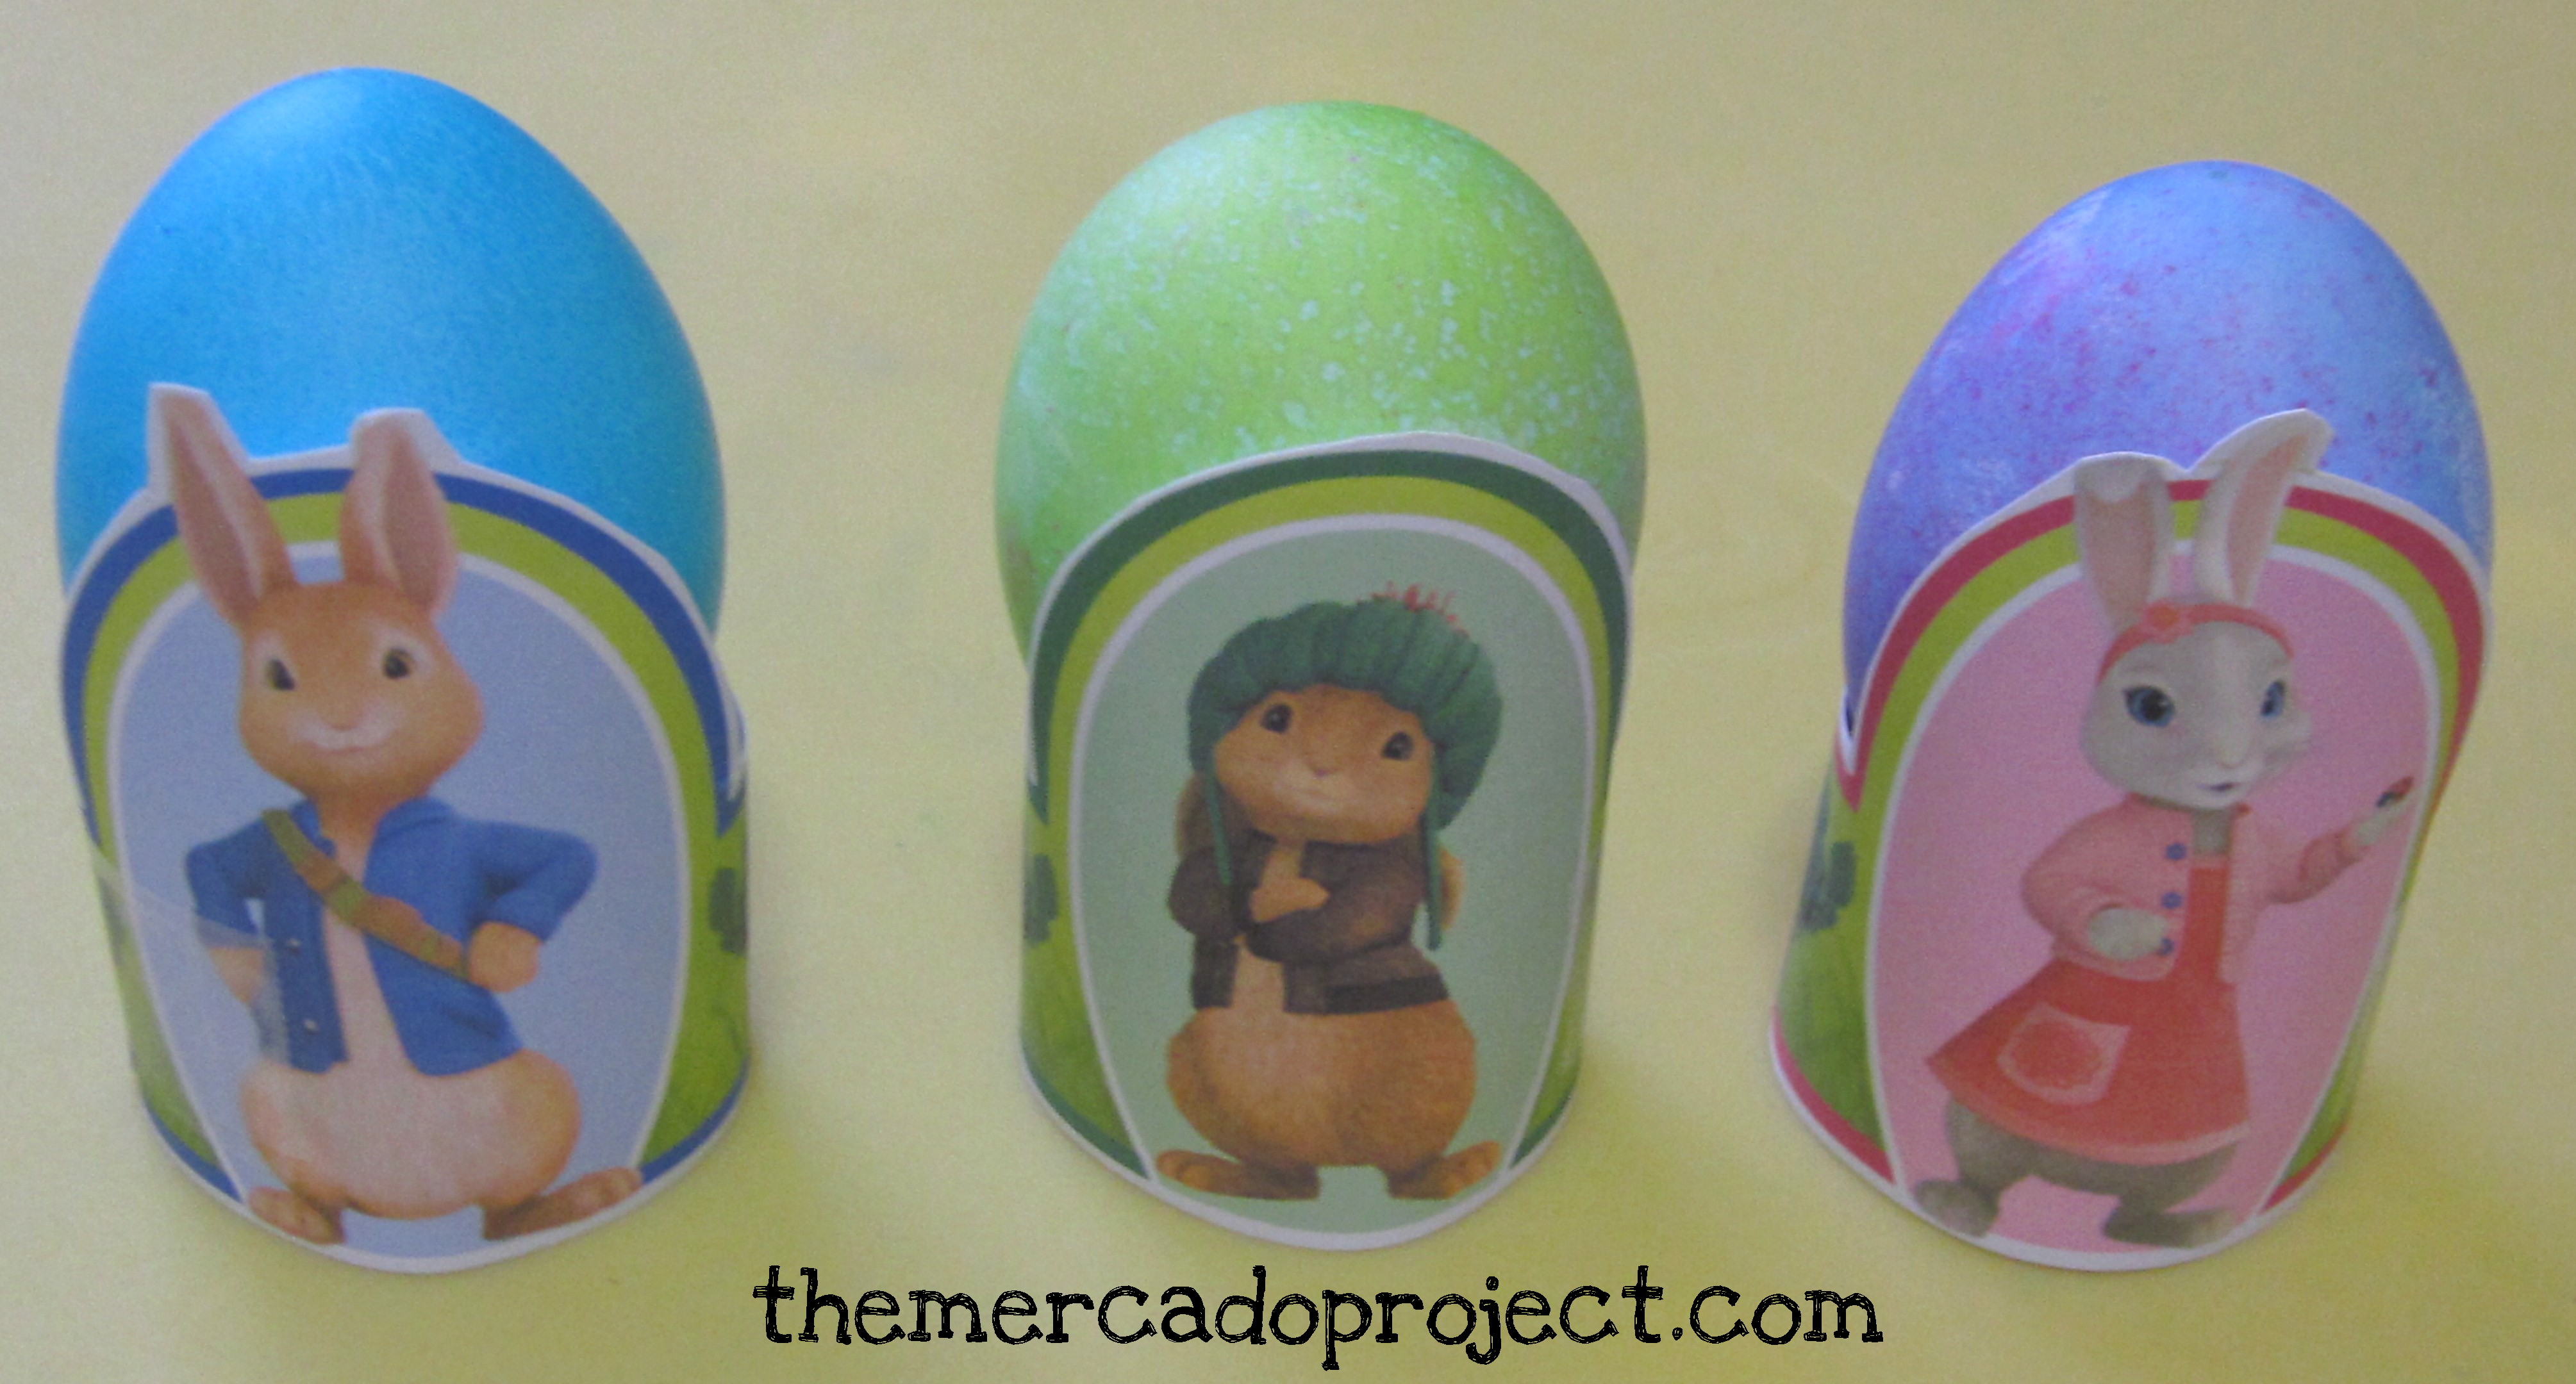
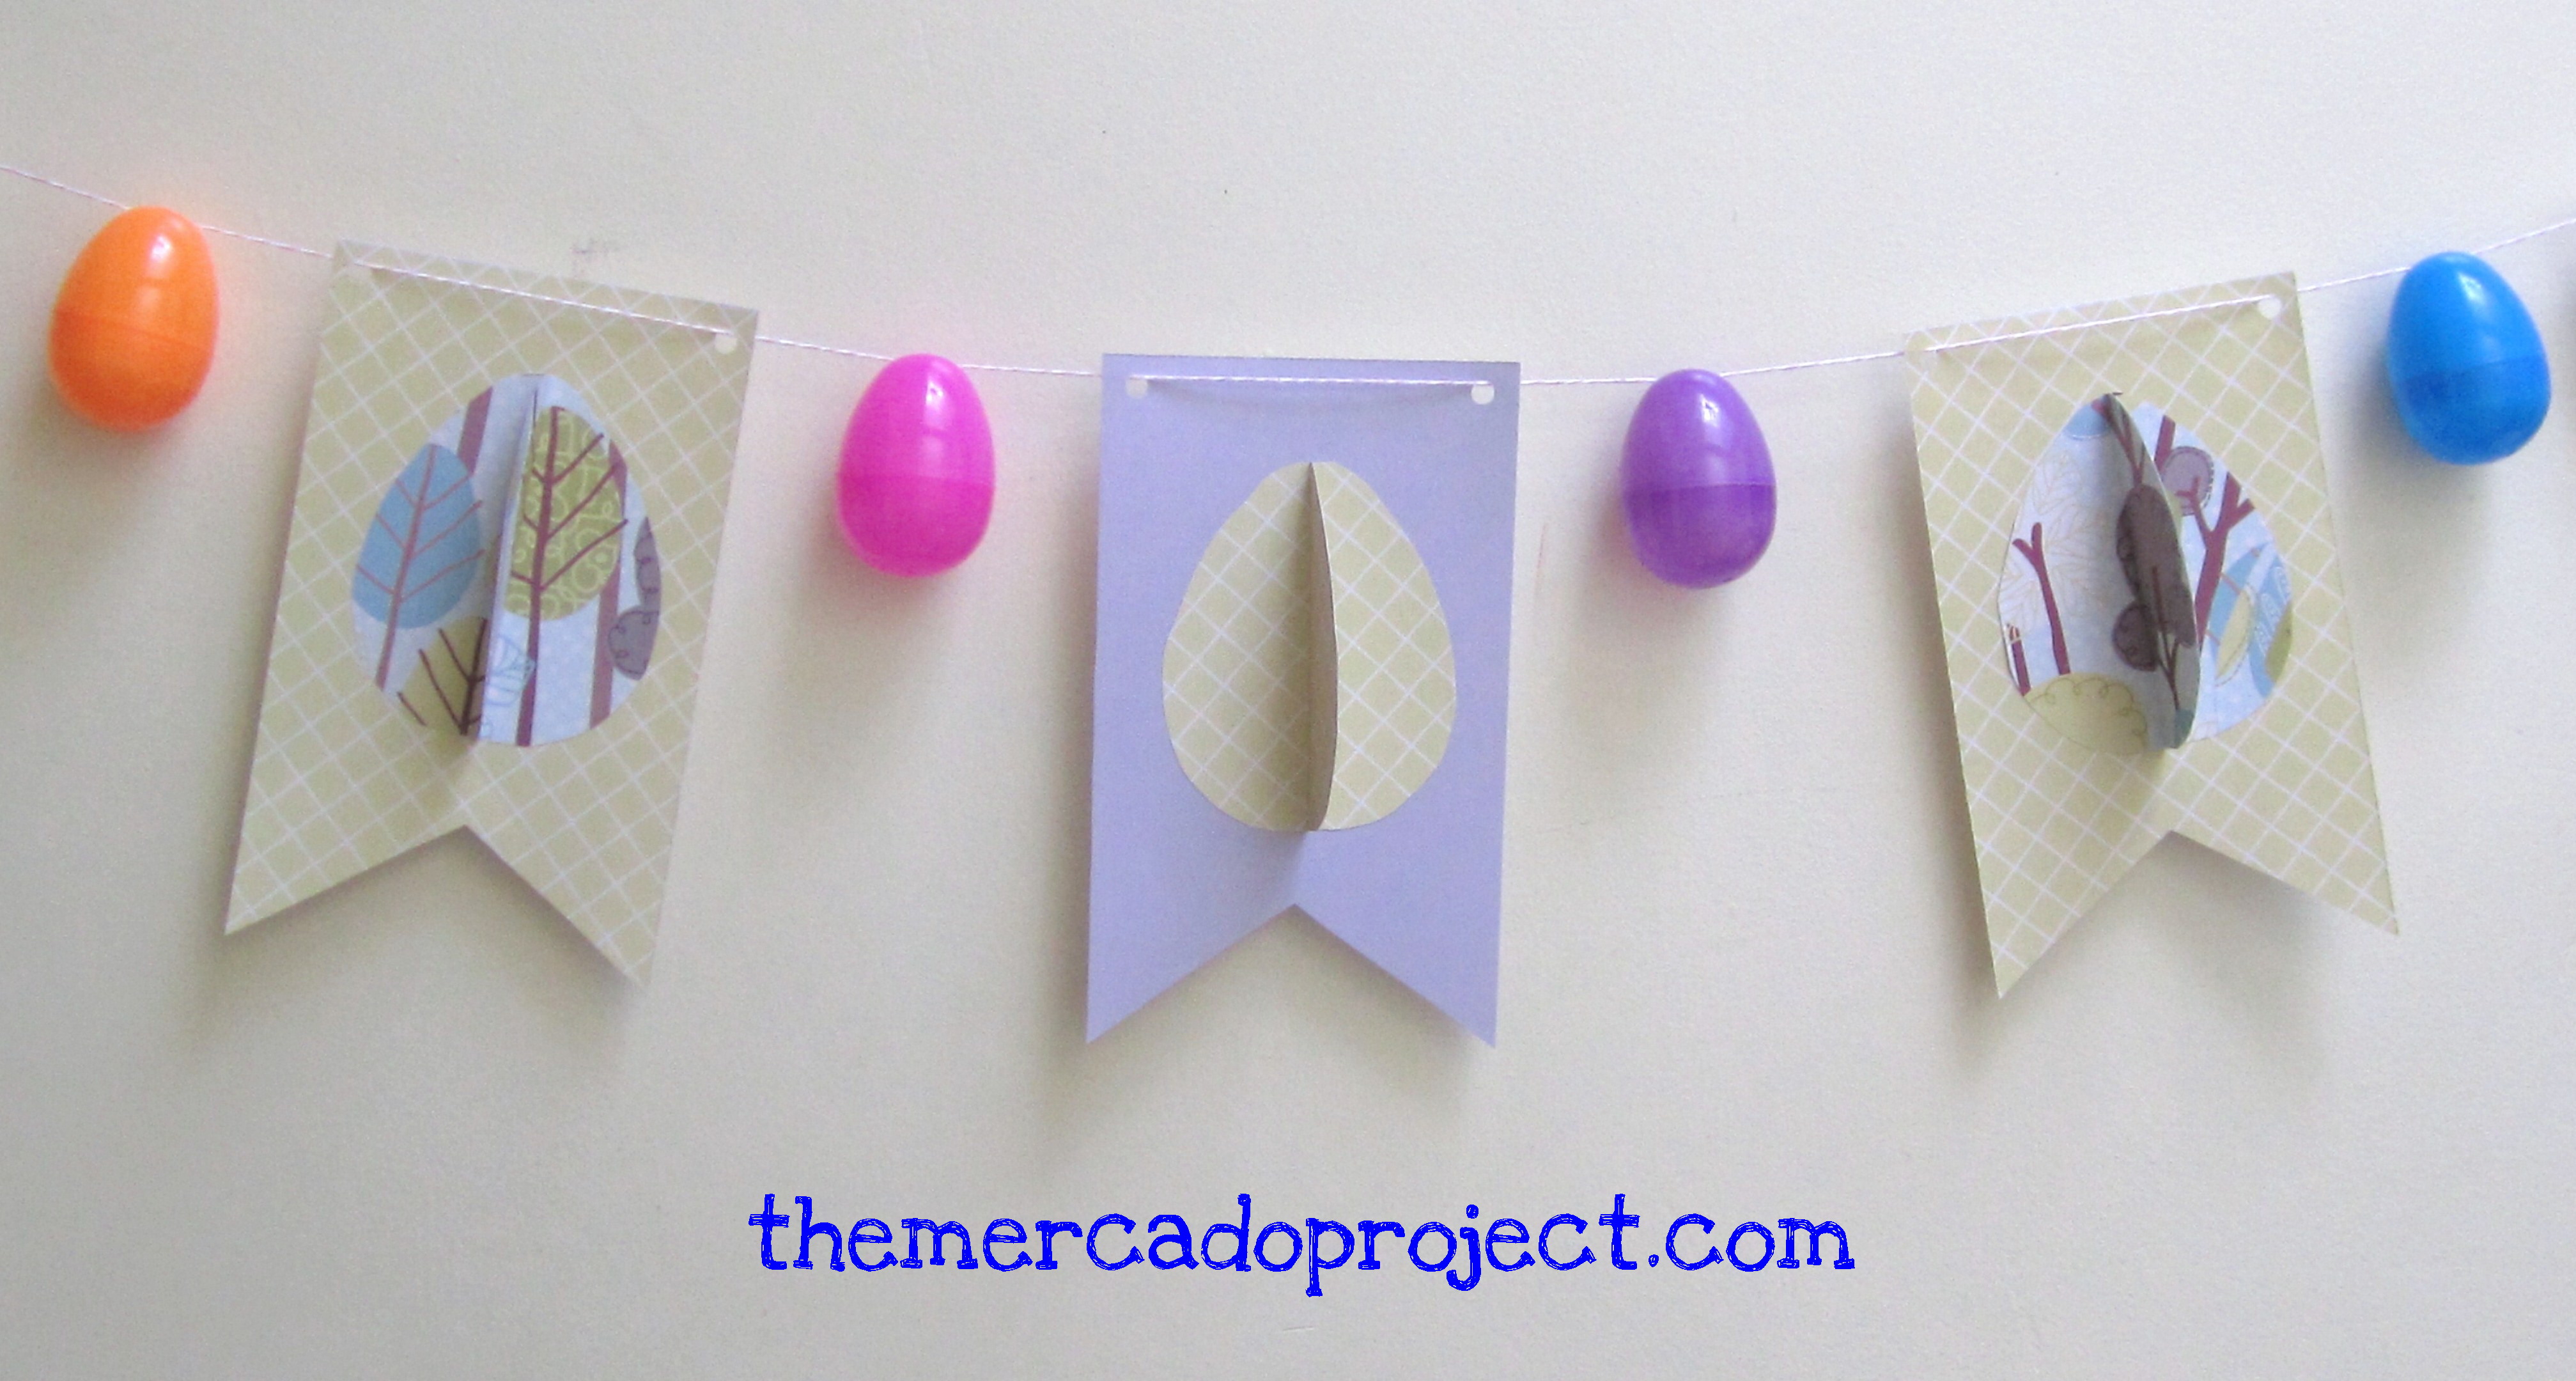
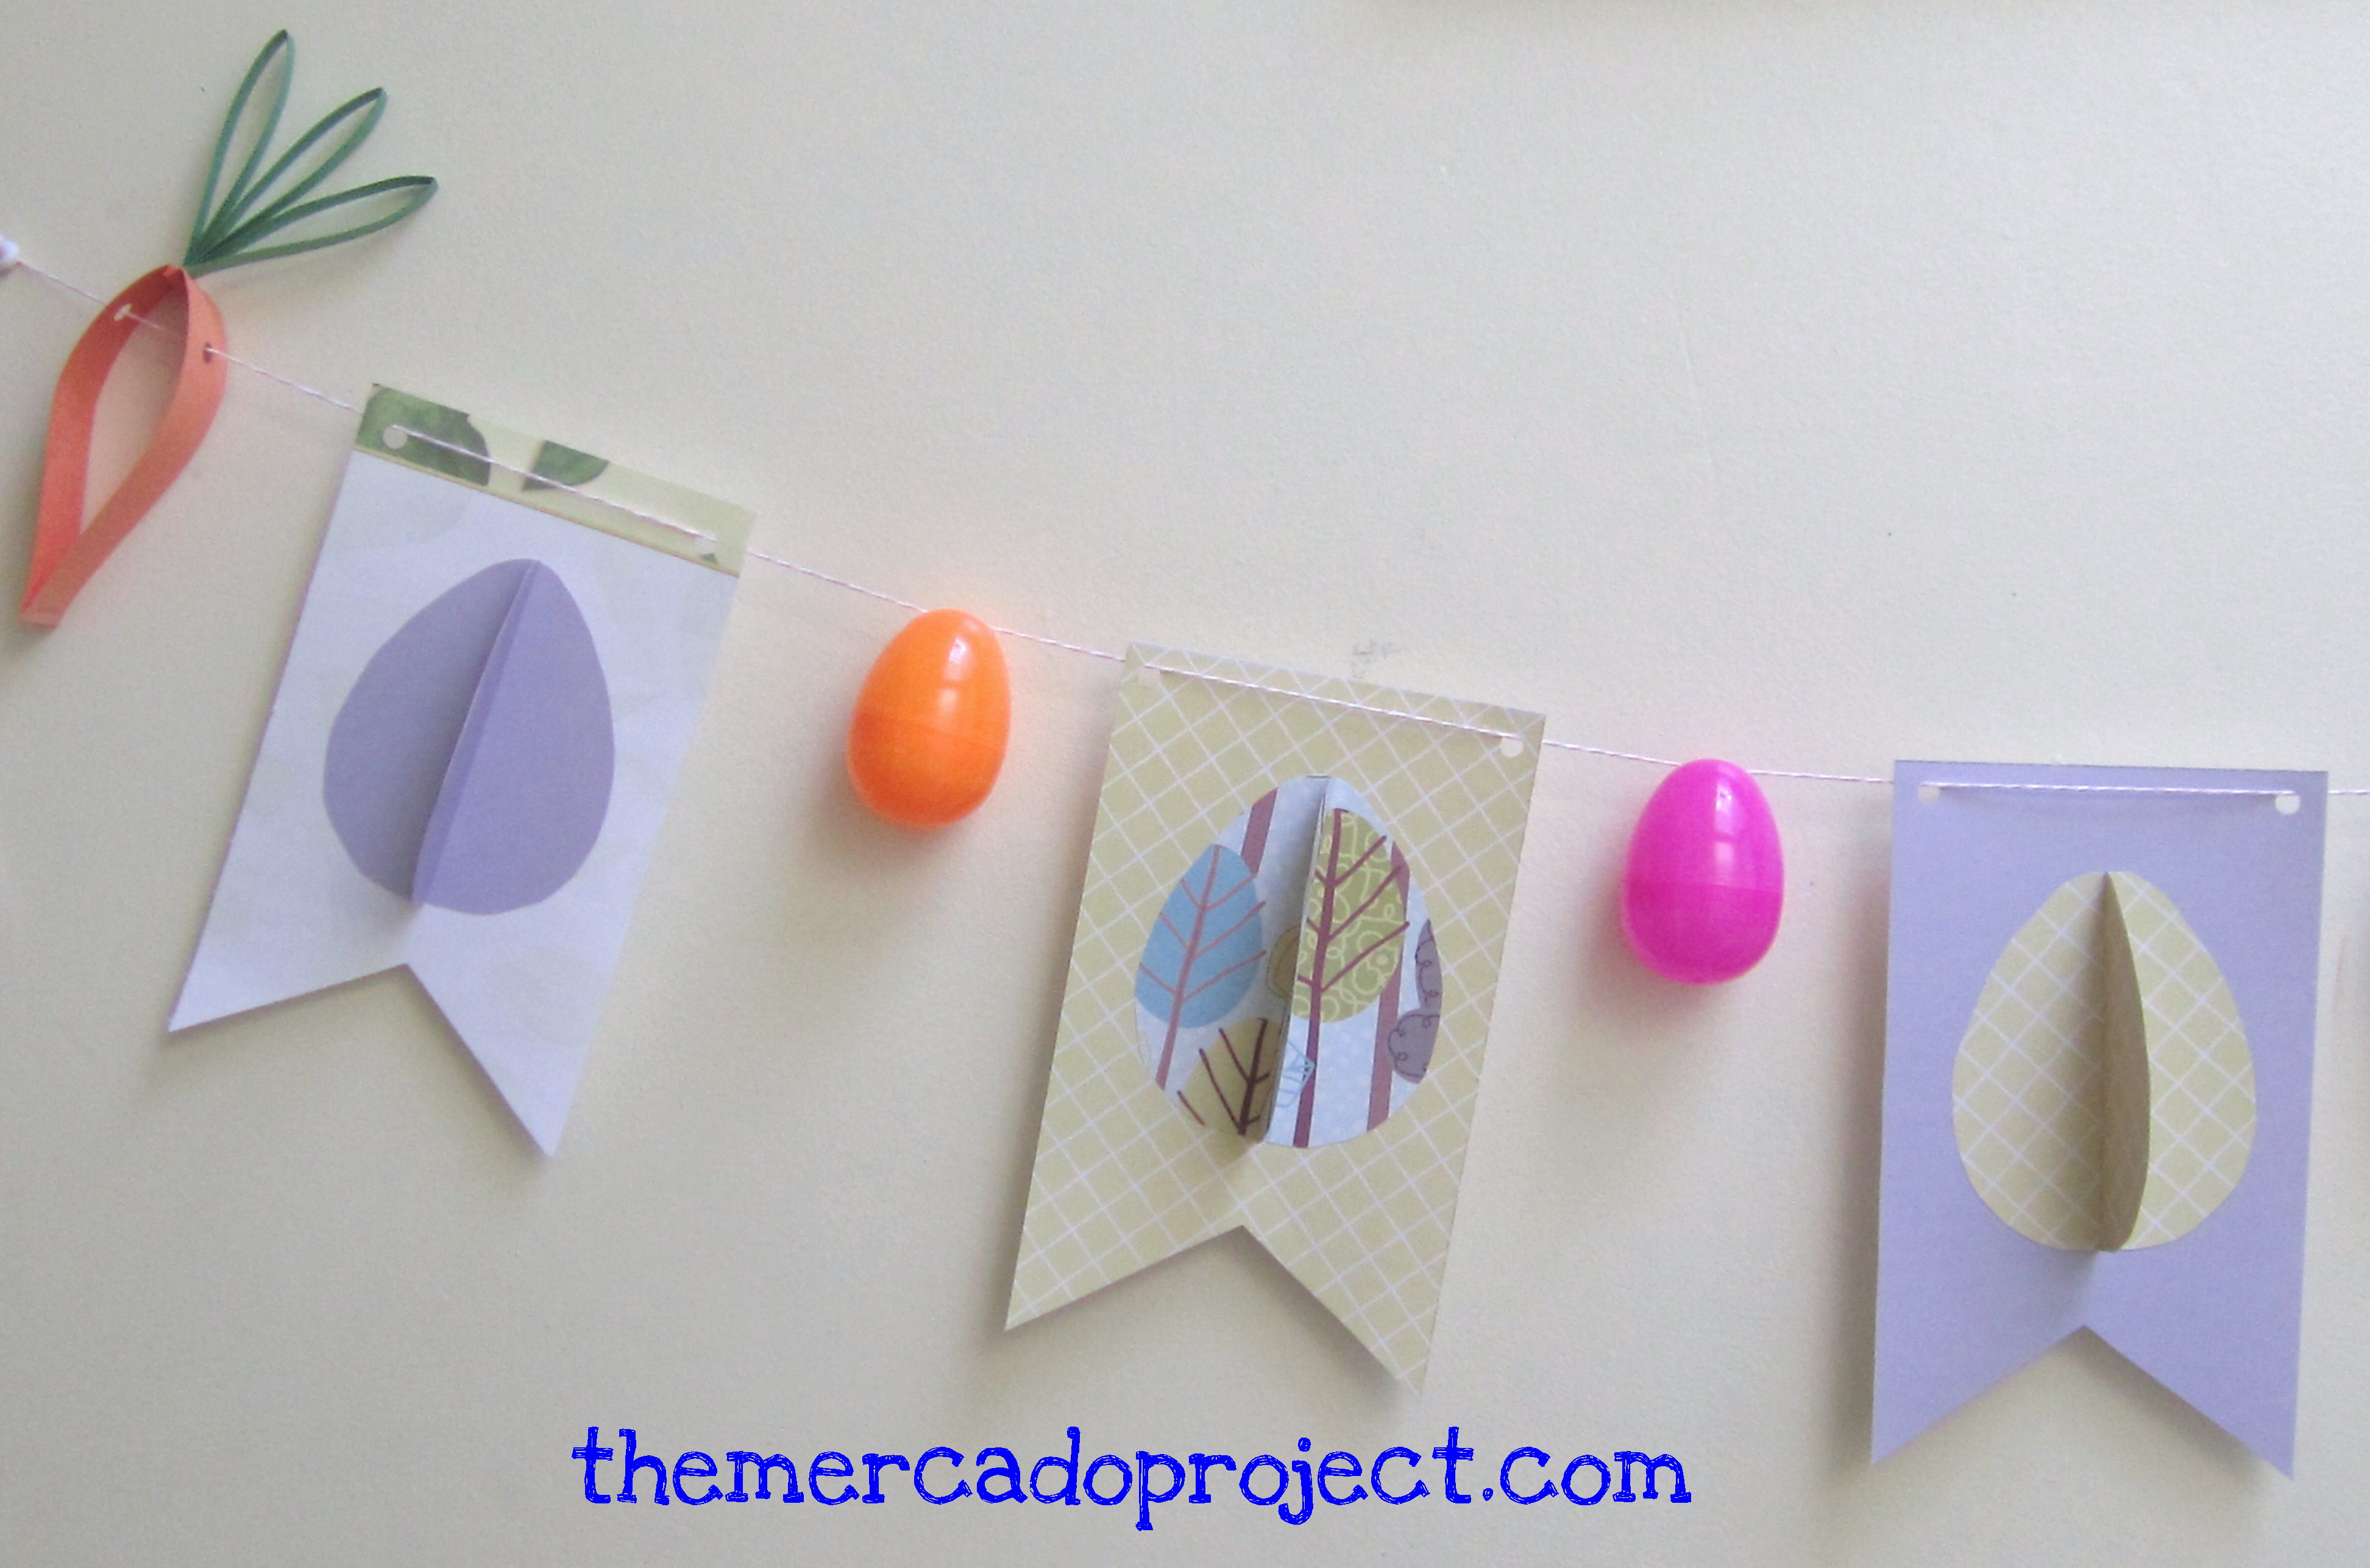
We dipped some of the eggs into two colors and achieved somewhat of a marble effect.  It looks more speckled to me, but the girls were happy with the results and that’s all that matters.  The Peter Rabbit egg holders were very handy.  Aren’t they adorable?

IMG_4196text

Olivia took her markers and got even more creative.  It’s a girl holding a basket with an egg.  Love it!

IMG_4205text

She also used glitter glue to decorate the eggs.

IMG_4211text        IMG_4213text

Here’s the Peter Rabbit basket made out of cardstock.  It was super easy to make and absolutely adorable.  I glued the characters to the basket, but used masking tape for the basket itself.  If you want to make one for your kiddo click here http://www.nickjr.com/crafts/peter-rabbit-egg-basket.jhtml

I had a lot of fun dyeing these eggs with my daughters and we’re going to be making more because my husband was working today and missed out.  We Skyped him at his job, once we finished, so he could see the results and he was super happy to see us and our marbled/speckled eggs.  This will be my last post on eggs, I promise.  I do hope you guys enjoyed our adventure in egg land.

Take good care all.

Until next time…

Advertisement

DIY Easter Decorations

Hello everybody!  I hope you guys are well.  I love making my own decorations for the holidays, especially when there’s a ton of ideas online.  I’m currently decorating for Easter and found a great banner idea as well as adorable DIY paper carrots.  I combined those ideas and included some plastic eggs and created this banner for the hallway outside my door.

IMG_4175text

You can see the instructions and printable template for the easter egg banner here http://www.creationsbykara.com/2012/03/easter-craft-easy-easter-egg-banner.html and pictures of the paper carrots here http://www2.fiskars.com/Crafting/Projects/Holiday/Easter/Easter-Egg-Hunt#.UUiNKlqMHUM

IMG_4176text            IMG_4177text

IMG_4178text

I used card stock to print out the template for the easter egg banner.  I then used several decorative papers for the banner and used construction paper for the carrots.  To hang these up I used pink and white baker’s twine.

At nickjr.com, there’s a whole bunch of crafting projects and I made the peter rabbit holiday garland (http://www.nickjr.com/printables/peter-rabbit-holiday-garlands.jhtml) because my youngest likes Peter Rabbit.  I also printed out egg holders (http://www.nickjr.com/printables/peter-rabbit-easter-eggs.jhtml) and an egg basket (http://www.nickjr.com/crafts/peter-rabbit-egg-basket.jhtml) for when we start dyeing our easter eggs at home.  Since my daughter dyed her first eggs at school, she’s super excited to do it again.

IMG_20130323_181413text

When I picked her up from school yesterday I brought her a basket so she could carry home her masterpiece dyed eggs.  She’s in love with them and wants to keep them forever.  🙂

There’s definitely more egg stories to come.  I’m also planning my youngest daughter’s birthday at a snail’s pace.  So far, I only have a theme, Nickelodeon’s Bubble Guppies, and I’m planning on using the free printables on nickjr.com to decorate.  Again, I’m leaving everything for the last minute, but isn’t that how it’s really done?

Take good care all.

Until next time…

DIY Valentine Cards

Hello everybody!  I hope you guys are well.  I love sending mail to my family and friends.  It’s almost Valentine’s Day and I’m going to be sending out valentines along with a couple of pictures of my daughters to them all.  I could always go to Target and buy a set of valentines, but where’s the fun in that?  Here’s what I came up with this year for my own Valentine cards:

IMG_3926text

Using Microsoft Word, I made a quick design with a heart and our well wishes for Valentine’s Day.

I made four to a page and printed it out on white cardstock.

IMG_3919text

Then using Anita’s All Purpose Acrylic Craft Paint in True Red and a little bit of water mixed in, I painted the hearts and let it dry.  Then I outlined the hearts with studio g Glitter Glue (I couldn’t find the name of the color but it’s sort of yellow/gold).

IMG_3922text

I cut out the cards using my trusty cricut paper-cutter.  It makes things so much easier and neater.

IMG_3924text

Here are my valentines!  Ready to be accompanied by a picture and shipped off to my loved ones.

IMG_3925text

IMG_3917text

This craft project was quick and I can’t wait to ship them out.

Take good care all.

Until next time…