Celebration Recap

Hello everybody!  I hope you guys are well.

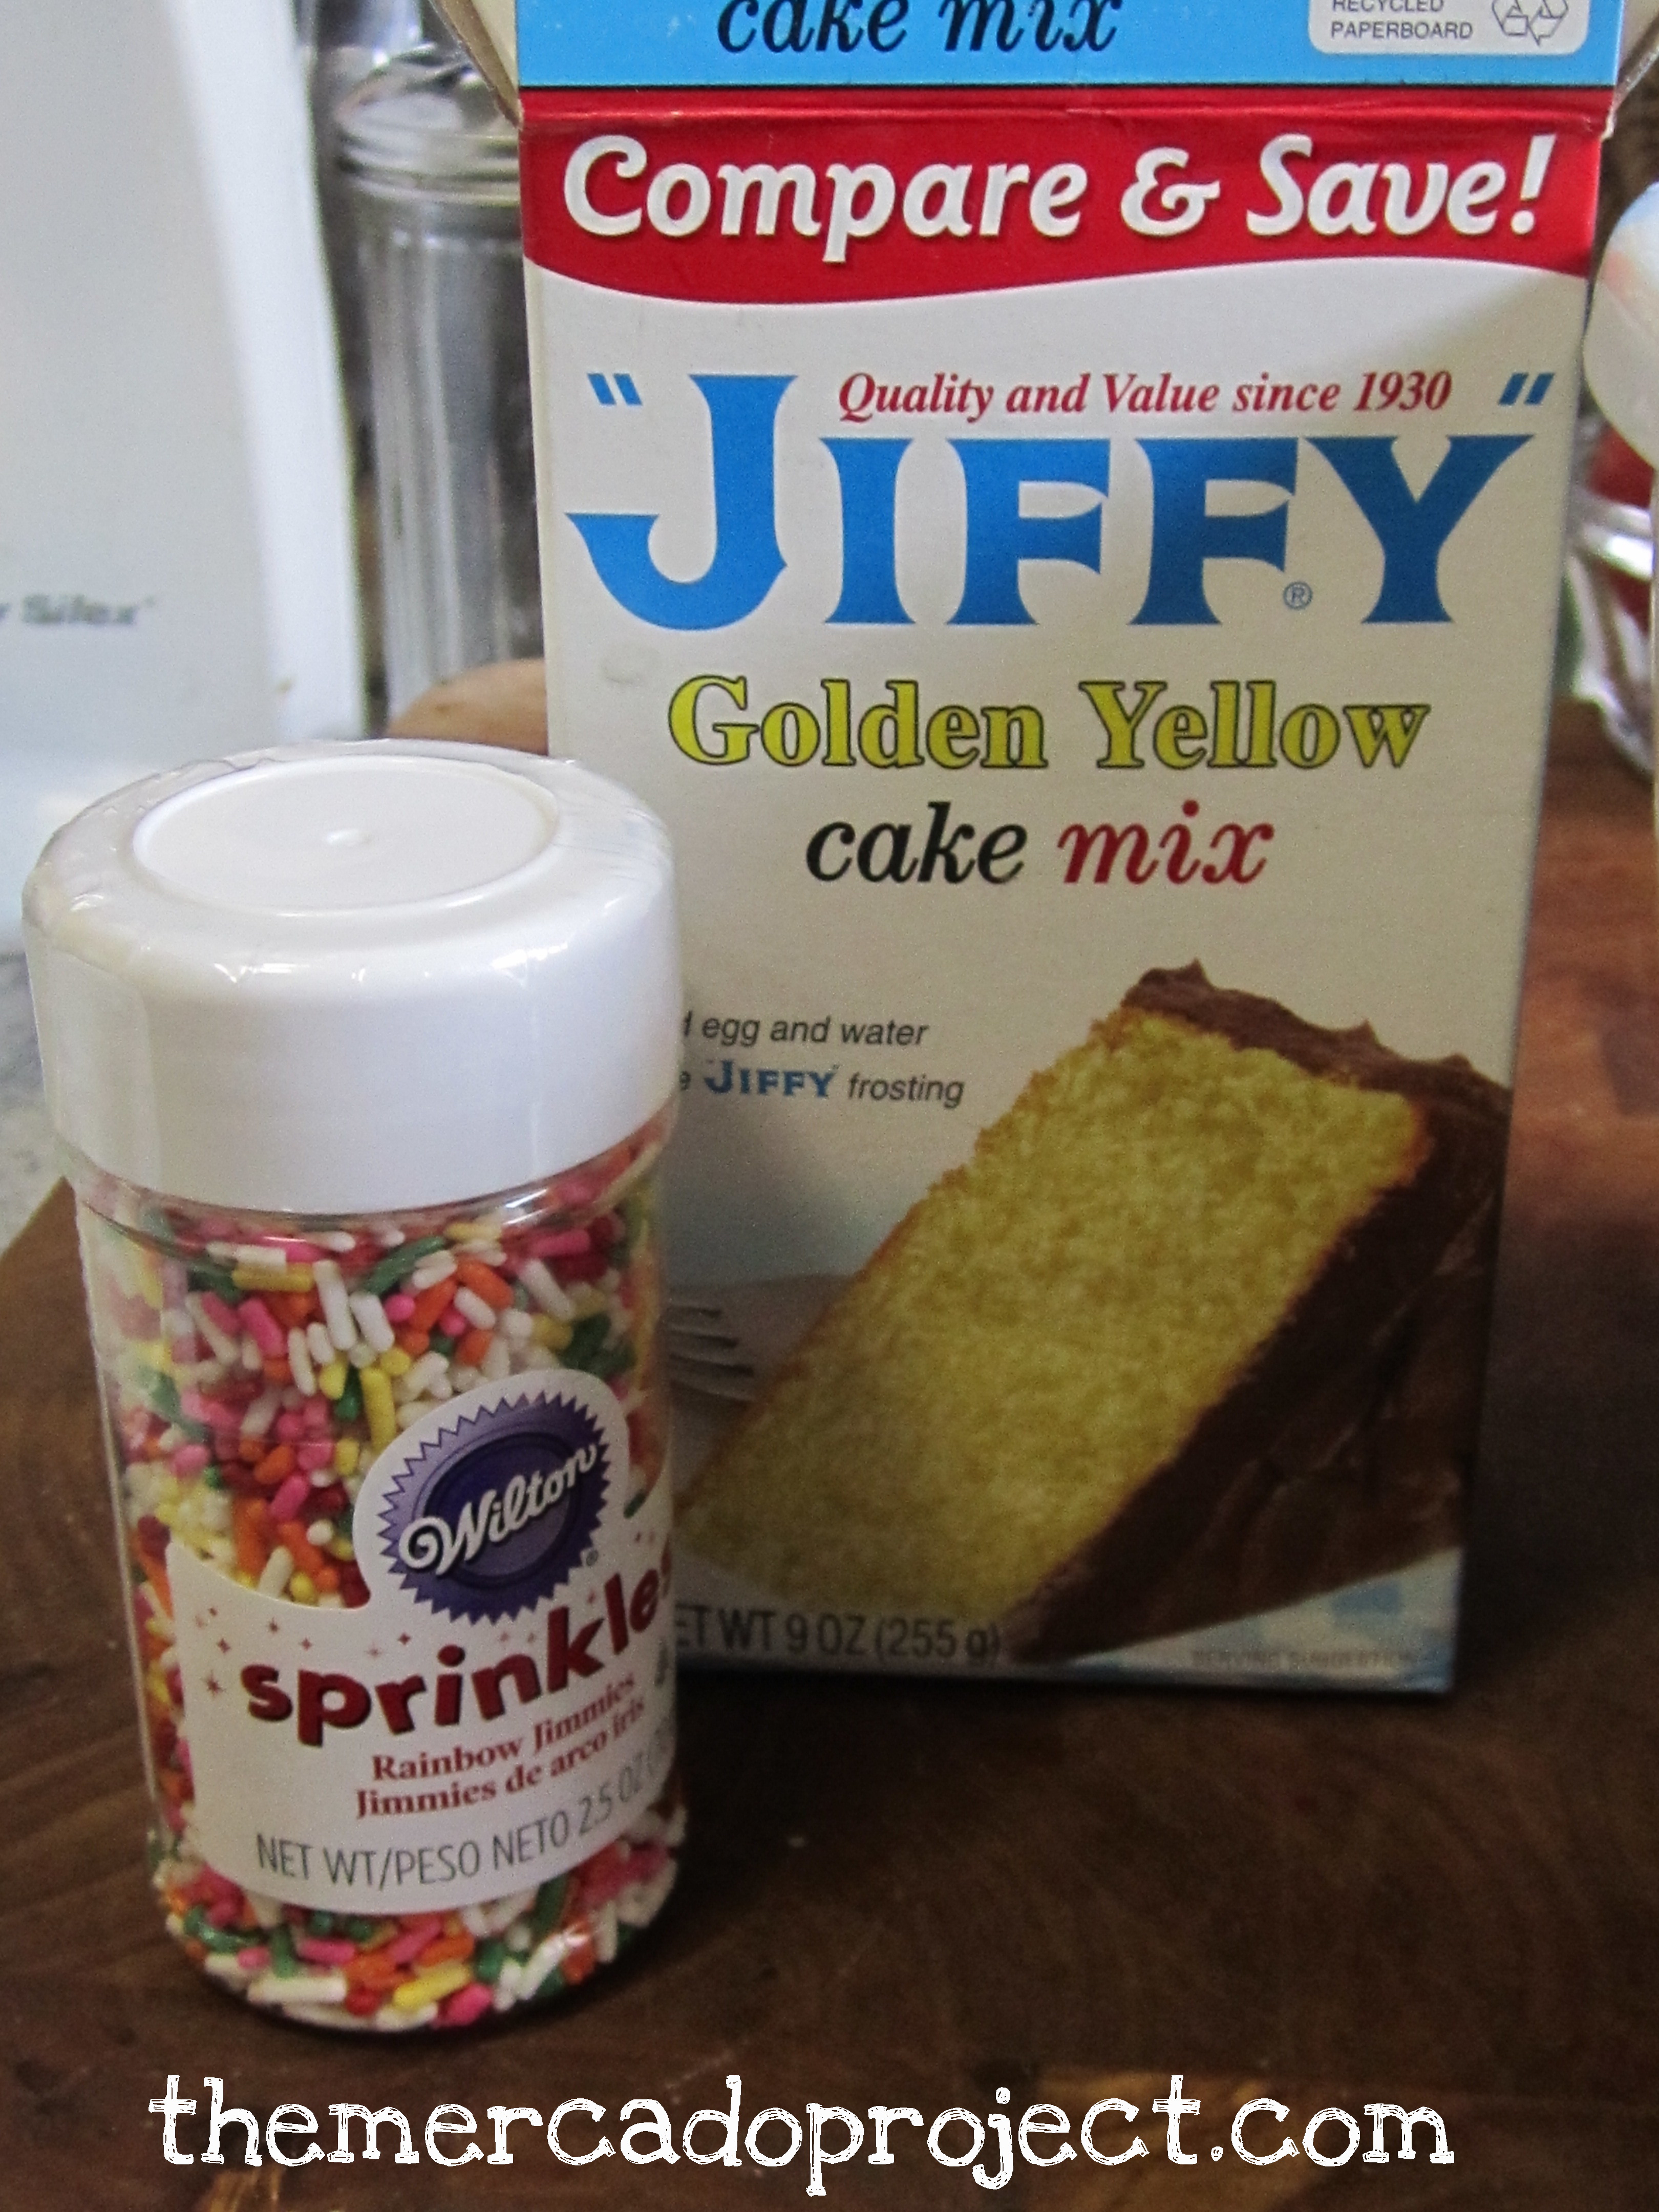
My youngest daughter is officially three and we had a birthday week-end celebration with friends and family.  We broke things down by celebrating her actual birthday on Friday, just us in the house.  I wanted to make a small (I like the Jiffy cake mix), funfetti cake

IMG_4362text

and it was the perfect time to try out these Bake-Even Cake Strips (Wilton) that I’ve seen online and found on sale at AC Moore craft store.

IMG_4364text

IMG_4363text

I didn’t realize I went overboard on the sprinkles until…

IMG_4373text  IMG_4374text

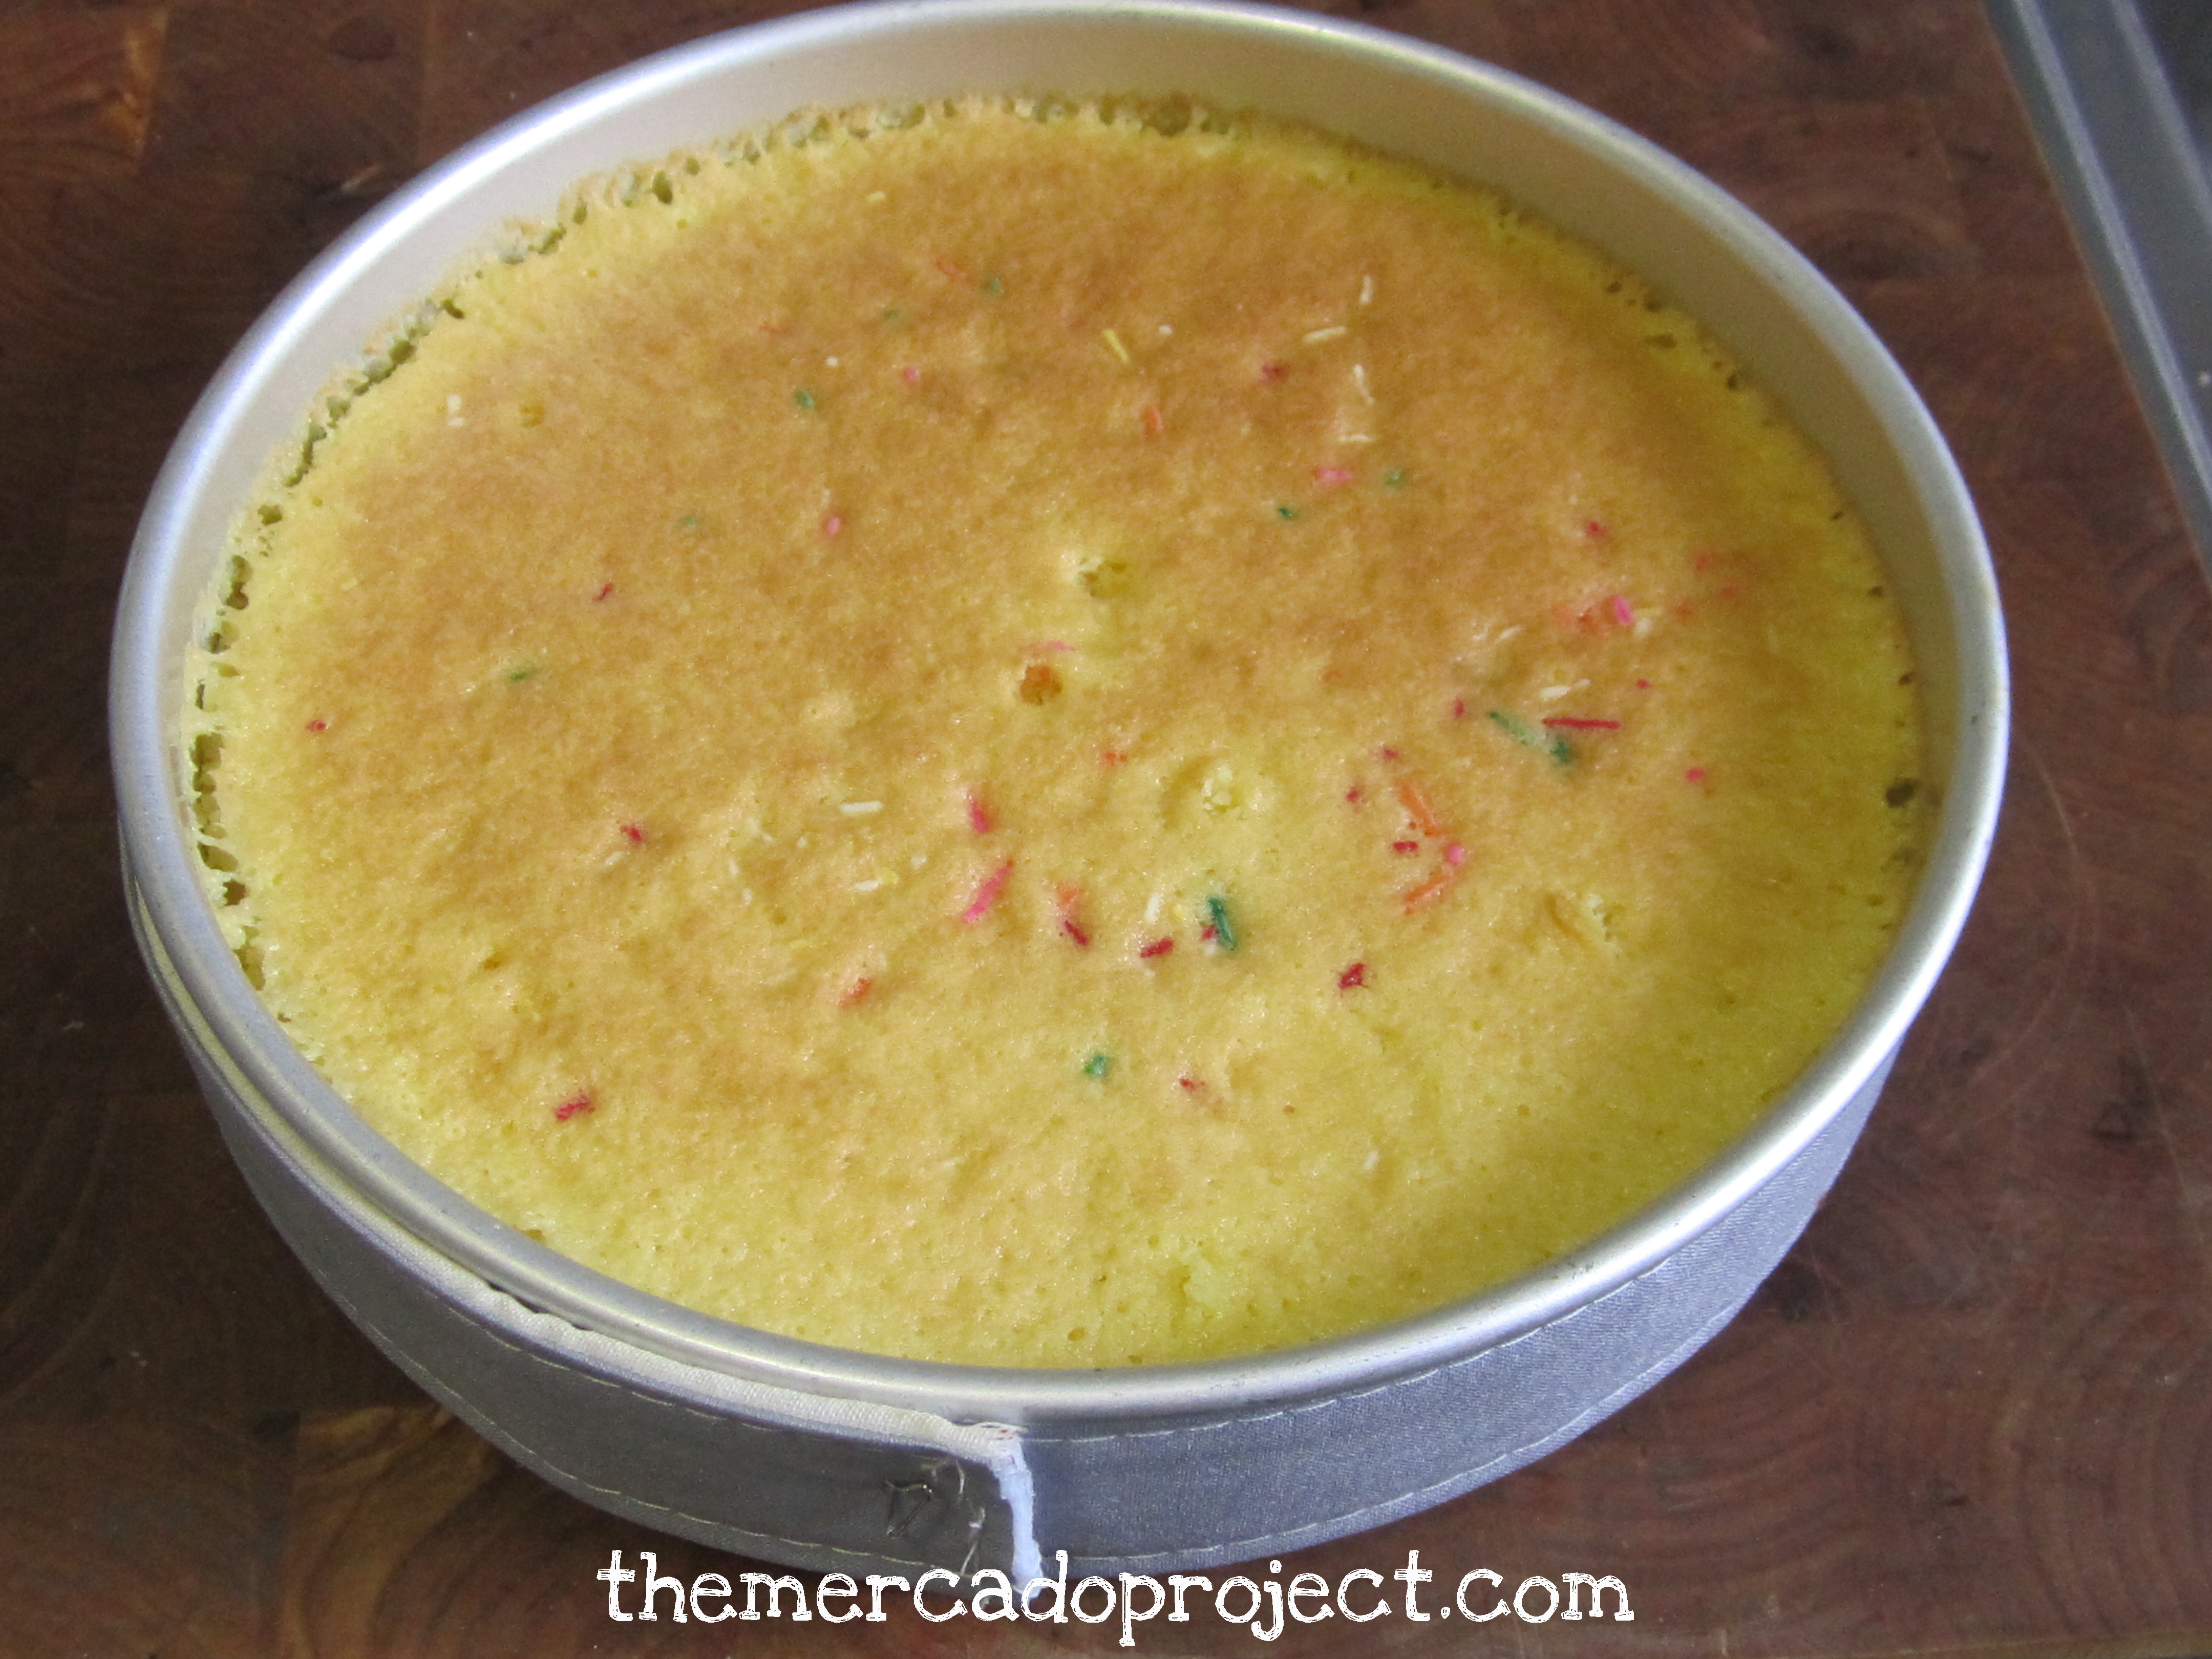
…the cake was done and I flipped it out of the baking pan.

As you can see the cake strip (around the pan) worked, but there were noticeable differences other than the cake dome that appears when you don’t use this strip.  The cake sticks to the side of the pan more and the bottom was moist when I took it out.  I like that it baked even, but I don’t know if I’m going to use the strip again.  We’ll see.

IMG_4383text

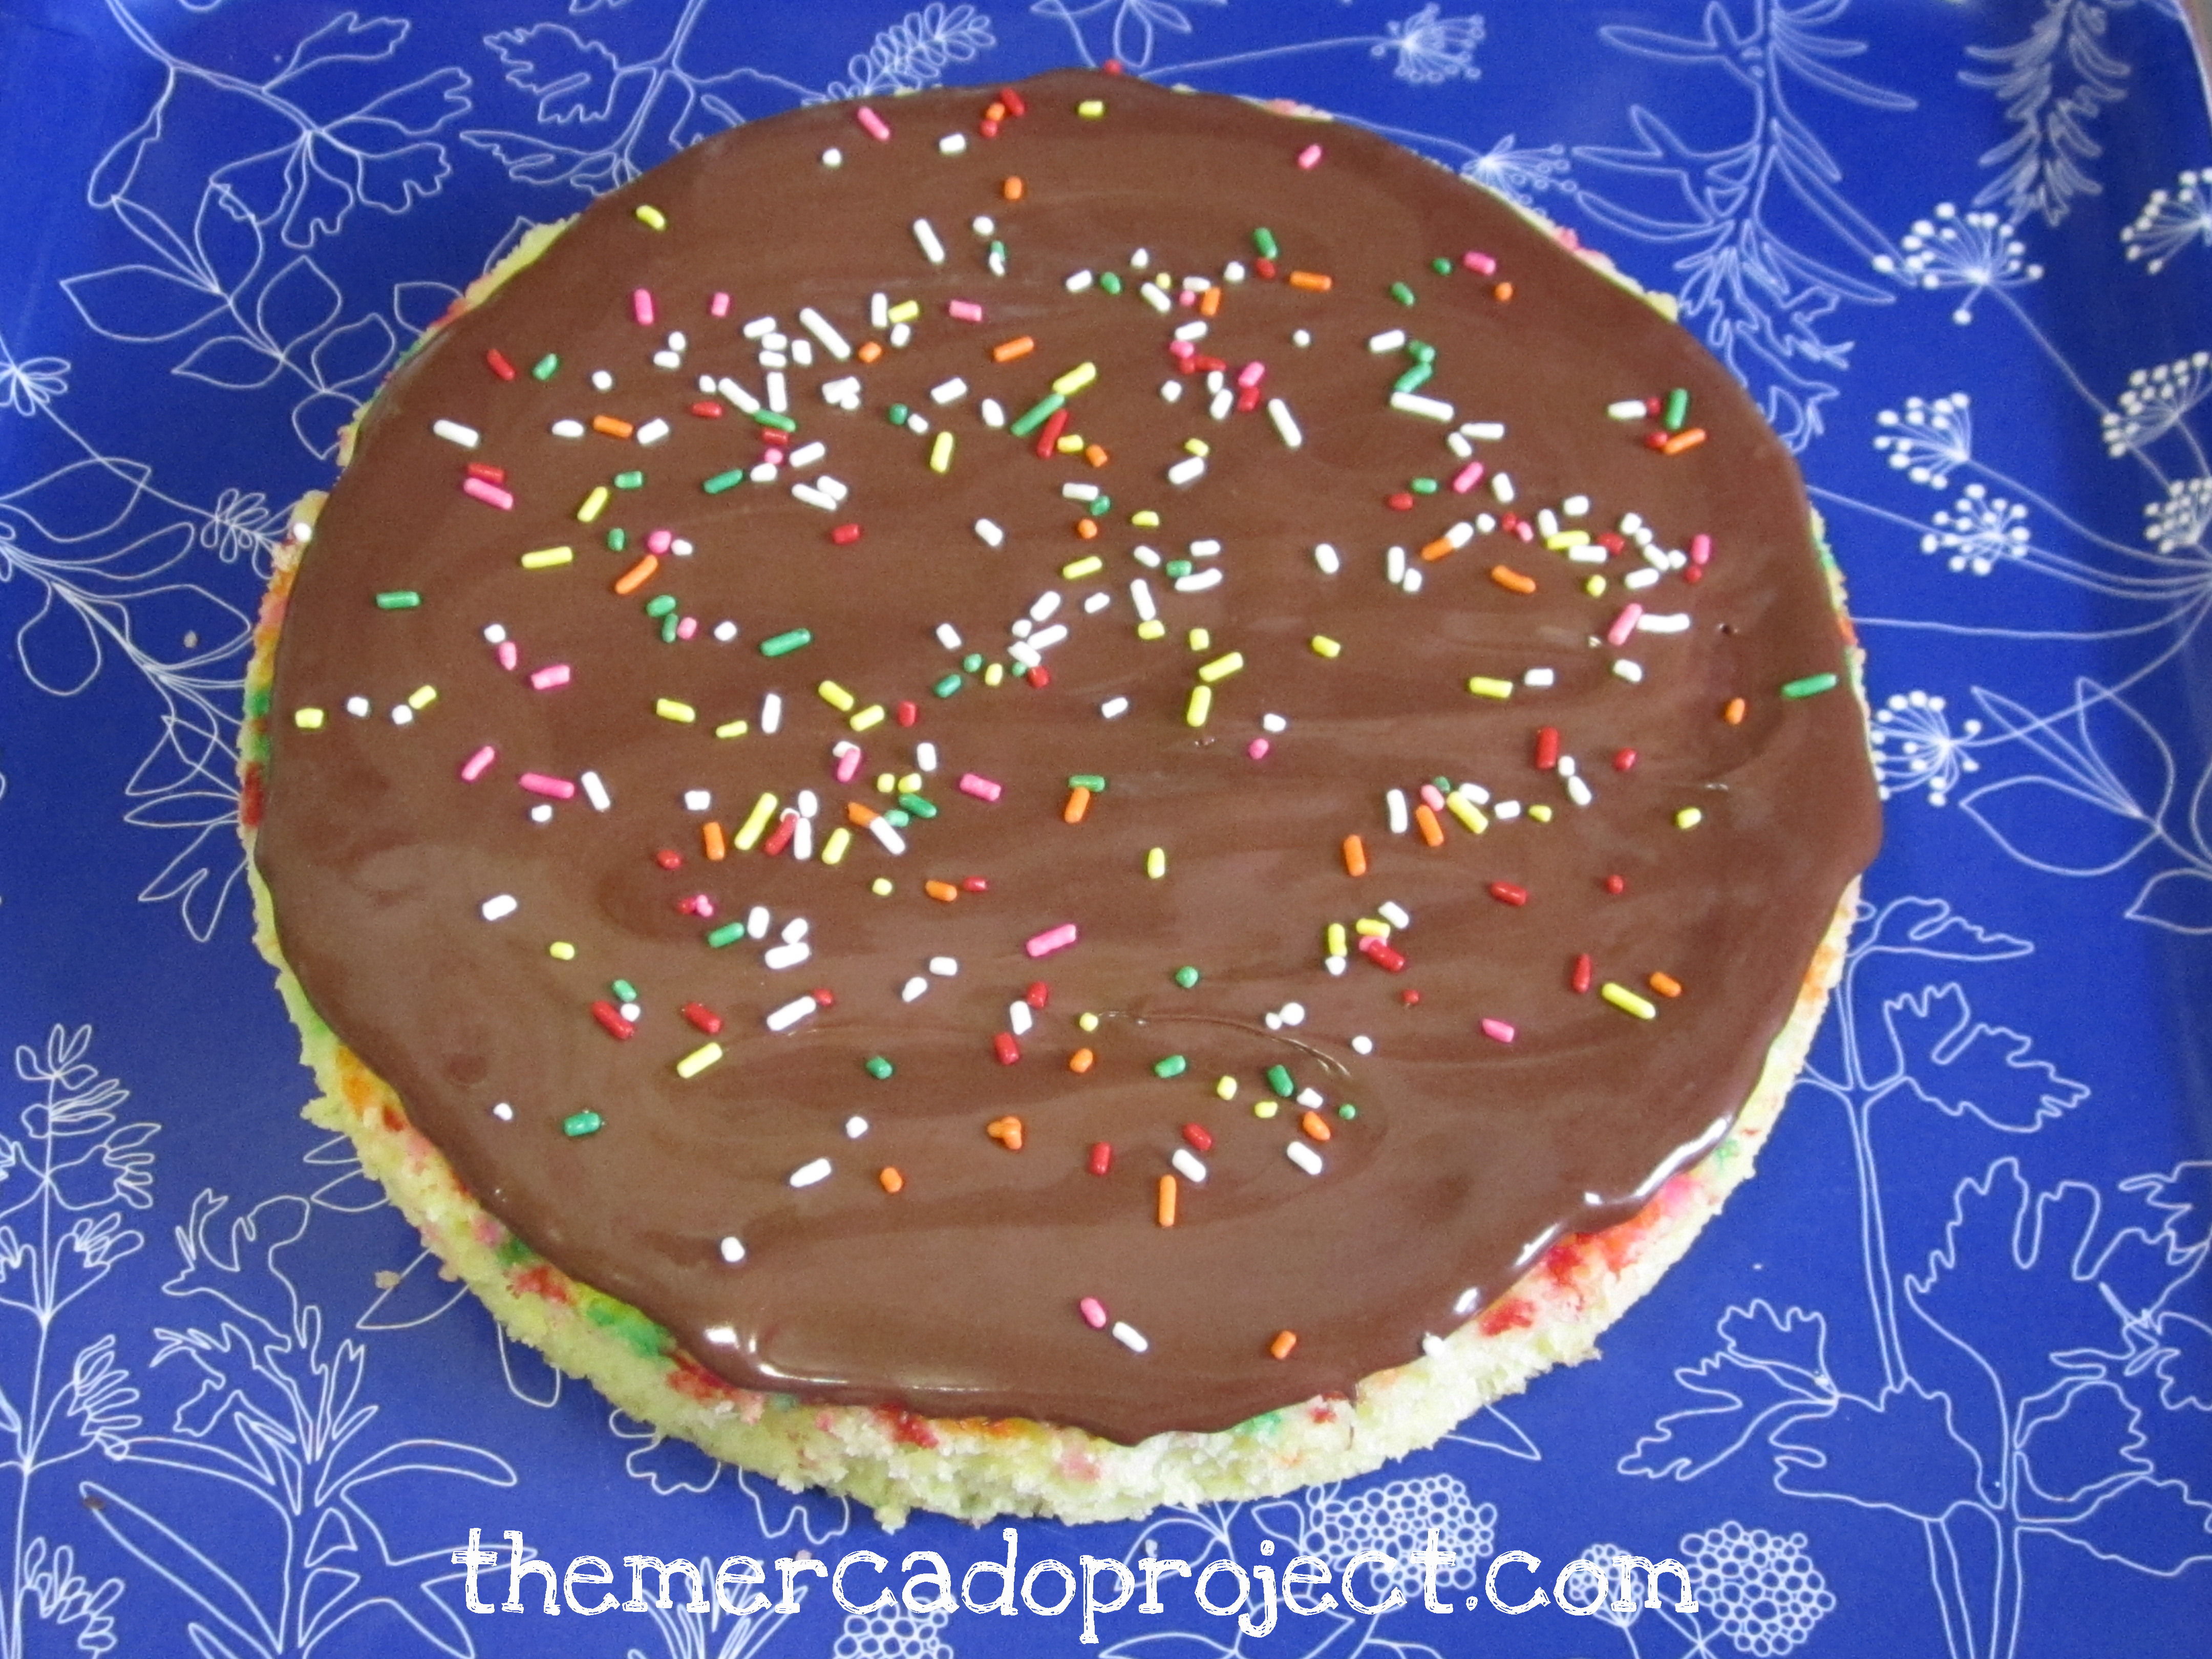
I melted a little bit of the Betty Crocker Rich & Creamy Chocolate frosting (15 seconds in the microwave) in a glass bowl and this made things easy to spread on the cake.  I really don’t like when the cake crumbs combine with the frosting.  I threw a little bit more of sprinkles, yes more, on the frosting and then…

IMG_4384text  IMG_4388text

…the #3 candle.  My daughter loved her funfetti cake.

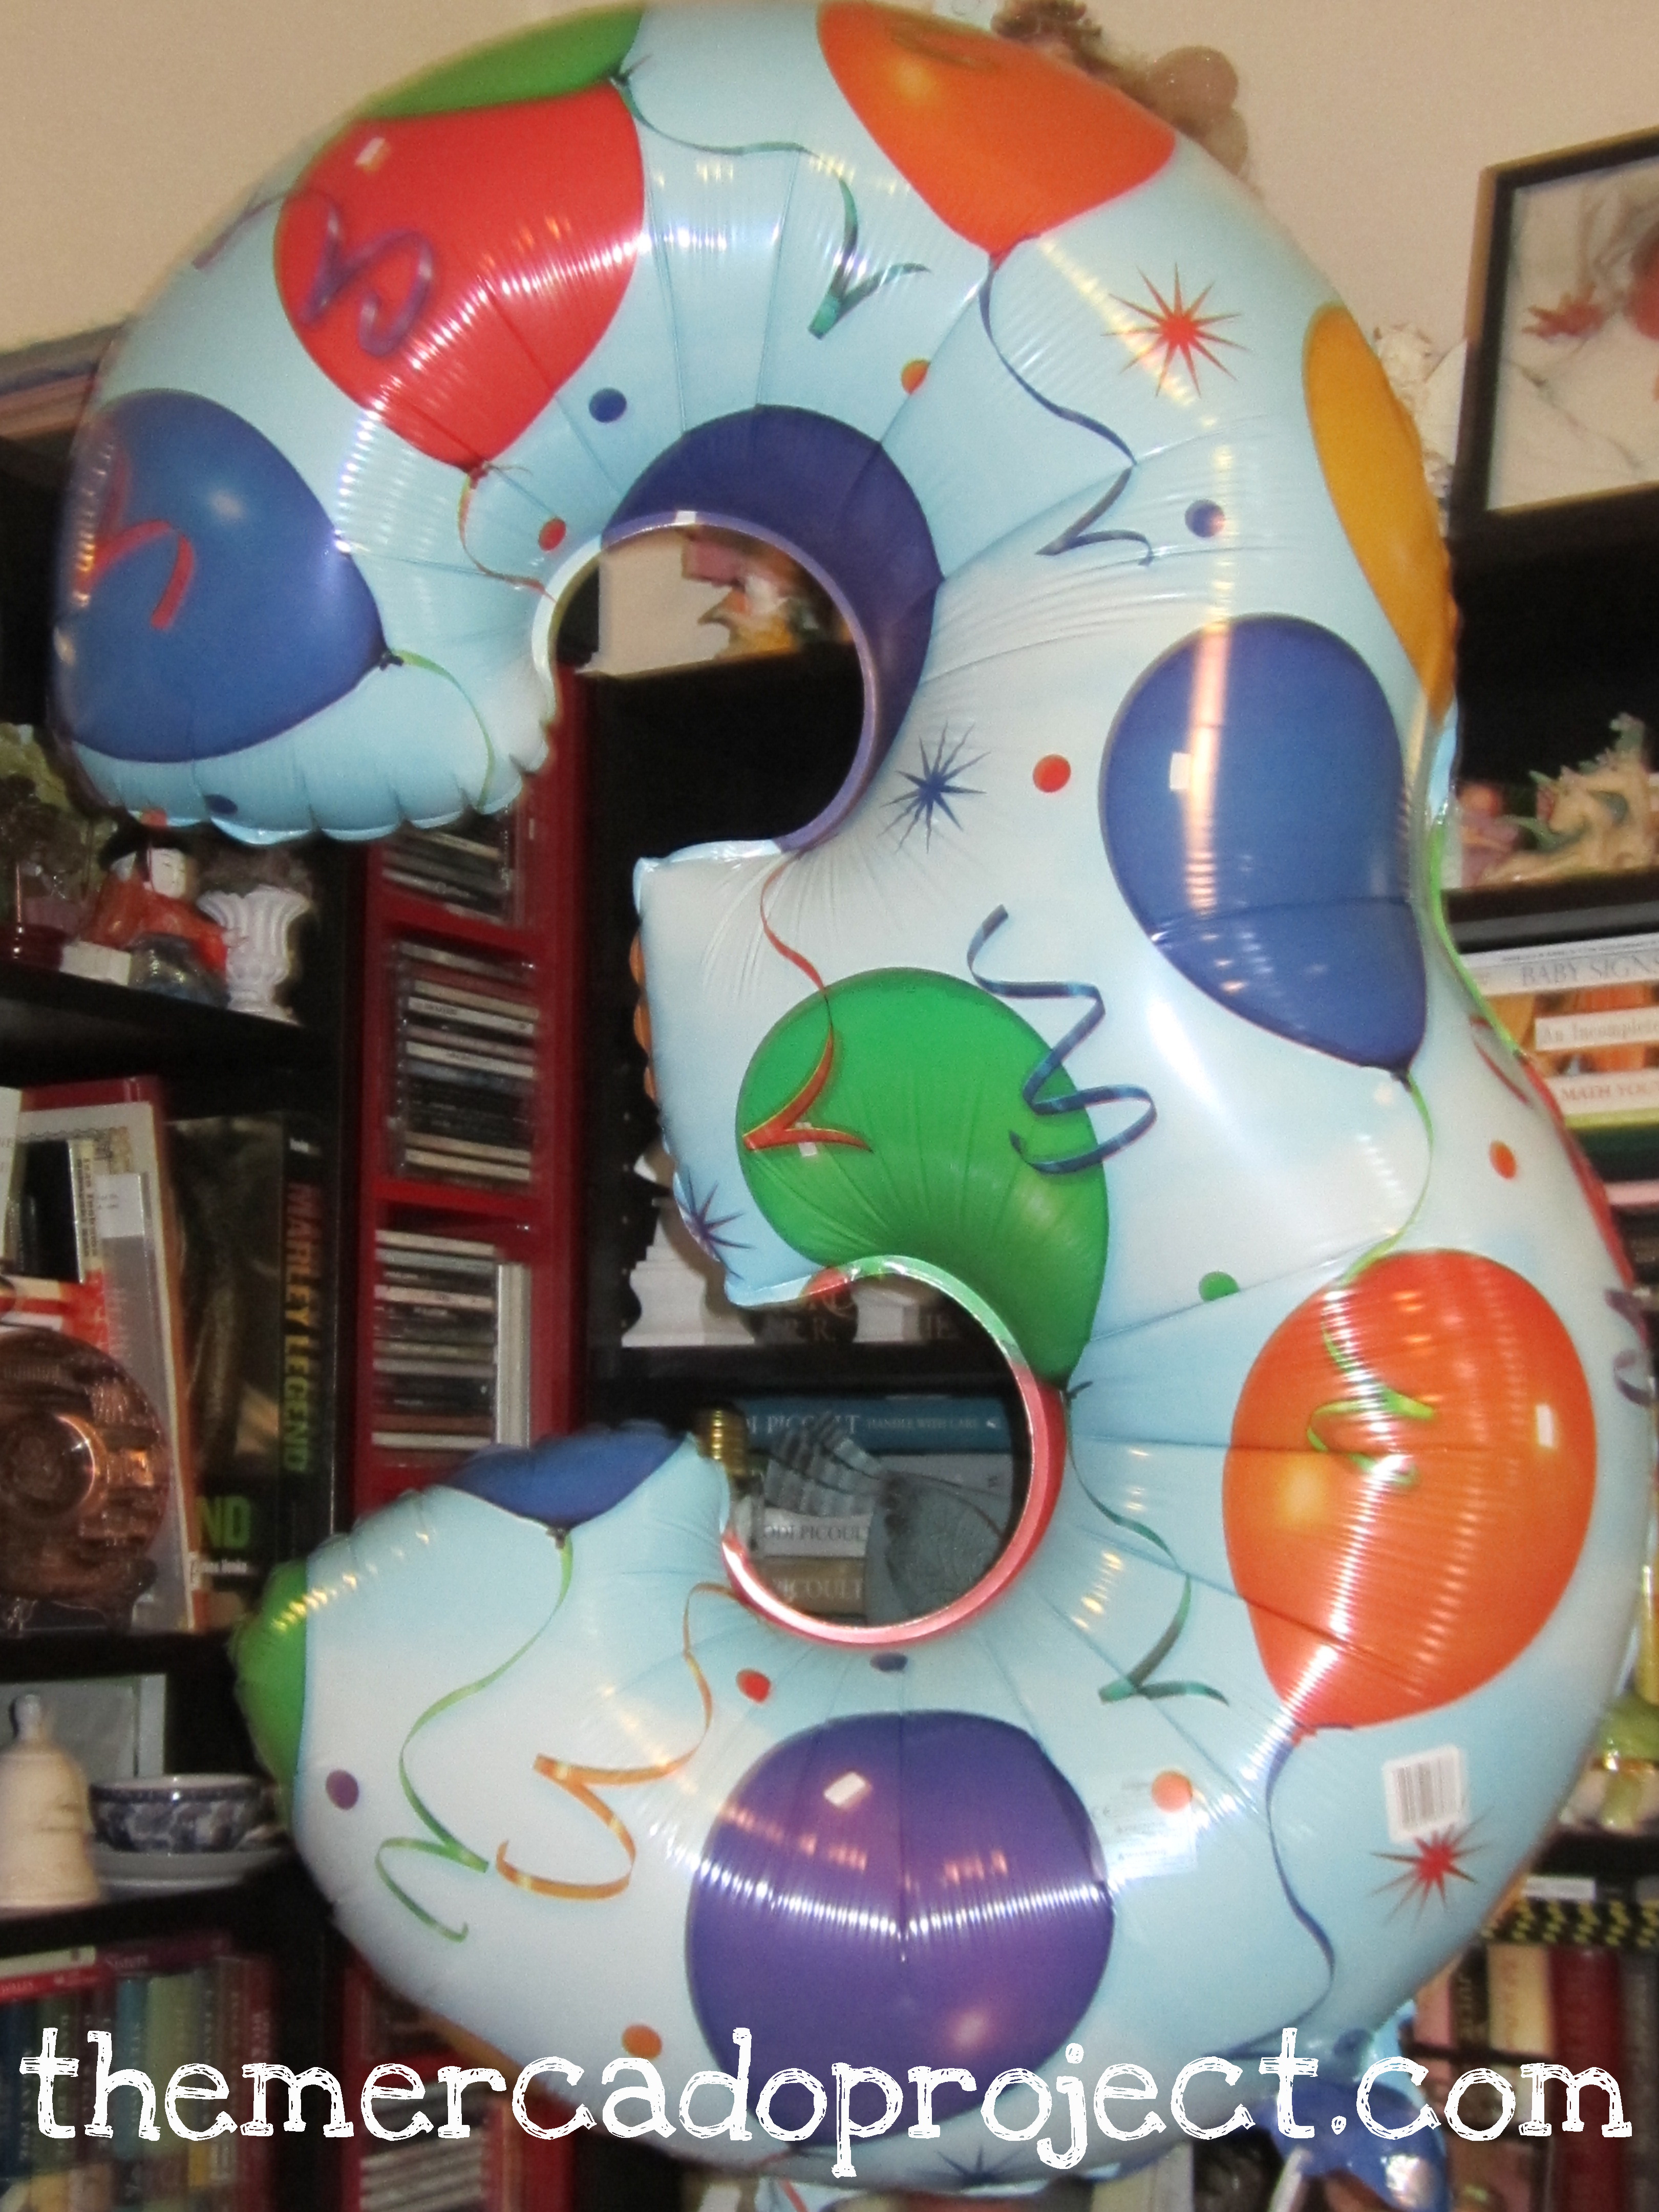
I chose the theme of the cartoon Bubble Guppies featured on Nickelodeon.  I decorated with free printables from nickjr.com and purchased a huge #3 balloon.  Balloons are always a huge hit.

IMG_4341text IMG_4517text IMG_4515text IMG_4381text

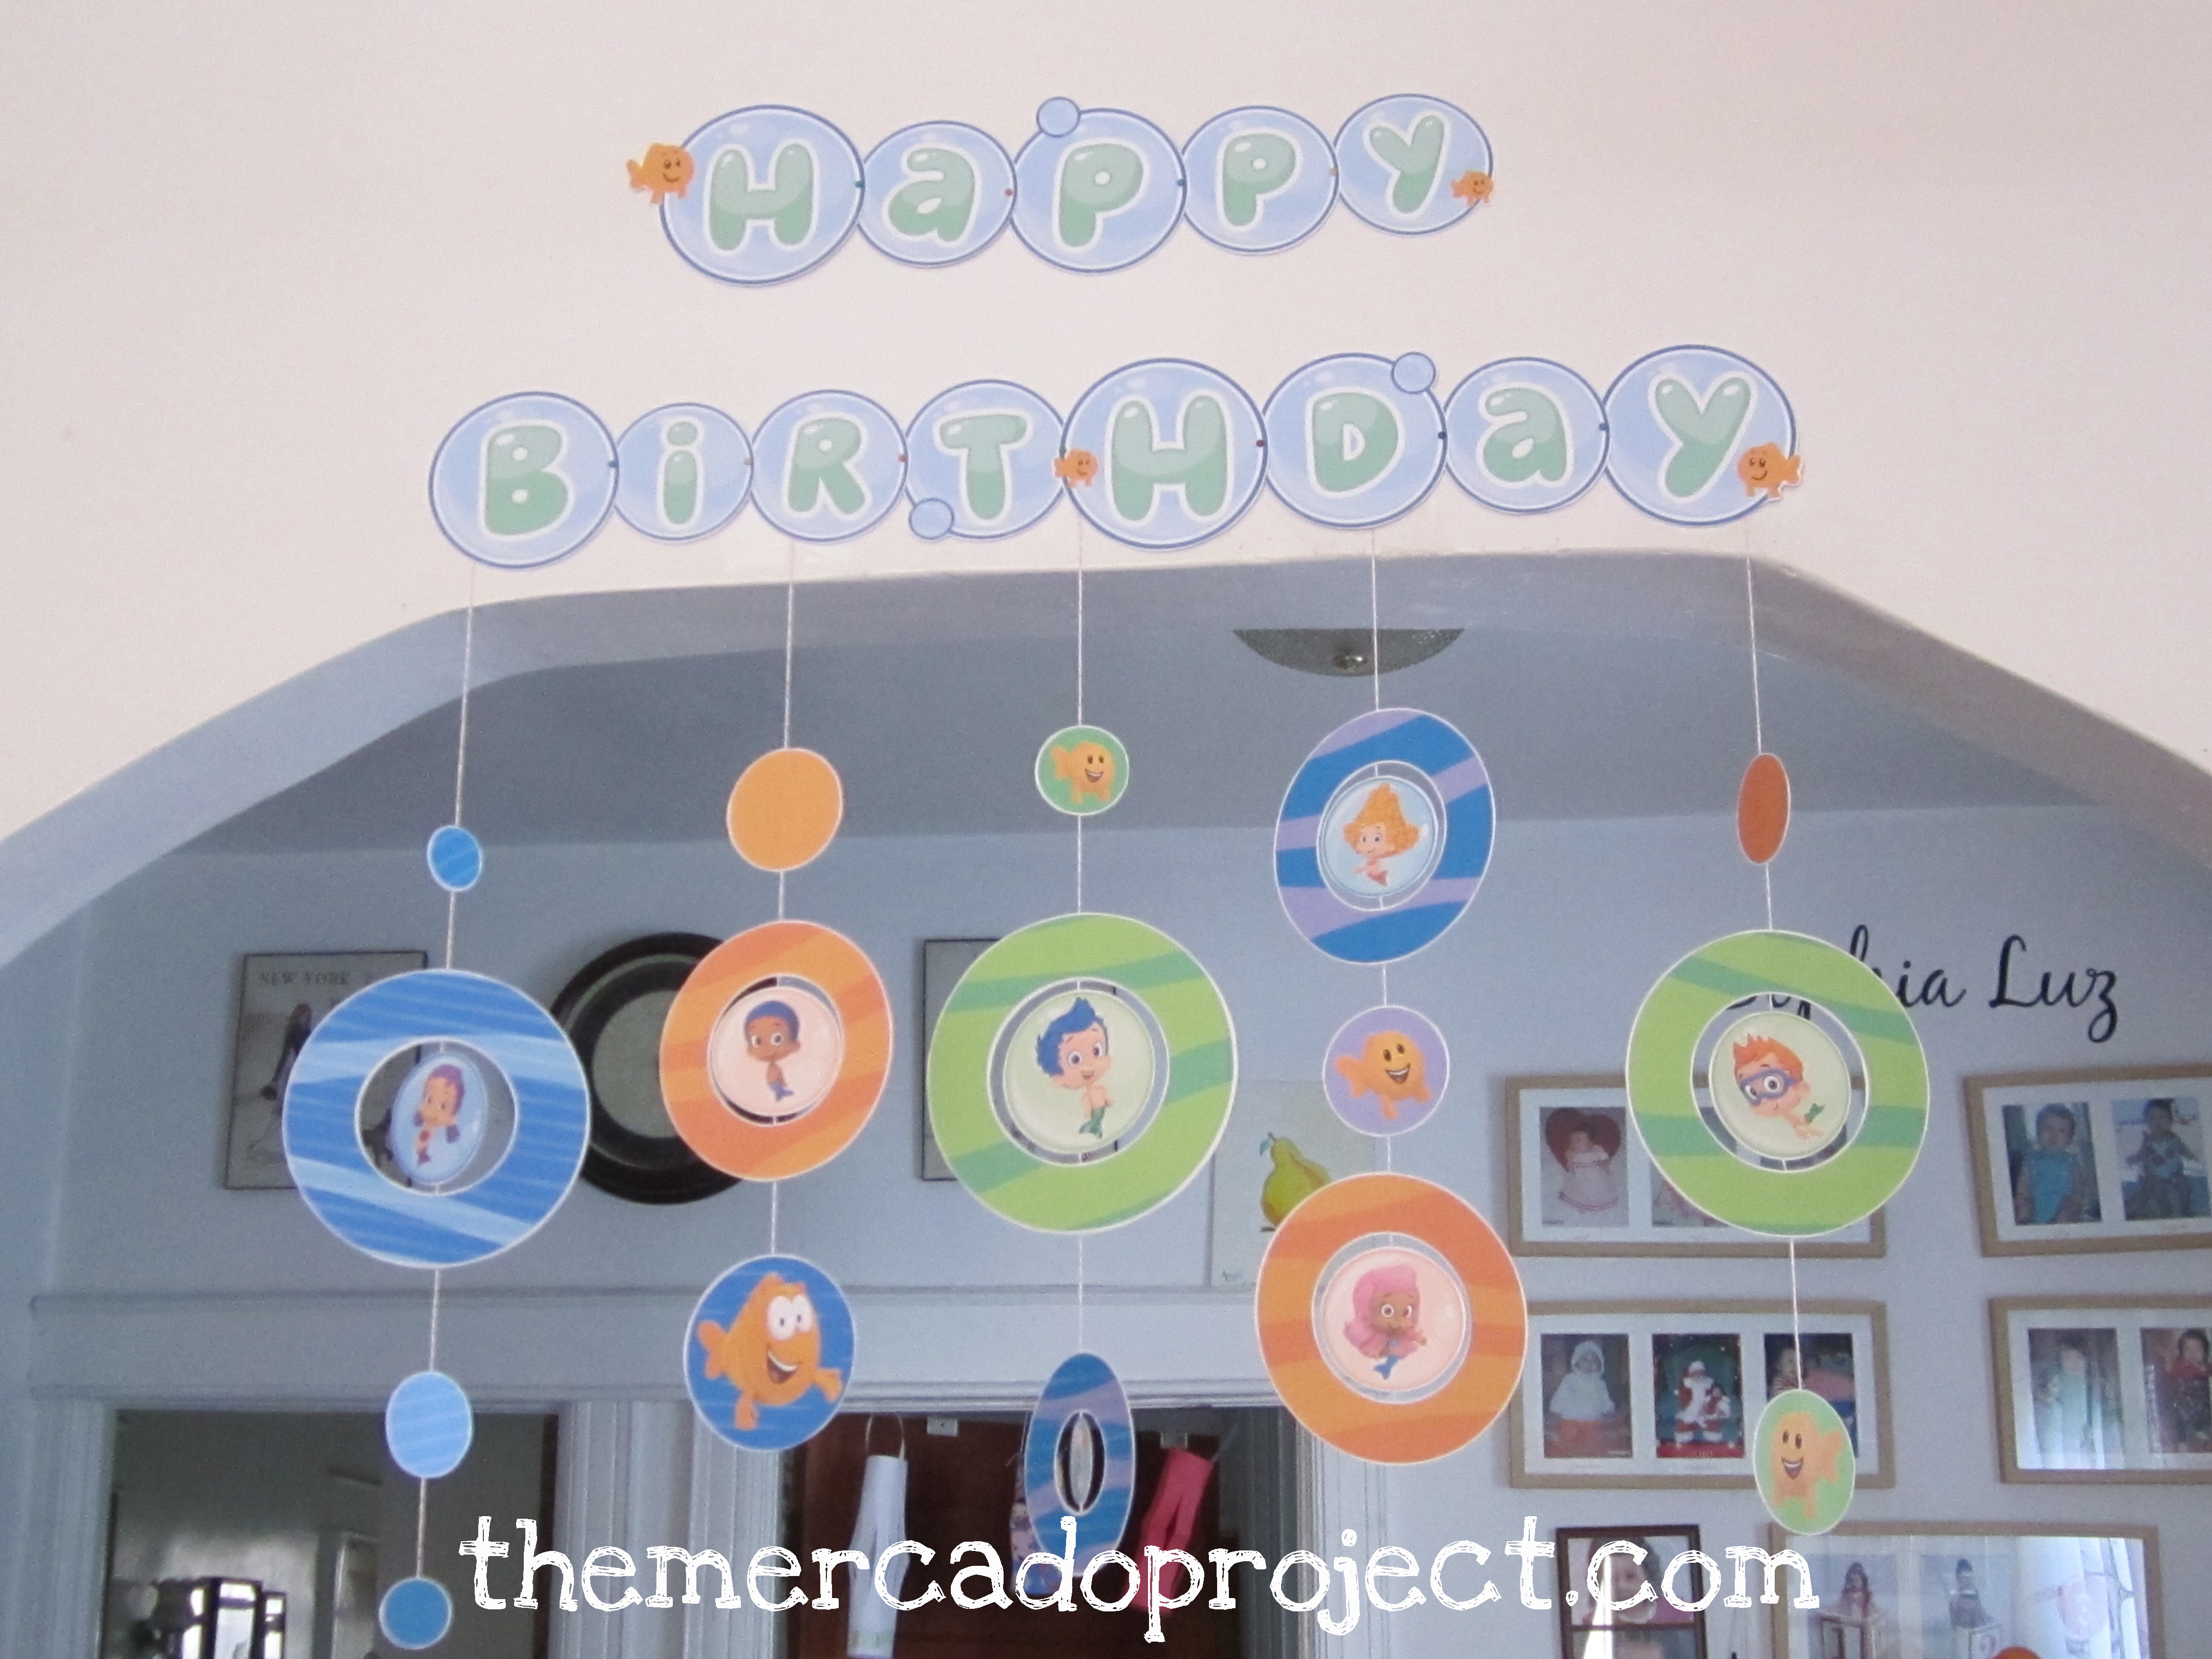
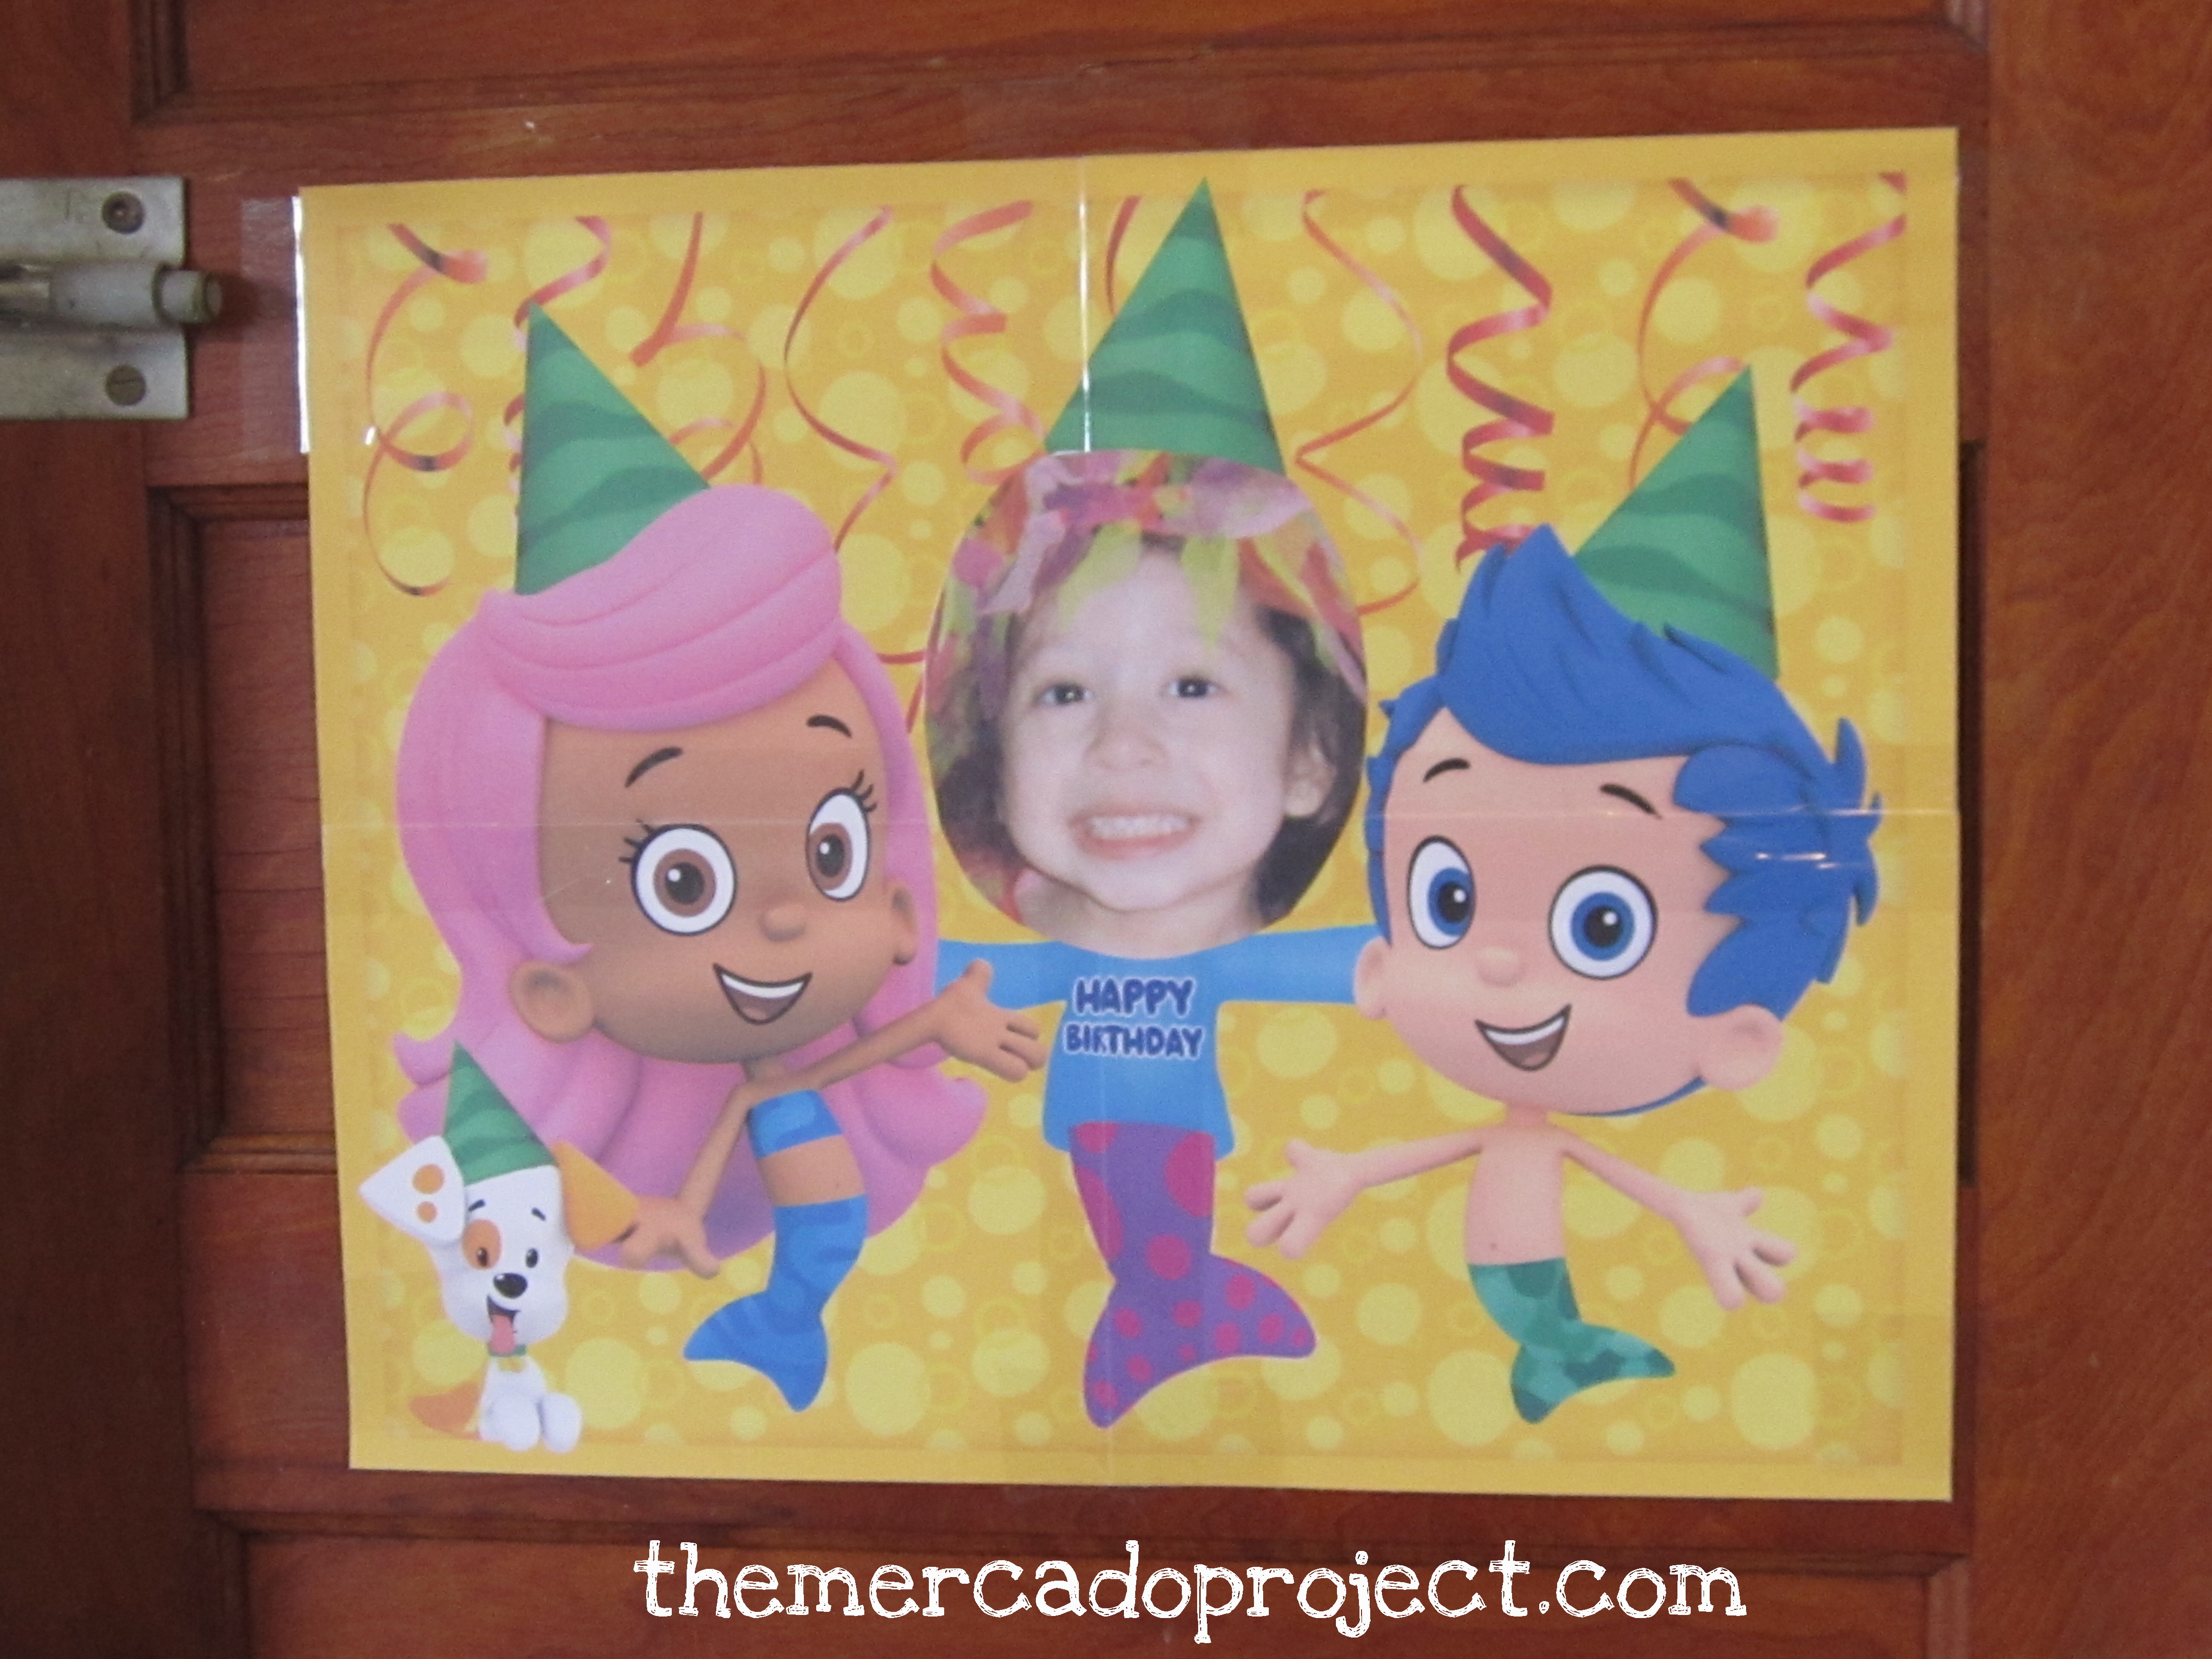
The banner, poster, and pin the tail game were cute, easy, and fun to put together.  Just go to nickjr.com and click on birthdays and you’ll see all of the themes and projects available for each.

The following day was Saturday and we invited friends and family with kids to join us at an indoor playground/arcade (funtopiausa.com).  We paid for the kids admission, tokens for them to play the arcade games, and food (pizza, popcorn, and drinks).  We stayed for about two hours and when it was time to go I gave each invited guest a goody box filled with candy, toys and stickers.

IMG_4310text      IMG_4312text     IMG_4313text      IMG_4315text

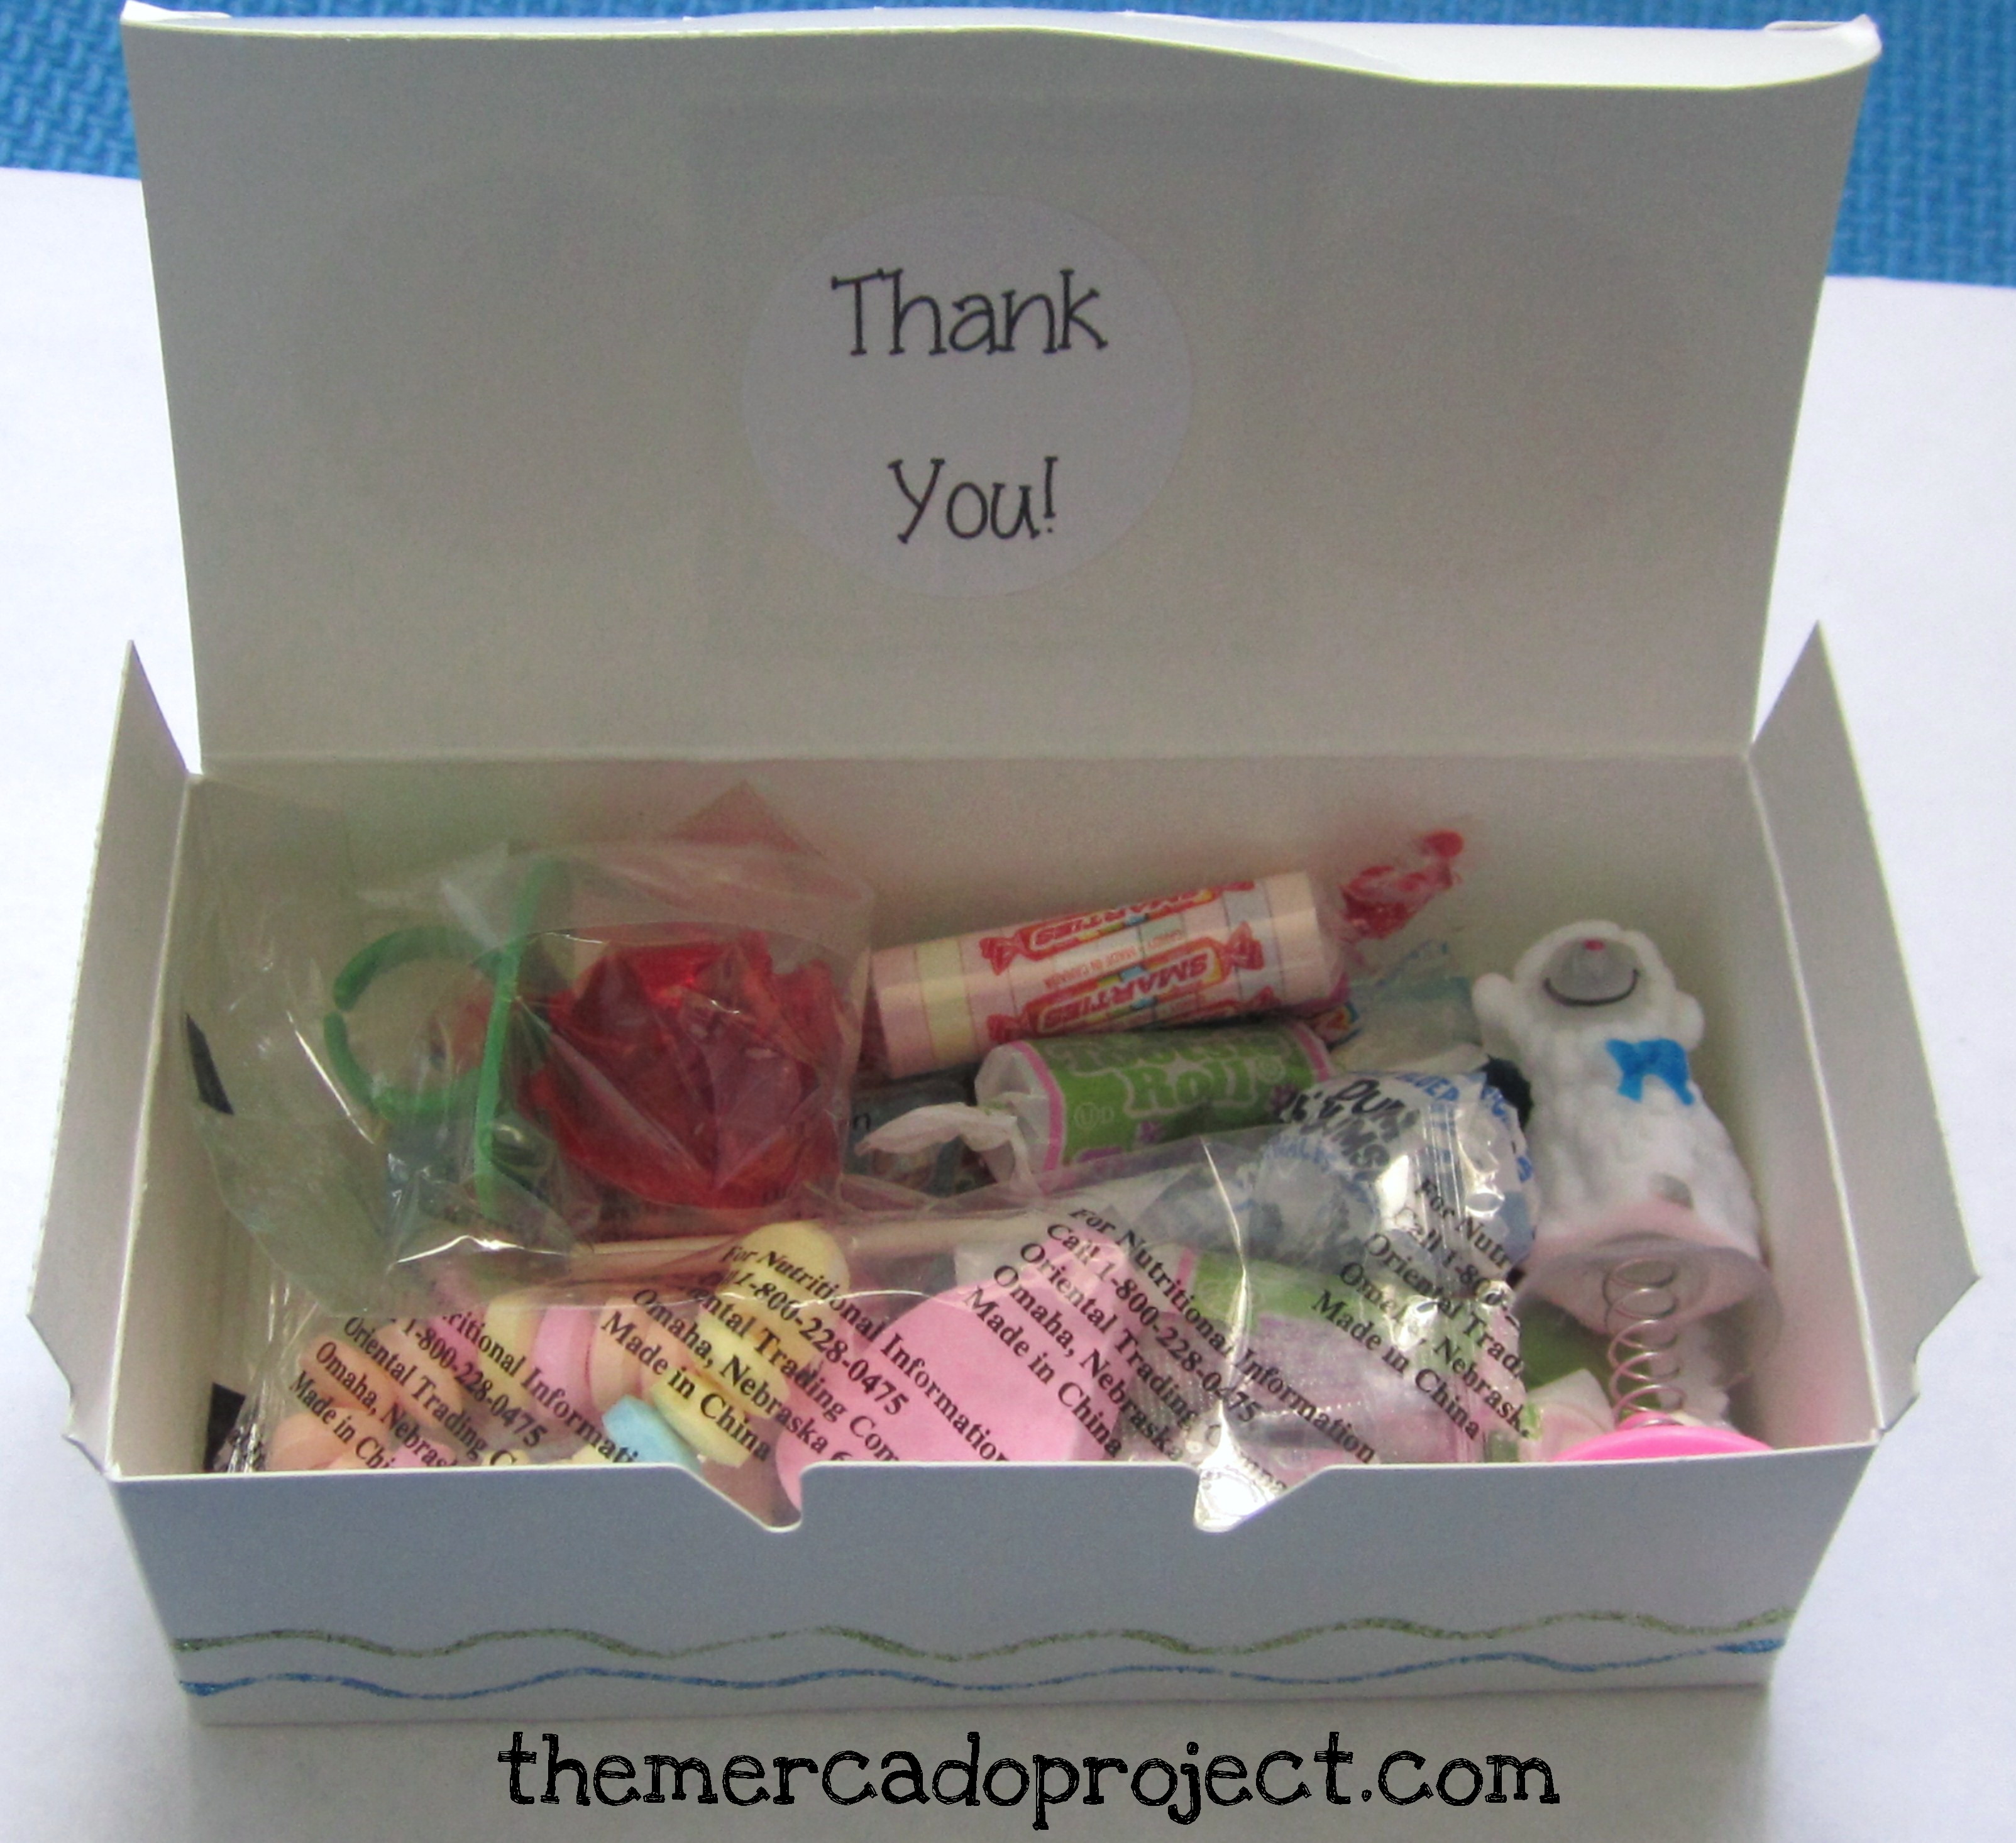
My aunt had given me these boxes about a year ago and I was so happy to finally have a reason to use them.  I glued the images of the Bubble Guppies, which I printed out at nickjr.com, and made the middle image with my daughter’s name.  I then took the glitter glue in blue and green and made swirl lines like waves on the boxes.  I then filled the boxes with candy (skittles, smarties, Tootsie rolls, lollipop, rose ring pop, candy bracelet, and sixlets) from orientaltrading.com along with little toys like a mushroom spinning top (not shown) and Easter Pop-Ups, which are a lot of fun for children and adults.

We ended the day with my husband’s homemade piñata, which he made with a balloon, scraps of paper, and modge podge.

IMG_4440text     IMG_4439text

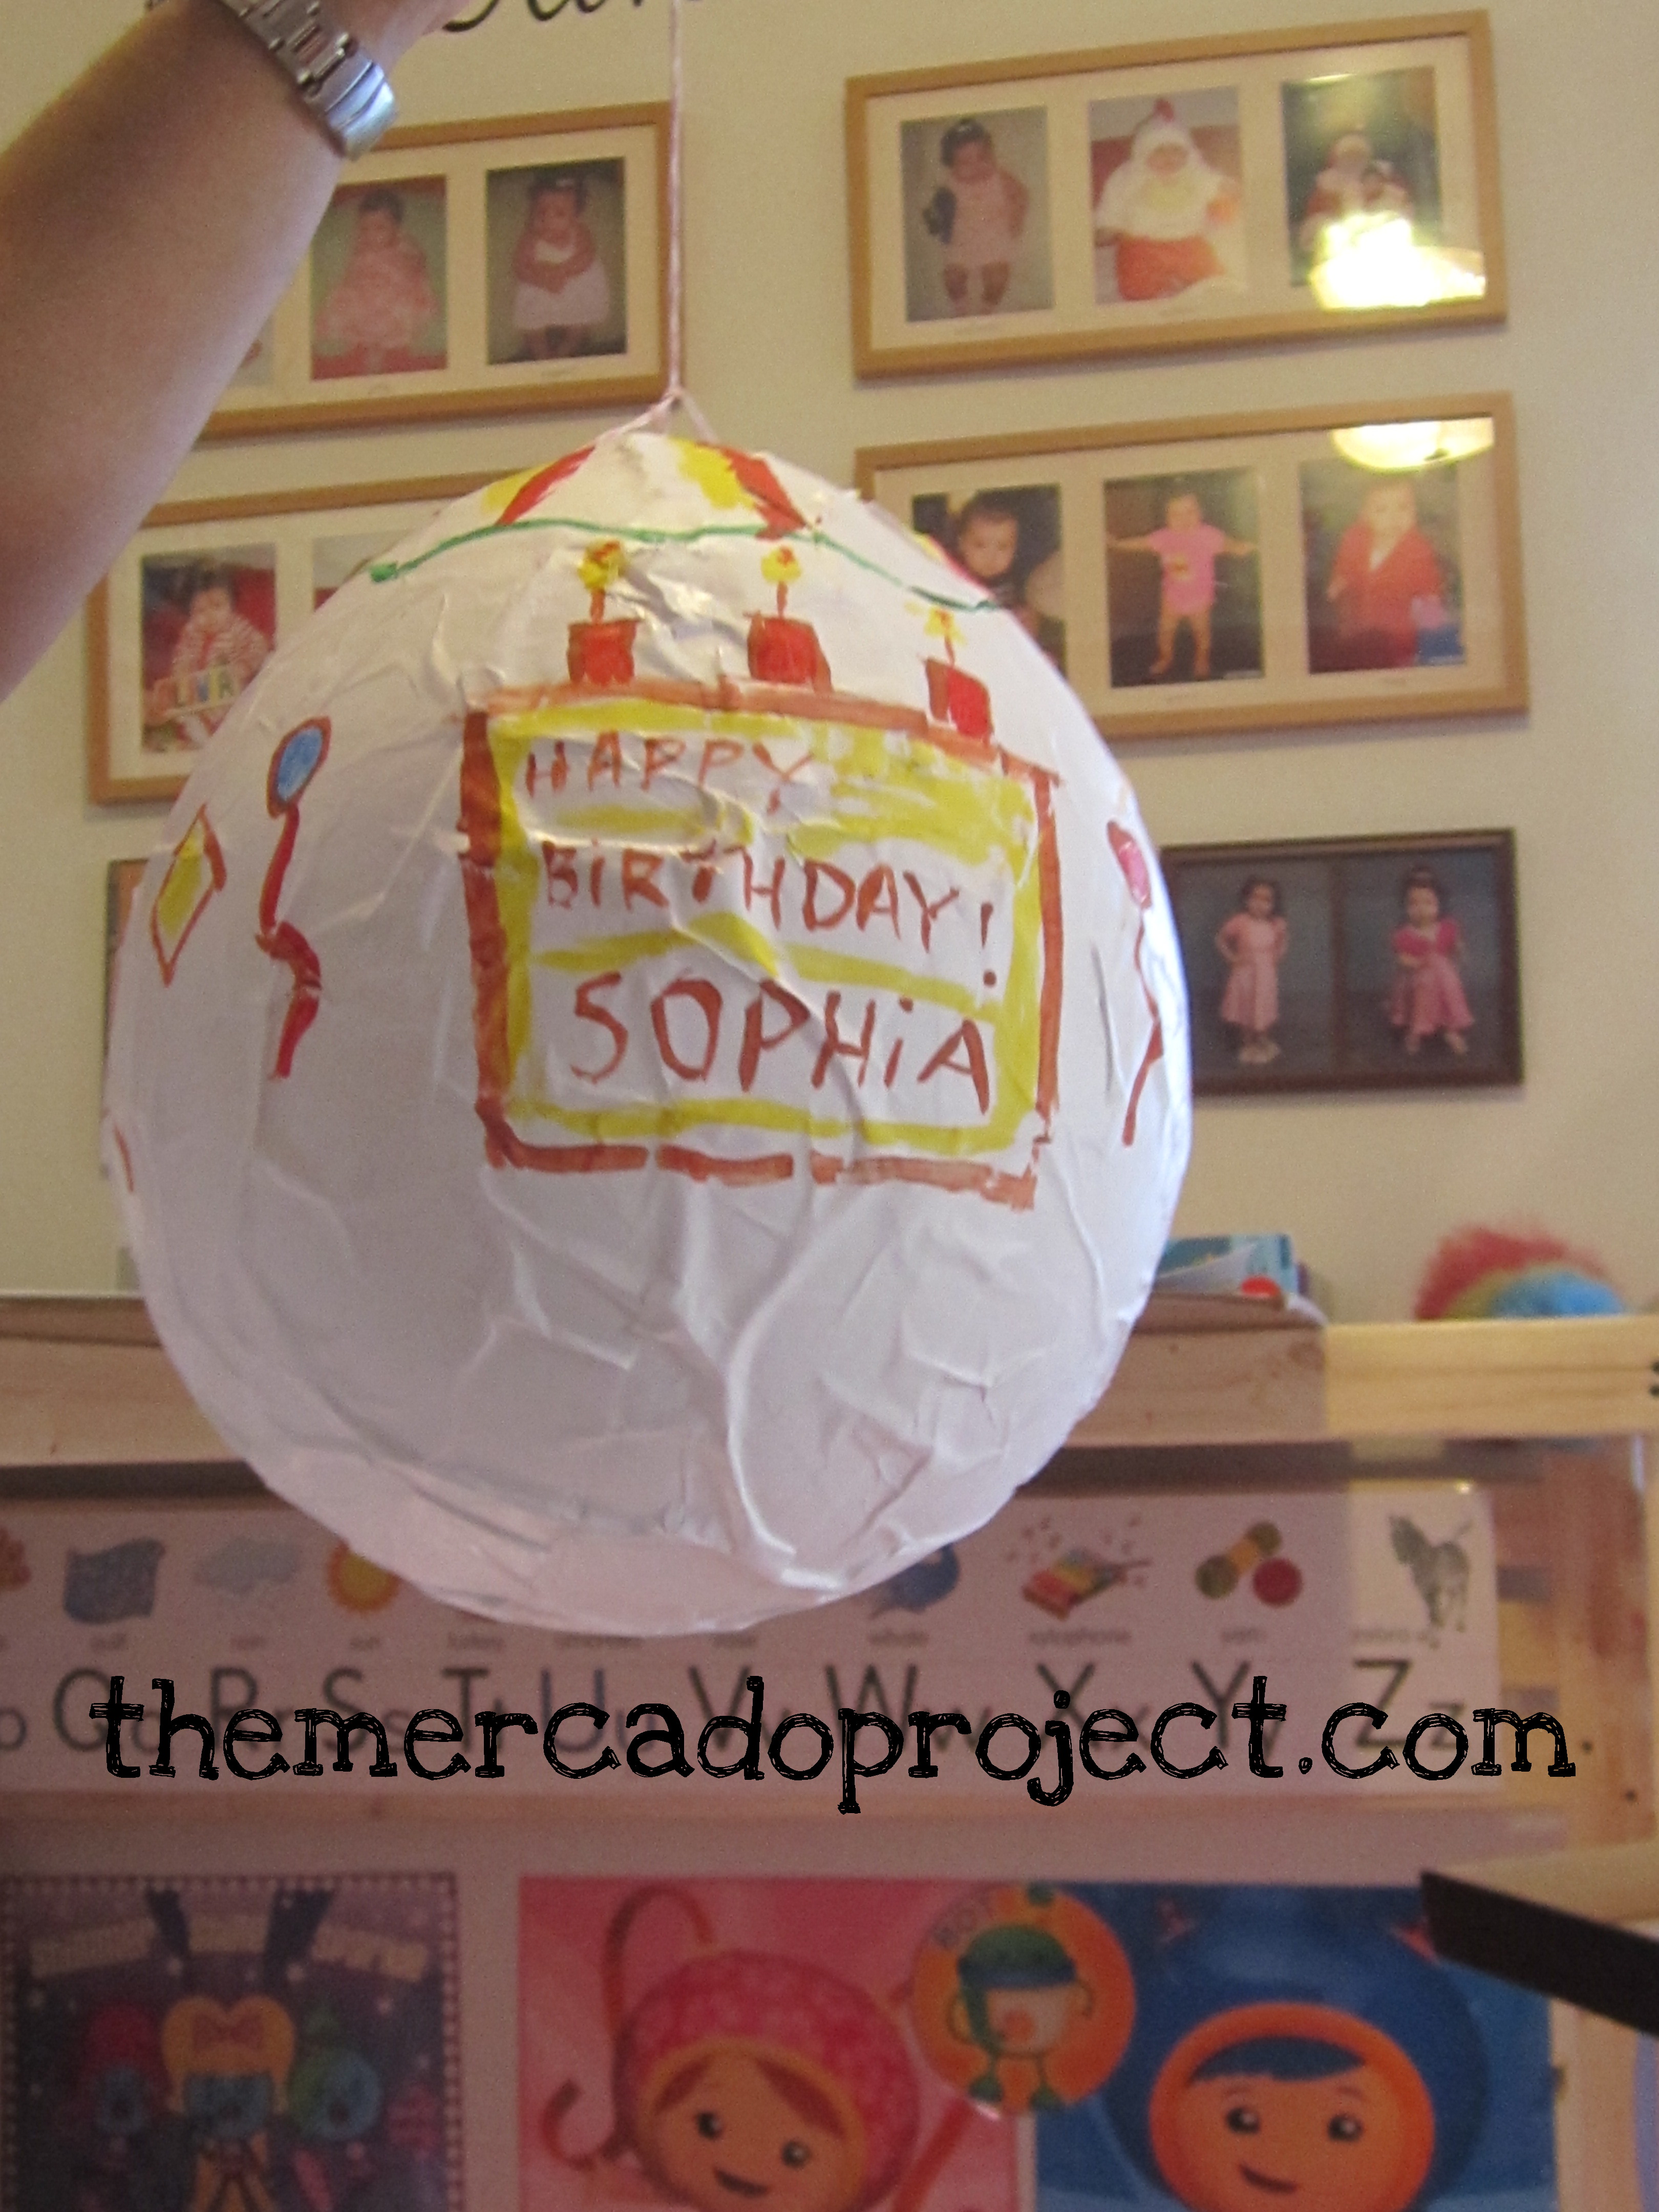
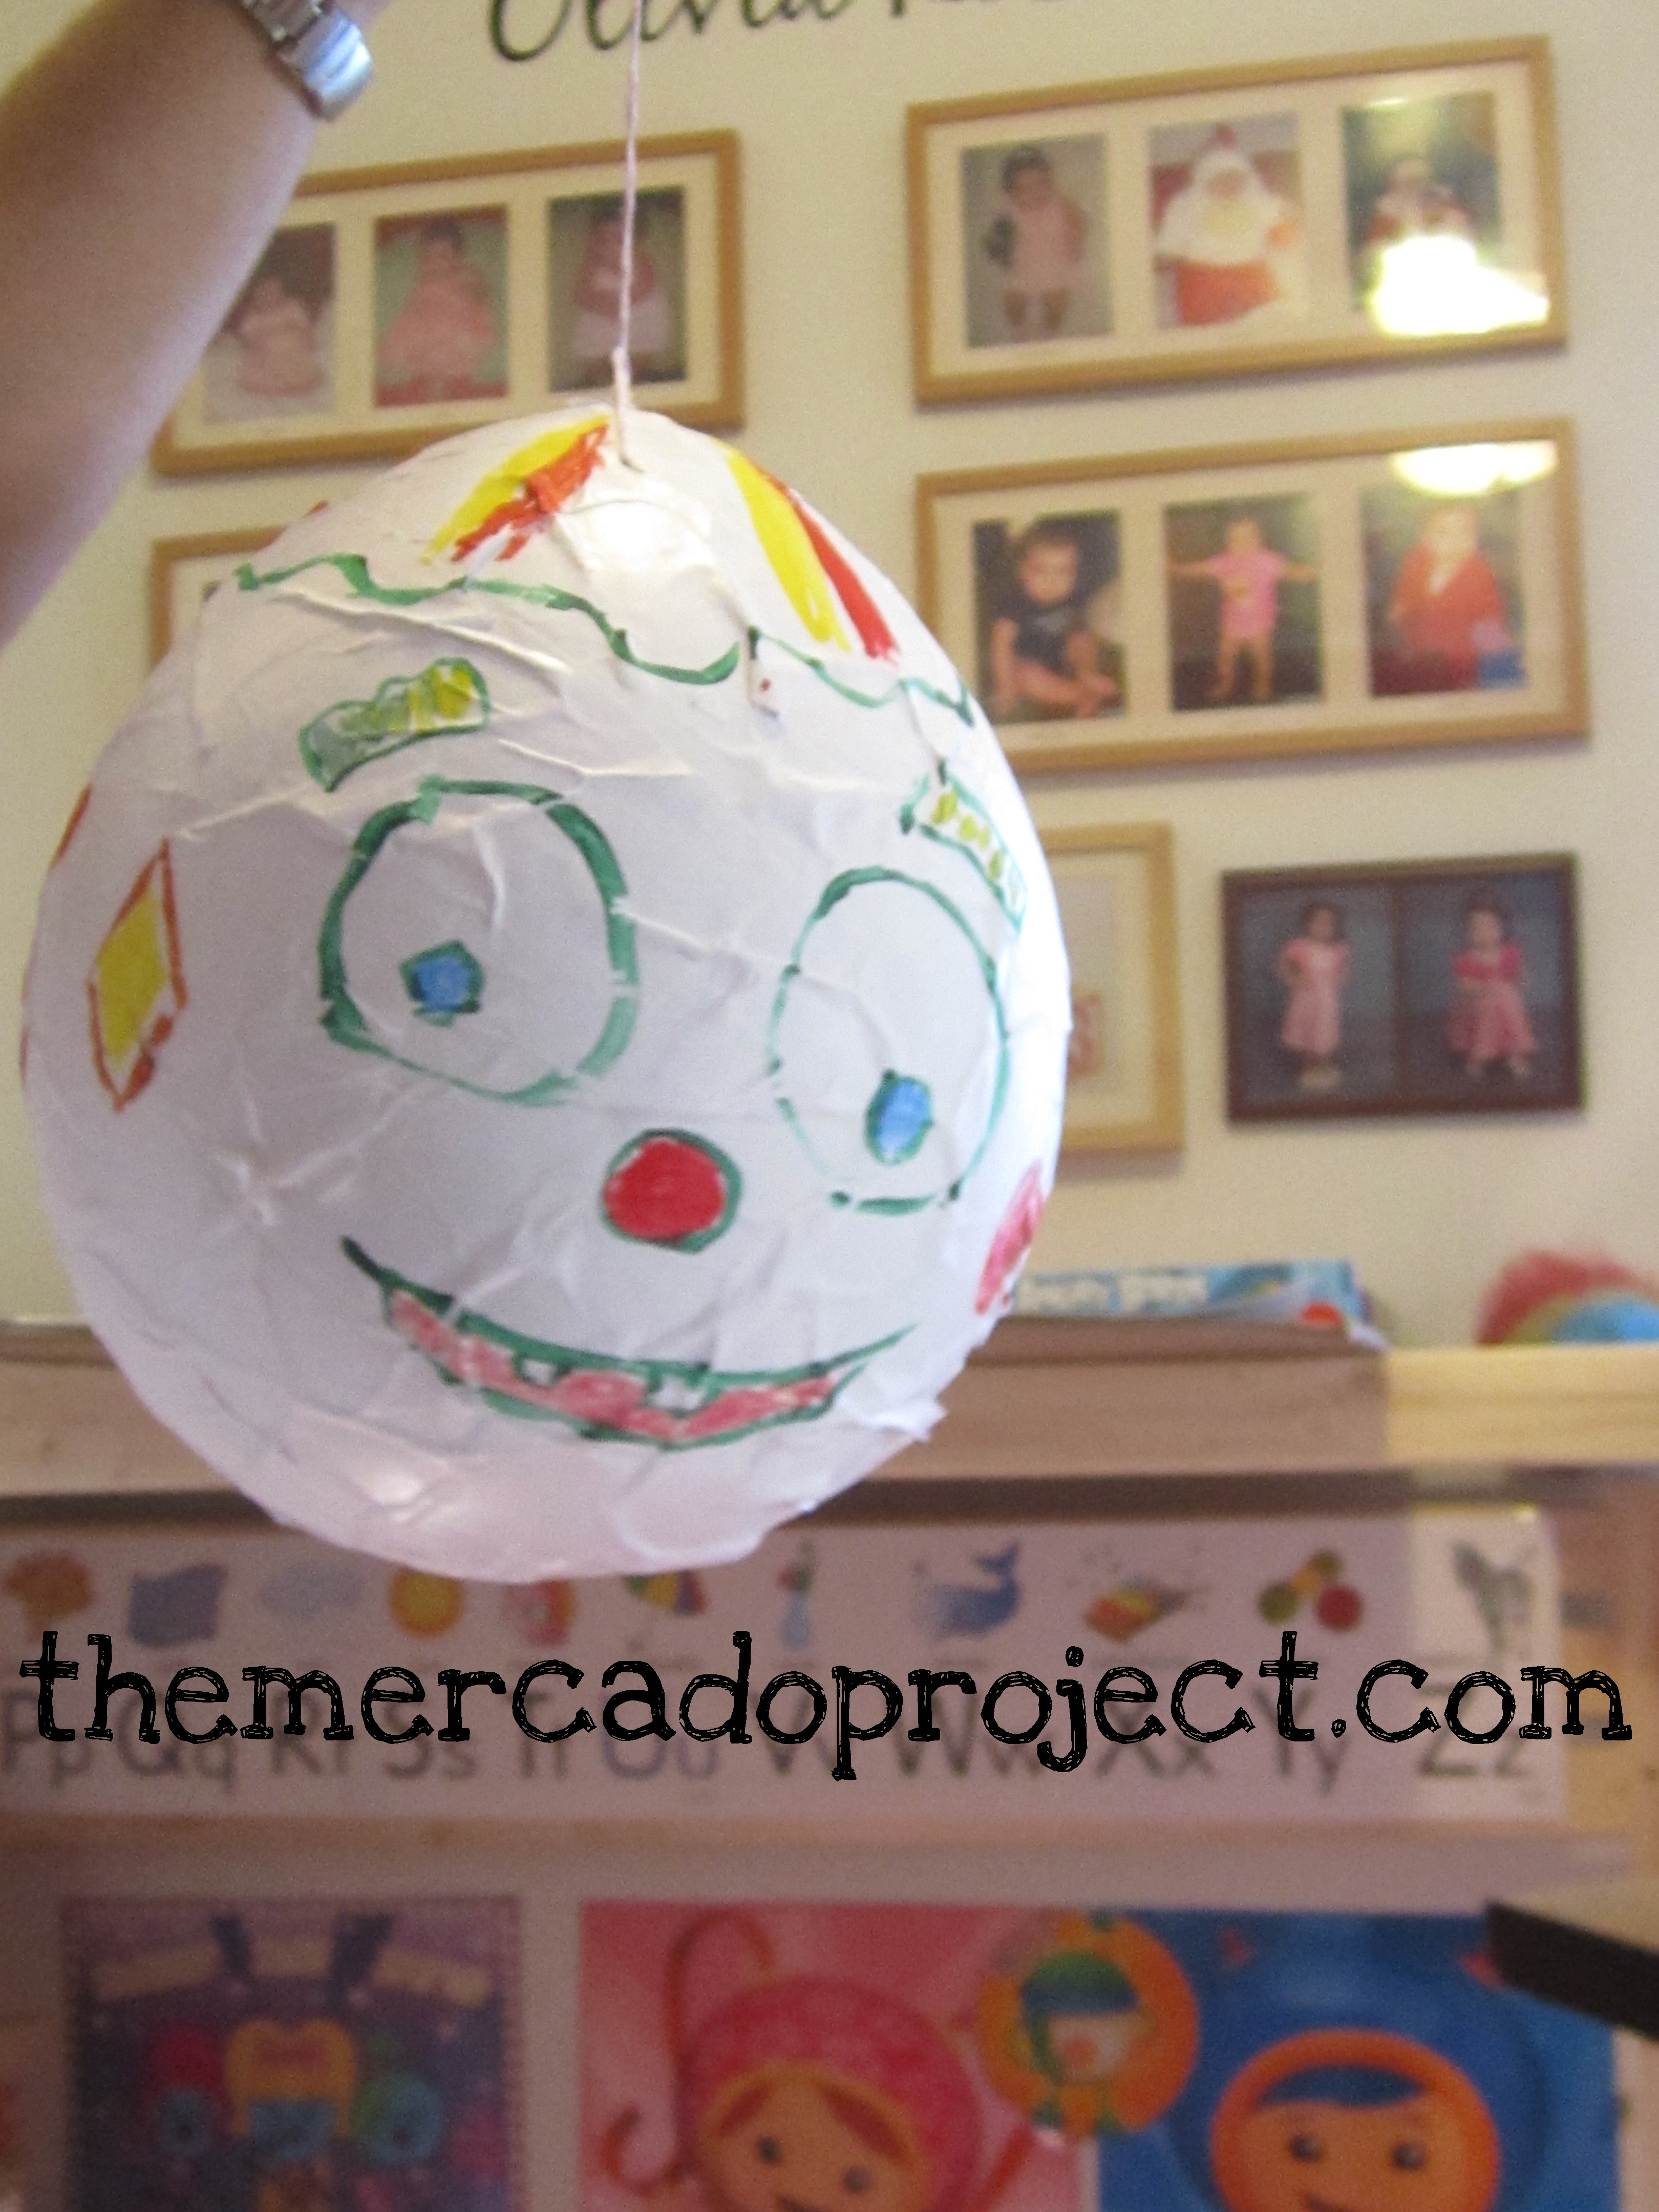
My husband had fun making this and the kids had a lot more fun whacking the heck out of it.

IMG_4494text IMG_4503text

On our last day of celebration (Sunday), my family came over and we sang happy birthday once again with another cake (Oreo No Bake Dessert), chocolate lollipops (vanilla, dark mint, & peanut butter), and great, homemade food.  Thanks Mom and my aunt Aida!

I was pretty happy with this plan of action for celebrating my daughter’s birthday.  Many people get really stressed out planning birthdays and end up spending a lot of money.  I didn’t want the headaches or the empty wallet.  No offense to anyone who goes big, because of course, if I had space and extra money, I would be singing a different tune, but at this moment minimal is the way to go.  So one birthday down, one more to go.

Take good care all and thanks for visiting.

Until next time…

Advertisement

DIY Easter Decorations

Hello everybody!  I hope you guys are well.  I love making my own decorations for the holidays, especially when there’s a ton of ideas online.  I’m currently decorating for Easter and found a great banner idea as well as adorable DIY paper carrots.  I combined those ideas and included some plastic eggs and created this banner for the hallway outside my door.

IMG_4175text

You can see the instructions and printable template for the easter egg banner here http://www.creationsbykara.com/2012/03/easter-craft-easy-easter-egg-banner.html and pictures of the paper carrots here http://www2.fiskars.com/Crafting/Projects/Holiday/Easter/Easter-Egg-Hunt#.UUiNKlqMHUM

IMG_4176text            IMG_4177text

IMG_4178text

I used card stock to print out the template for the easter egg banner.  I then used several decorative papers for the banner and used construction paper for the carrots.  To hang these up I used pink and white baker’s twine.

At nickjr.com, there’s a whole bunch of crafting projects and I made the peter rabbit holiday garland (http://www.nickjr.com/printables/peter-rabbit-holiday-garlands.jhtml) because my youngest likes Peter Rabbit.  I also printed out egg holders (http://www.nickjr.com/printables/peter-rabbit-easter-eggs.jhtml) and an egg basket (http://www.nickjr.com/crafts/peter-rabbit-egg-basket.jhtml) for when we start dyeing our easter eggs at home.  Since my daughter dyed her first eggs at school, she’s super excited to do it again.

IMG_20130323_181413text

When I picked her up from school yesterday I brought her a basket so she could carry home her masterpiece dyed eggs.  She’s in love with them and wants to keep them forever.  🙂

There’s definitely more egg stories to come.  I’m also planning my youngest daughter’s birthday at a snail’s pace.  So far, I only have a theme, Nickelodeon’s Bubble Guppies, and I’m planning on using the free printables on nickjr.com to decorate.  Again, I’m leaving everything for the last minute, but isn’t that how it’s really done?

Take good care all.

Until next time…

DIY Banners

Hello everybody!  I hope you guys are well.  Today I would like to share a project with you that has endless possibilities.  I love using banners to decorate, especially for birthdays and holidays.  You can always buy pre-made ones, but I like making my own so I can personalize them specifically.  Using the shapes application on Microsoft Word, I start with a triangle shape, and make it as big as I want.  Then, regarding the theme, I look for clip art online and I copy and paste onto the middle of the triangle.  I enlarge and flip around the images to my desire and then I print on white cardstock.

To make things easier and less time consuming, I use my Cricut paper trimmer to cut out my triangles.  Then I simply punch out little holes at the top corners of the triangle and using any string, I like twine, join the triangles together and you’ll have a one of a kind banner.  I like to use painter’s tape (the blue one) to put up my banners because they’re temporary (the banners) and the tape doesn’t mess up the paint on the wall once you take it off.  I usually put it on the back of the first, middle, and last triangles.

I made this banner for my daughter’s 2nd birthday.  The theme was the cartoon from Nickelodeon, Team Umizoomi.  I went to their official website, http://www.nickjr.com, to get some ideas and found a lot of printable material for birthdays including a square banner and a poster, which was awesome.  I couldn’t copy and paste the characters on that website, so I went to AOL search and found a bunch of clip art, which I used on my pennant banner.  On the picture tool bar, I re-colored the images using the color mode to fade the pictures so the letters would pop out more, but you can still see the image of the characters in the background.  There’s really nothing available in stores with this theme, which boggles my mind because kids are absolutely crazy for this cartoon and it’s been on the air for years now, just saying.

I recently did this banner the same way as above.  I found the clip art on AOL search and you can download these cute bats, along with a couple of pennant flags, here:  http://partyplanningcenter.blogspot.com/2011/09/halloween-banners.html

I used black ribbon to bring everything together and hung it up outside my door.  I hope you like this idea.  Of course you can make the banner using squares, circles, etc.  Like I said before, endless possibilities! 🙂

Take care all.  Until next time…